You love to Embroider as well as making your own Greeting cards? Why not combine your passions?
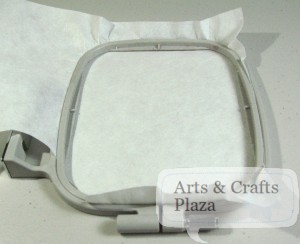
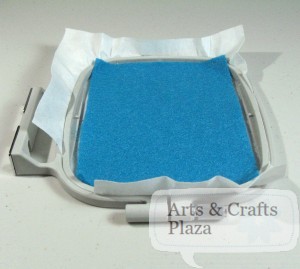
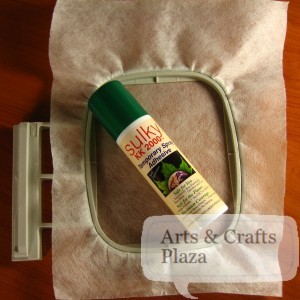
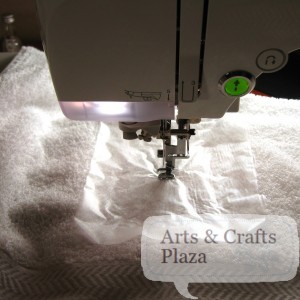
Start by hooping tear away or cut away stabilizer.
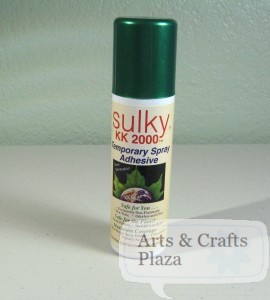
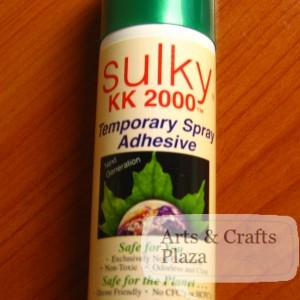
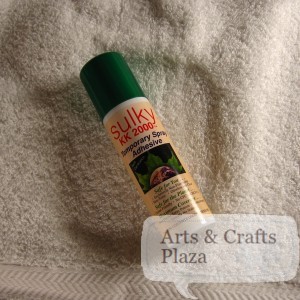
Using spray adhesive, such as, Sulky KK 2000.
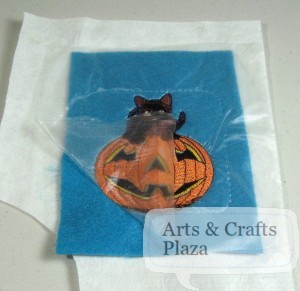
Put a piece of colored felt on top of the stabilizer.
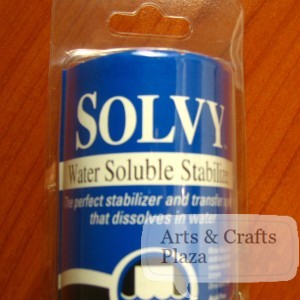
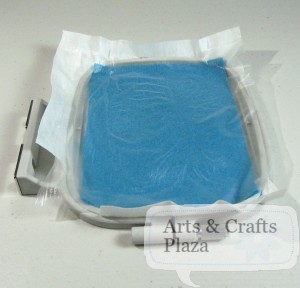
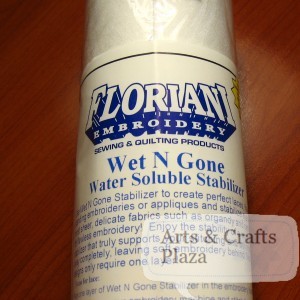
Take a piece of Solvy.
Using spray adhesive to put the Solvy on top of the felt.
This step is not a must but it will help achieve a better embroidery.
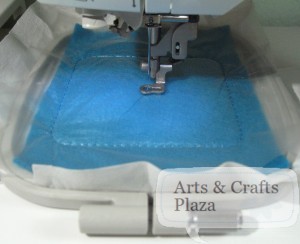
Add a border with wide stitches, bigger than the design you are about to stitch.
It will help prevent bunching up as well as shifting.
It is best is you use a similar color to your background.
You now have your creative license to change the colors that you are using from the suggested colors.
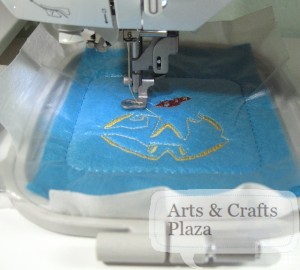
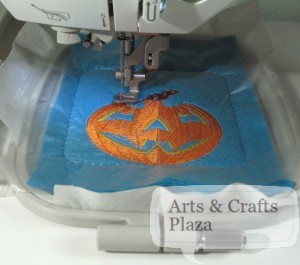
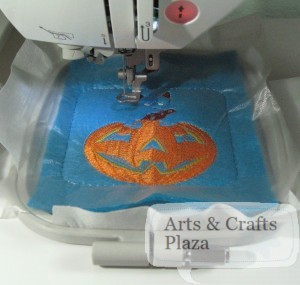
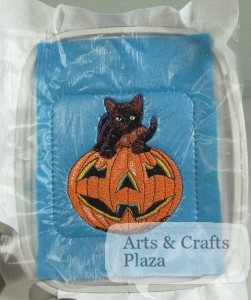
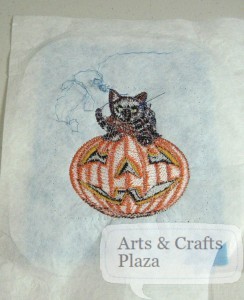
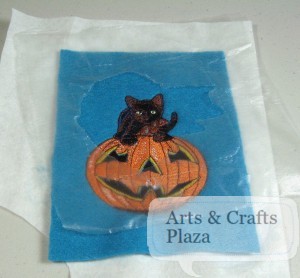
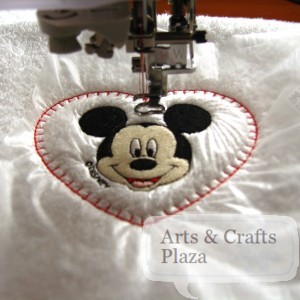
As it keeps embroidering it starts looking like a picture.
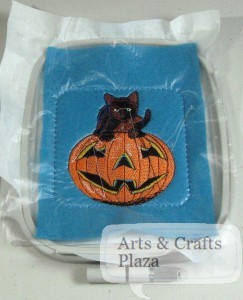
We changes many of the colors suggested, the cat as well as the Yellow for the light effect in the pumpkin.
Now that you are done with your embroidery design. Take it out of the embroidery machine.
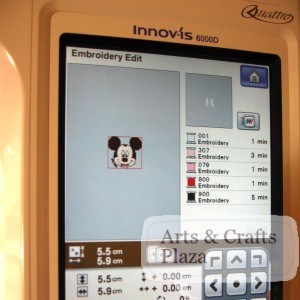
For this project we used Brother PE-780 model.
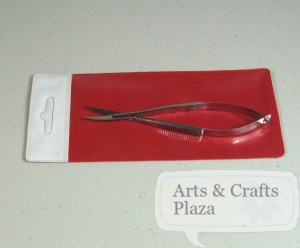
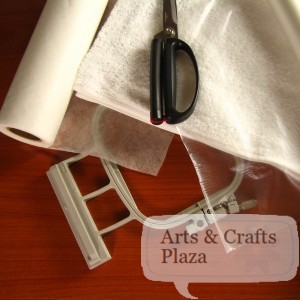
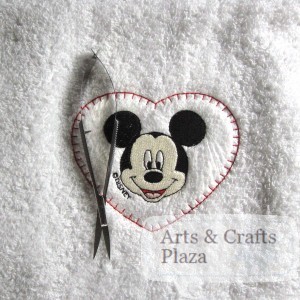
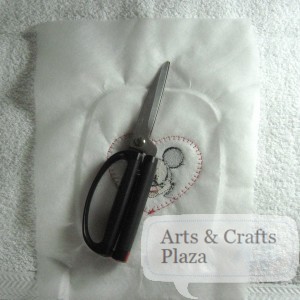
We recommend using this type of scissors to cut your jump stitches.
Because they have a curve you will be better able to cut close to the design without cutting the stitches.
Take your design out of the Embroidery hoop.
We will start working on the back side of our Embroidery.
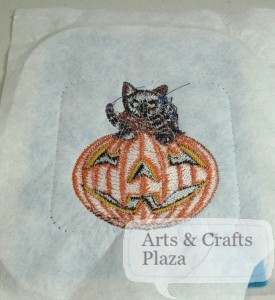
Take a seam ripper and remove the bobbin thread of the border.
Continue taking out all the stitches around.
This will give you better result then trying to take the stitches out on the front of your embroidery.
Once you have removed all the bobbin thread, the front thread will just come off as a long piece of thread.
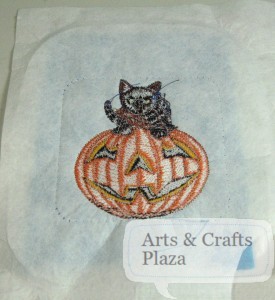
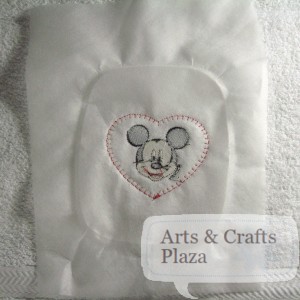
Now that we have just our embroidery, it’s time to remove the Solvy from the top.
Tear it off as best you can, most of it should come off easily.
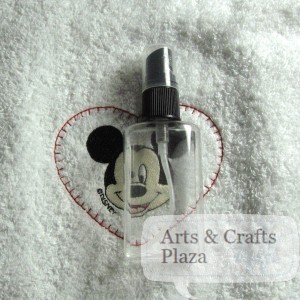
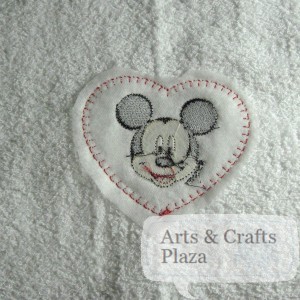
Since it’s water soluble, should you have any pieces left behind, a little water will take care of it.
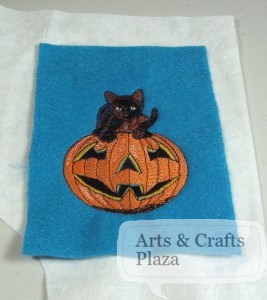
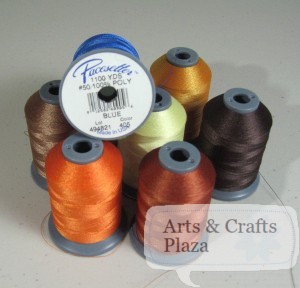
We recommend using Pacesetter Embroidery thread.
You get great quality thread for a reasonable price.
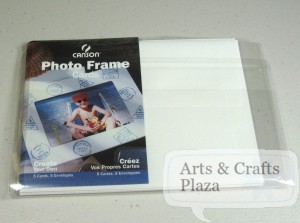
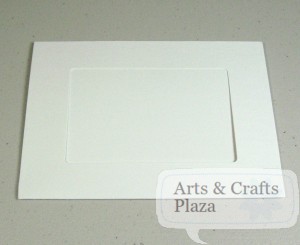
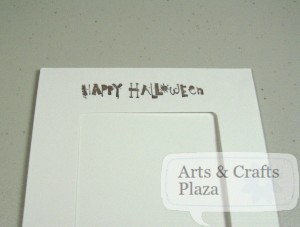
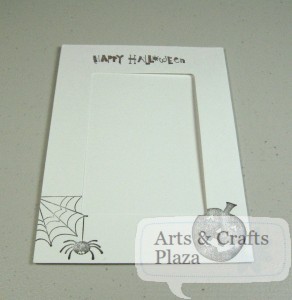
We bought greeting cards that have a photo frame cutout pre-made.
Feel free to make your own. When you select what Embroidery you want to use, make sure it will fit the frame size.
Some machines will let you resize your designs, take advantage of that.
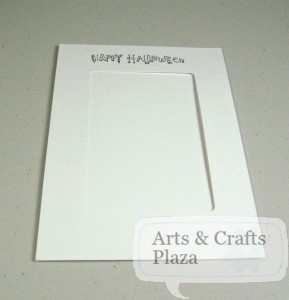
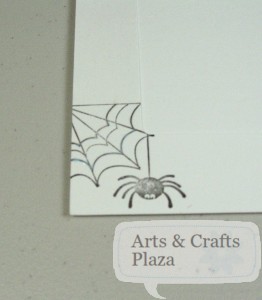
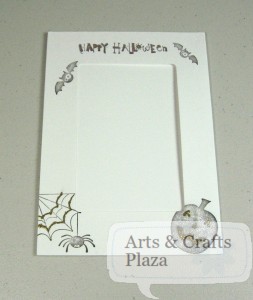
We start with a blank card and decorate it with several stamps.
The Words “Happy Halloween” with a stamp on top.
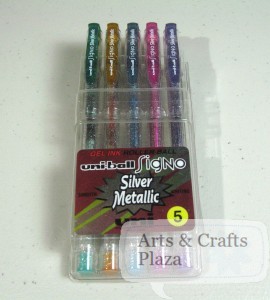
We chose to use Uniball silver metallic pens.
We fill the empty spaces in the letters with our Orange color pen.
You will end up with a blend of Orange and sparkling Silver.
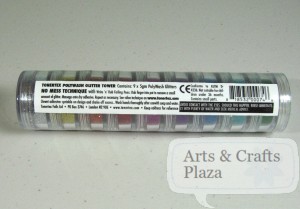
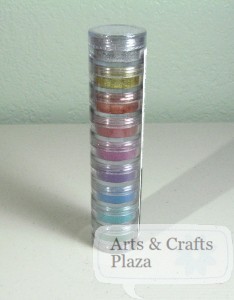
We love to sparkle so we’re going to putt some Bo-Nash sparkles on our card.
Great shiny colors they offer.
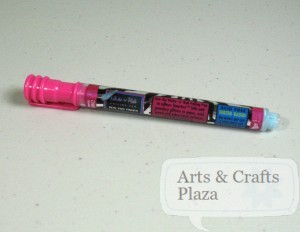
For a more precise result we will use the Bo-Nash glue pen.
Once we have our stamps in place, we will trace a few lines with the glue Pen.
When you use the glue pen, the glue will come in Blue color.
You know it’s ready to use once it dries Clear.
Put a finger into the sparkles, they will attach to your finger because of the oils you naturally have on it.
Then just go over the glue a few times. You are done once you see all the glue has been covered.
A quick no mess easy way to add some sparkle.
Add as many stamps and decorations as you like.
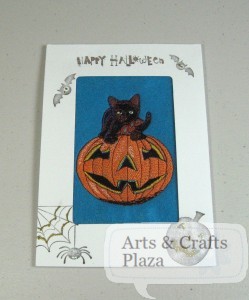
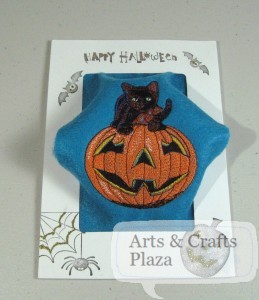
Now it’s time to put your embroidery into the picture frame.
Cut your Embroidery to size and gently tuck it in.
Make sure your embroidery is straight. Secure with a few dabs of glue if needed.
Your project is now complete! enjoy.


Recent Comments