You can find: How to: Polymer Clay beads Mokume Gane Style – Part 1
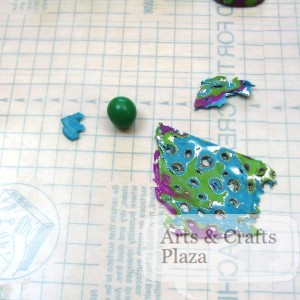
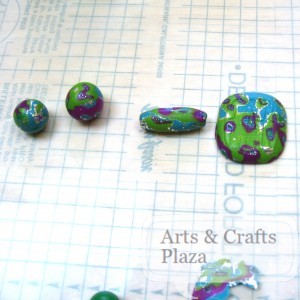
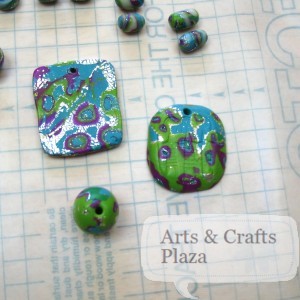
Take the colorful Polymer Clay slices you created and start wrapping your made beads, gently as to keep it’s shape.
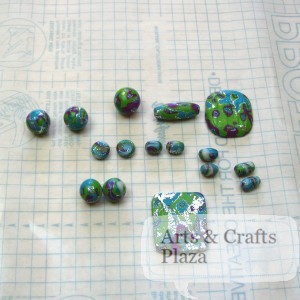
Repeat for as many beads as you want.
Shapes are up to you, from larger pendants to your basic round beads.
You can also make imprints on your newly created beads.
Make sure you make holes in your beads so you can string it or attach with jump ring.
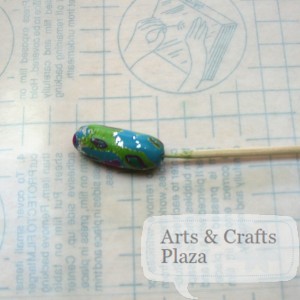
Use a skewer or anything size appropriate to create the holes.
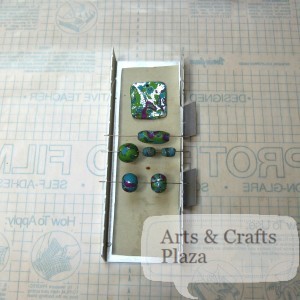
Put your beads on a rack so your beads will retain it’s shape and have even heat on them.
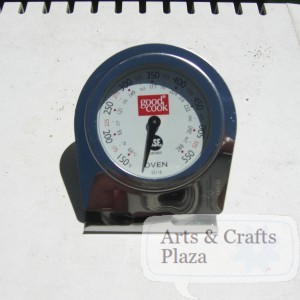
Use oven thermometer to make sure the temperature is actually same as indicted.
Should the temperature be off you can easily burn your Polymer Clay beads.
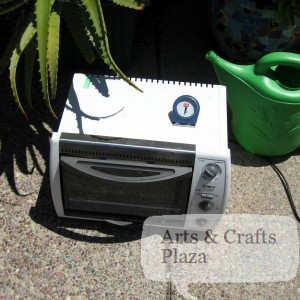
We used an old toaster oven to bake our beads. It is not recommended to use your kitchen oven.
Put your oven outdoors, in the backyard or balcony if possible.
Now it’s time to sand our beads.
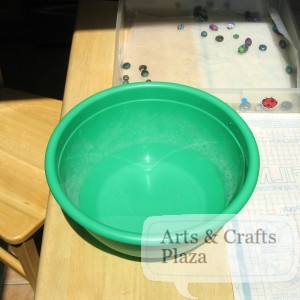
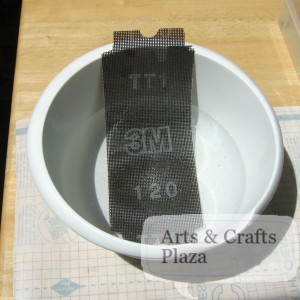
It is better to sand the Polymer Clay beads under water so you are not breathing in the dust.
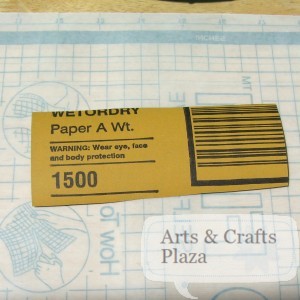
Start of with a more coarse grade sanding paper.
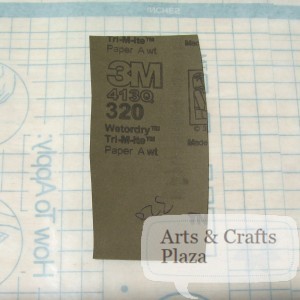
Gradually work your way to a more finer sanding paper.
Keep working on sanding your beads on finer sanding paper for best results.
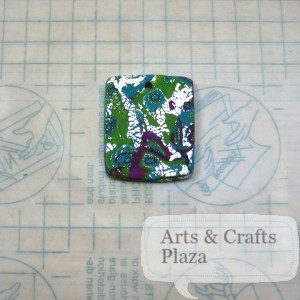
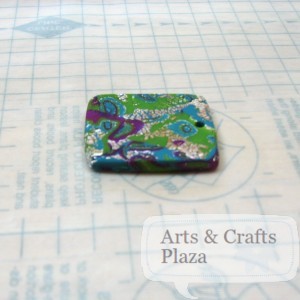
Notice the sides of the pendant are now straight and aligned.
While the top and bottom have a slight curve to them.
The design style is up to you.
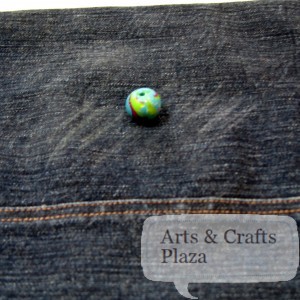
Finish by buffing your beads on an old pair of jeans.
There are different methods to seal your beads.
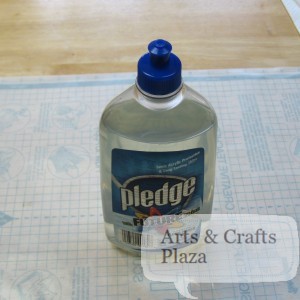
We chose to use Pledge with future shine.
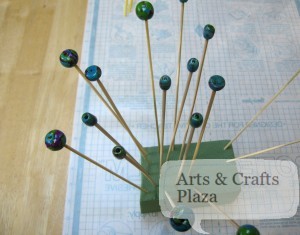
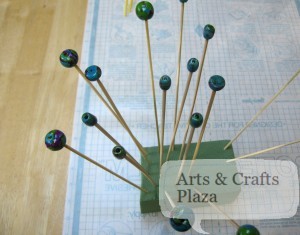
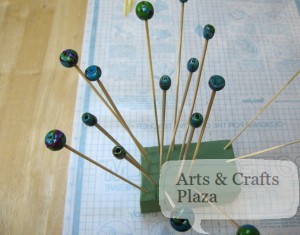
We used floral foam to put our beads on skewers and then using a brush coated them with two layers.
Check product instructions for drying time between layers.
Your Polymer Clay beads are now ready to be used. From Jewelry to decorative projects.
Your project is now complete! enjoy.
You can find: How to: Polymer Clay beads Mokume Gane Style – Part 1






Recent Comments