How To: Paleo Chocolate

 You heard about ‘Paleo Diet’, you are thinking, it sounds interesting BUT then the next thought comes to mind…
I’m going to have to give up on a lot of my favorite foods.
So don’t!
Don’t look at it as giving up on but switching it up.

Who said Chocolate and didn’t get some?
There you go!

Ingredients:

  • 1/2 cup Cocoa butter
  • 1/2 cup Cocoa powder
  • 1/2 tsp. Lucuma powder
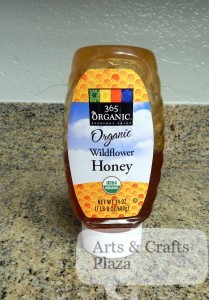
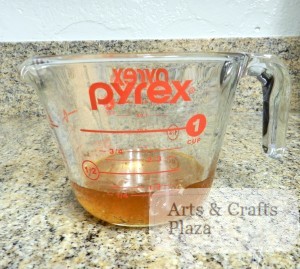
  • 1/4 cup of Honey
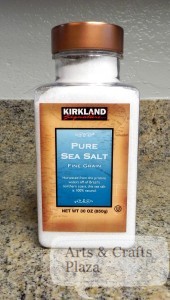
  • dash of Salt

As we are dealing with Chocolate you need to set up double boiler.
What is double boiler? don’t worry no need to go out and buy some new contraption for the kitchen.

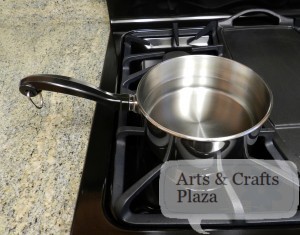
Take any pot and fill it about a 1/3 with water.

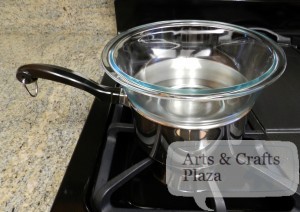
Put a bowl on top, I prefer Pyrex.
There you have it, double boiler!
The idea is you don’t direct heat or the Chocolate will burn.

On to make the Chocolate.
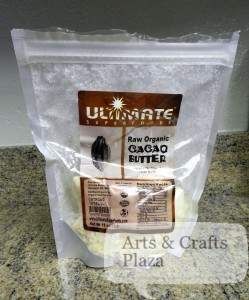
You can get Cacao Butter at ‘Whole foods’ or order online if you can’t find it in your local store.

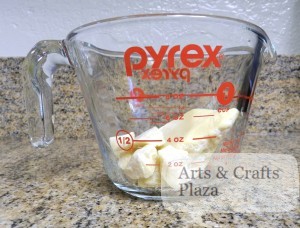
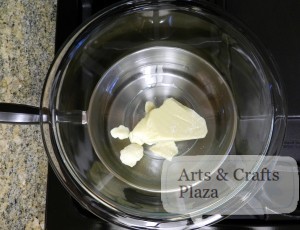
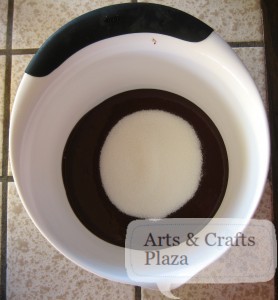
Measure 1/2 cup Cocoa butter, don’t pack it.

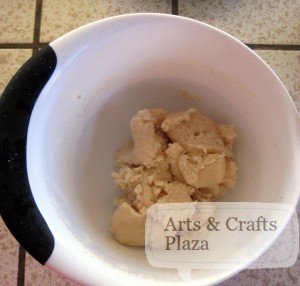
Put Cocoa butter into bowl.

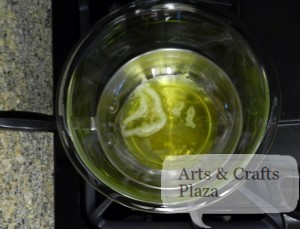
Wait until Cocoa butter melts completely.

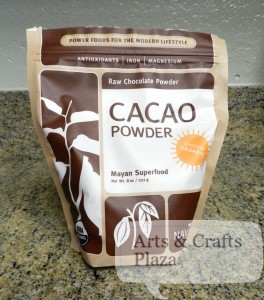
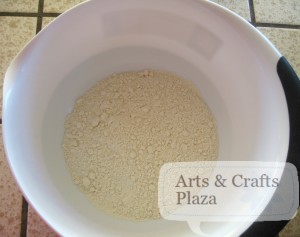
Cocoa Powder, you can find it in the same places.

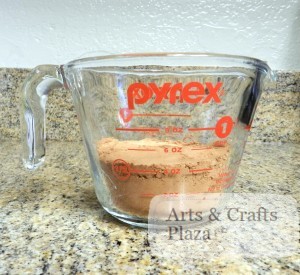
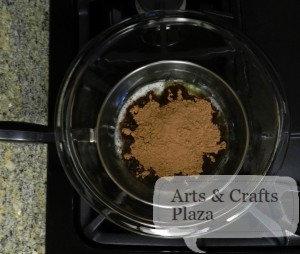
Measure 1/2 cup Cocoa powder.

Add Cocoa Powder to bowl.

At this point you mix.

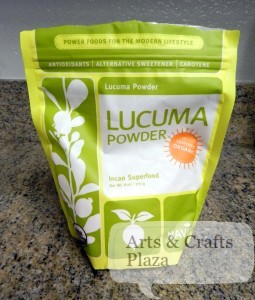
Lucuma powder I was only able to get online (off Amazon.com)
Wondering what is Lucuma powder?
It’s a fruit from Peru.
Adds flavor somewhat like Maple Syrup.

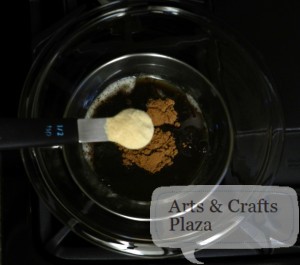
Add 1/2 tsp. Lucuma powder

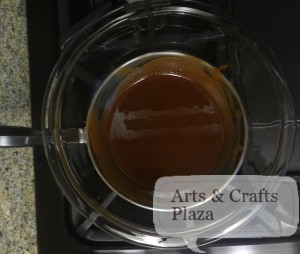
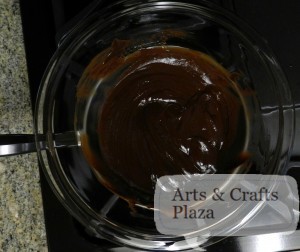
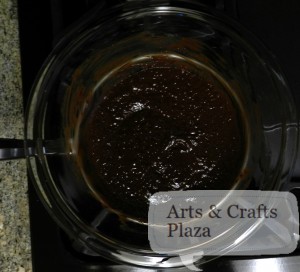
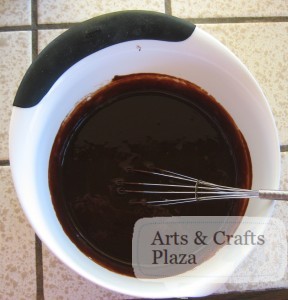
Mix, this is the consistency you should have.

Honey makes everything better!

Add 1/4 cup of Honey to bowl.

Add a pinch of salt.

Mix again.
Your texture is now smooth and you could be done.

You could also decide to add something extra.
How about a pinch of Cinnamon?
Mayans added chili powder to their chocolate.
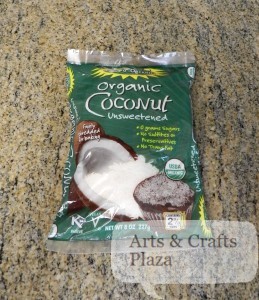
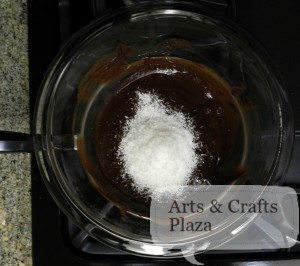
In this case I chose to add unsweetened shredded Coconut.

Adding the unsweetened shredded Coconut changes your consistency to be a little like toffee candy.

Try it see how you like it!
Add a little more or a little less, it’s up to you.

You could use the chocolate as a top for a cake.
Want to just eat it? really?
Why not make it look a little fancy?
Think about those designer chocolate, you can have it all!
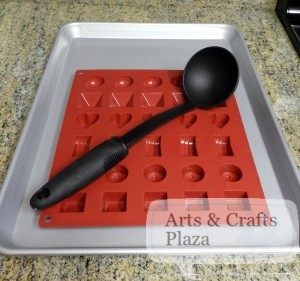
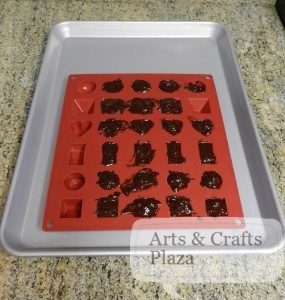
Just get a silicon mold designed for chocolate (you don’t want the ice one’s, this is HOT!)

Use a big spoon so you are not dripping Chocolate all over the place.
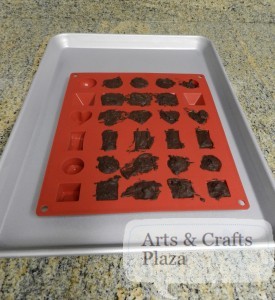
Fill out your molds.
As the Chocolate has coconut it’s not as smooth but it’s so worth it.

Another option, leave your chocolate plain and add things to it in the molds.
Add raisins, Almonds, Macadamia nuts, mix some coconut in just one of the shapes.

Pop it in the freezer for an hour to harden.
Now they will easily pop out of the molds.

So you want to know how it taste too?
AMAZING is how!
More like European Chocolate that just melts in your mouth.

Ok you can eat it….
Don’t “forget” to share it 🙂

Enjoy!

Let’s create something!


Almond-Scented White Cake – Part 2

You can find: Almond-Scented White Cake – Part 1

While you are waiting for the cake to cool, it’s time to turn your attention to the frosting.

Frosting:

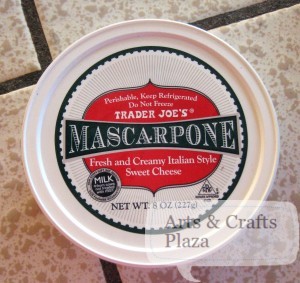
  • 1 cup mascarpone
  • 1/4 cups confectioners’ sugar
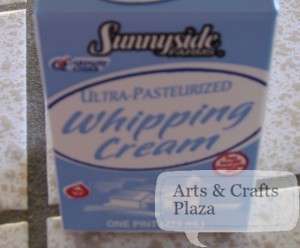
  • 1 1/4 cup heavy cream

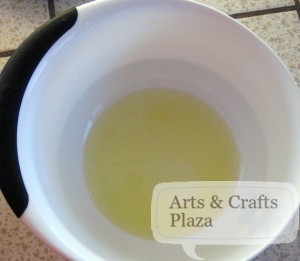
You will need 1 1/4 cup heavy cream.

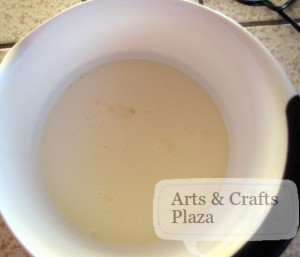
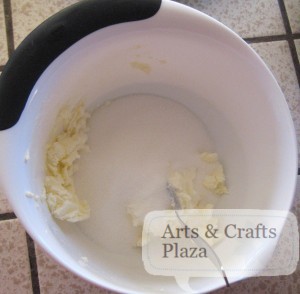
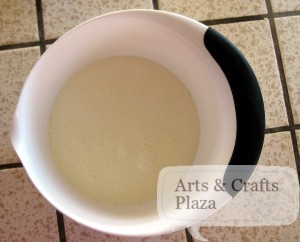
Pour heavy cream into a bowl.

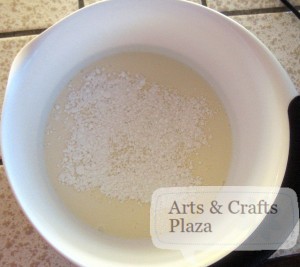
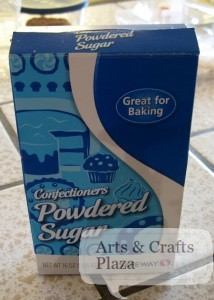
Add 1/4 cups confectioners’ sugar.

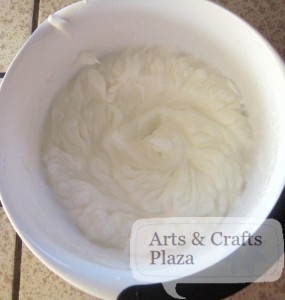
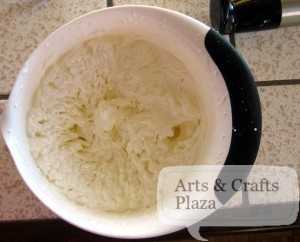
Whip together using an electric mixer set on medium-high speed.

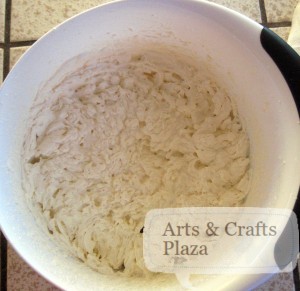
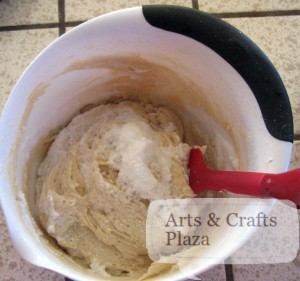
Fold in 1 cup Mascarpone.

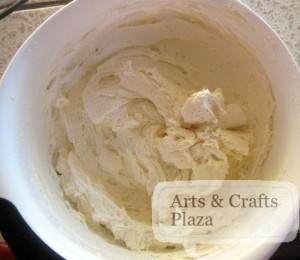
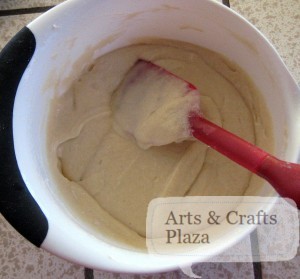
How the frosting should look.

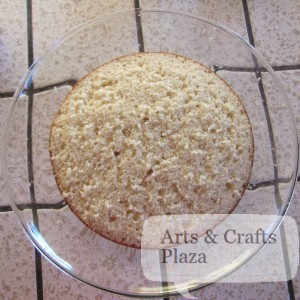
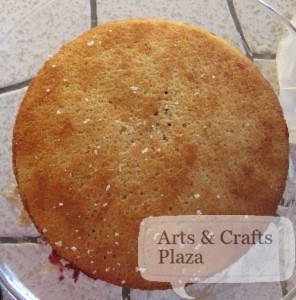
Both cakes will need to be cut in half.
Use a long serrated knife, cut each cake in half horizontally.

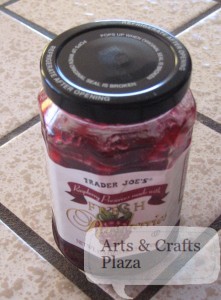
We elected to use Raspberry preserve.

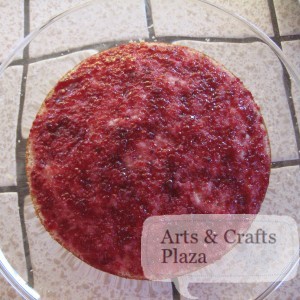
Place half a cake on a plate and spread with Raspberry preserve.

Spread some of the frosting on top.

Place second half of cake on top.

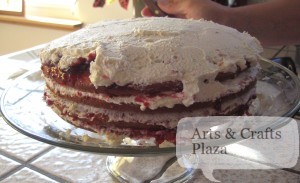
Repeat for all layers.

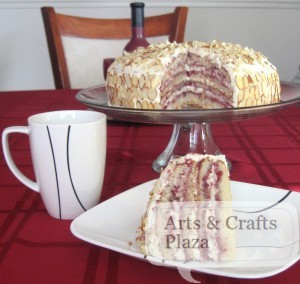
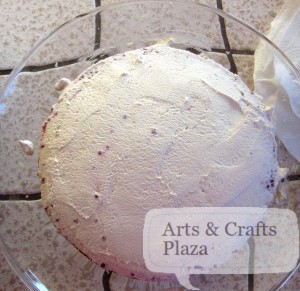
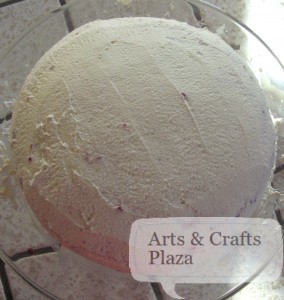
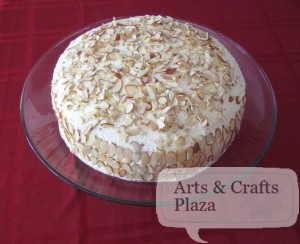
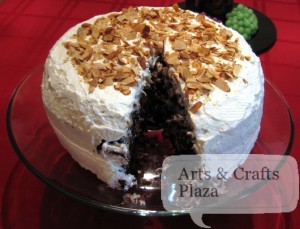
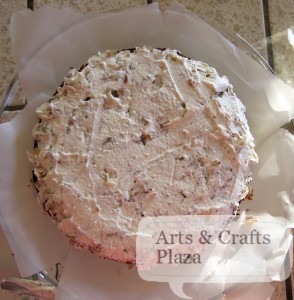
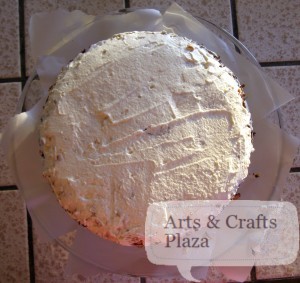
Spread the remaining frosting over the top and sides.

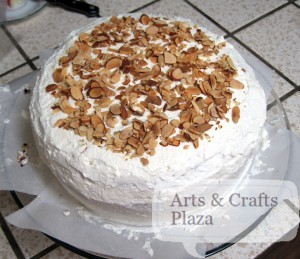
Press the toasted almonds onto the sides and sprinkle on top.
Clean edges of cake plate.

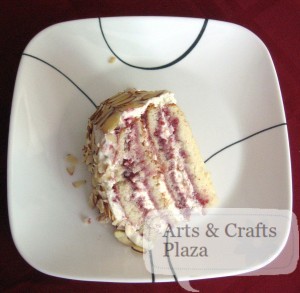
Time for taste test…
Cut a piece and enjoy!

Serve immediately, or cover with a cake dome and refrigerate for up to 1 day. Bring to room temperature before serving.
Makes one 9-inch cake; serves 10 to 12.

You can find: Almond-Scented White Cake – Part 1

Let’s create something!

Almond-Scented White Cake – Part 1

You can find the original recipe from Williams-Sonoma:
http://www.williams-sonoma.com/recipe/almond-scented-white-cake.html
In this case we changes it up and choose to use different frosting

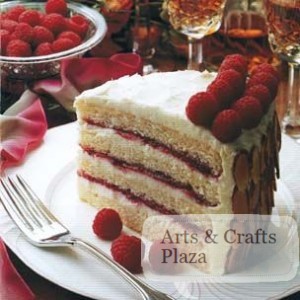
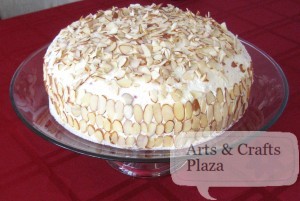
Picture from Williams-Sonoma

Ingredients:

  • 2 cups unbleached all-purpose flour
  • 1 Tbs. baking powder
  • 1/2 tsp. salt
  • 12 Tbs. (1 1/2 sticks) unsalted butter, at room temperature
  • 1 1/2 cups sugar
  • 2 tsp. vanilla extract
  • 1 tsp. almond extract
  • 1 cup milk
  • 5 egg whites, at room temperature
  • 3/4 cup raspberry preserves, melted
  • Raspberries (optional)
  • 1 1/4 cups sliced almonds, lightly toasted and cooled

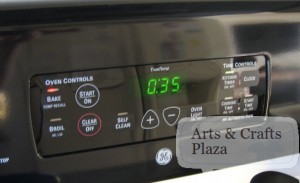
Preheat oven to 350ºF.
Start of with two 9 inches and 1 1/2 inches deep cake pans.
Butter and flour the cake pans.

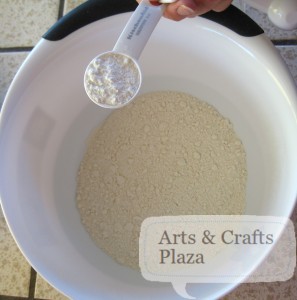
In a medium bowl, sift 2 cups unbleached all-purpose flour .

Add 1 Tbs. baking powder .

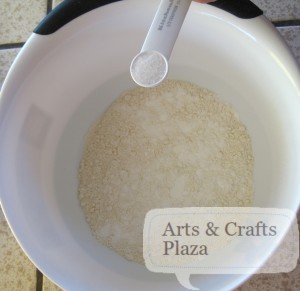
Add 1/2 tsp. salt.
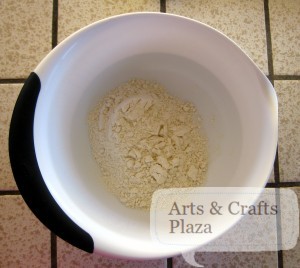
Mix all together.

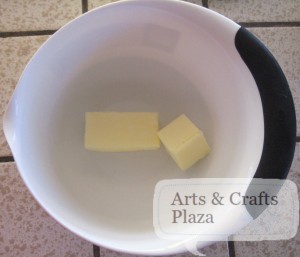
Put 12 Tbs. (1 1/2 sticks) unsalted butter, at room temperature to a large bowl.

Use an electric mixer set on medium-high speed, beat the butter until light.
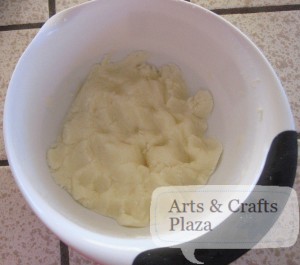
Gradually add 1 1/2 cups sugar.

Beat until well blended.

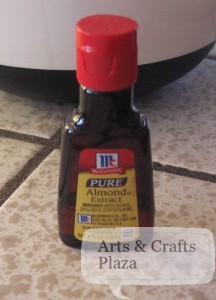
Beat in 1 tsp. almond extract

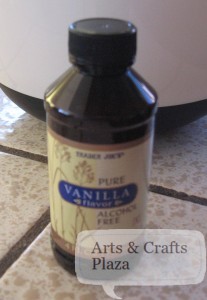
As well as, 2 tsp. vanilla extract.

Once you get a nice consistent blend, Reduce the speed to low.

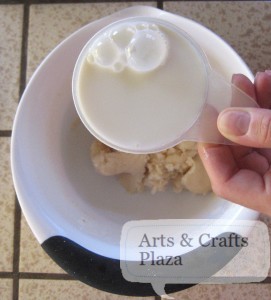
Alternate adding from 1 cup milk.

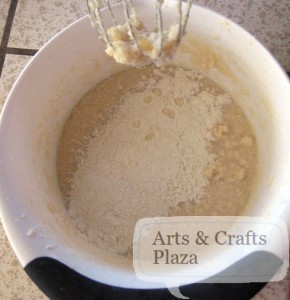
And the flour mixture into the butter mixture

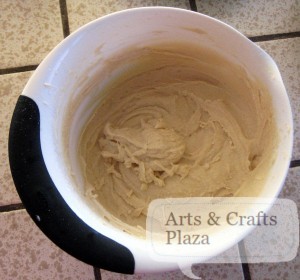
Work it until combined.

In a large bowl, use an electric mixer set on high speed, on 5 egg whites, at room temperature.

Beat egg whites until stiff peaks form.

Use a rubber spatula, gently fold the beaten egg whites into the batter.

Continue until it’s incorporated.

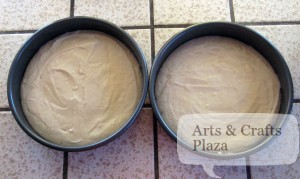
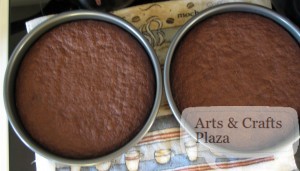
Divide the batter between the prepared pans; smooth top with the spatula.

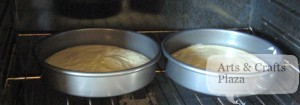
Bake in oven for about 30 minutes at 350ºF.
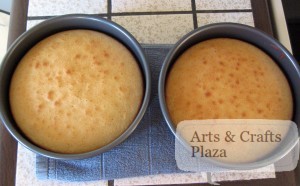
Cakes are ready once a toothpick inserted into the centers comes out clean.

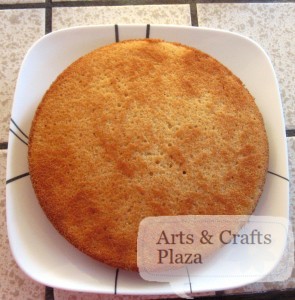
Transfer to racks and let cool in the pans for 10 minutes.
Use a sharp knife around the pan sides to loosen the cakes.
Invert onto racks and let cool completely.

You can find: Almond-Scented White Cake – Part 2

Enjoy!


How To: Almond Joy Layer Cake – Part 2

 You can find: How to: Almond Joy Layer Cake – Part 1

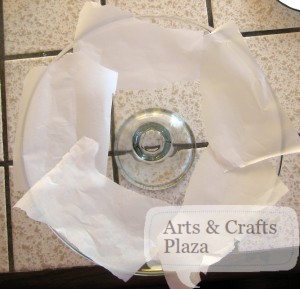
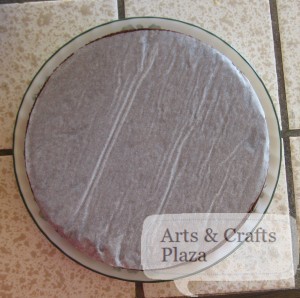
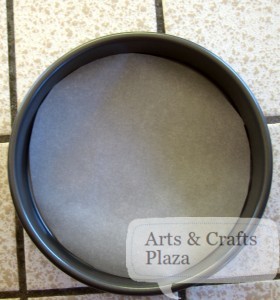
Place parchment paper around your cake stand.
It will keep your surface clean.
After you’re done decorating the cake just pull out.

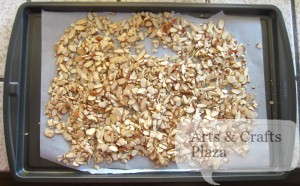
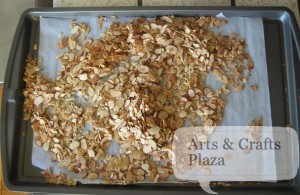
Use the time until the cake cools down to spread the almonds on a baking sheet and let it toast for 12 minutes.
Once done, let cool.

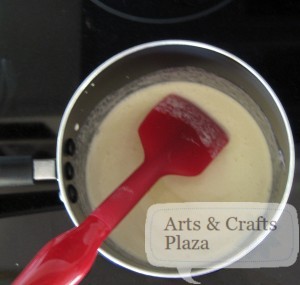
In a saucepan, combine 3/4 cup cream.

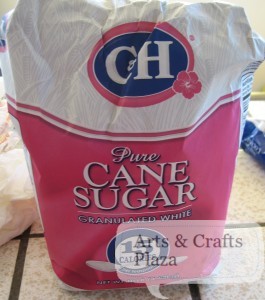
Add 1/4 cup granulated sugar.

Add a pinch of salt, let simmer, stirring, over medium heat until the sugar is dissolved.
Should take approximately 3 minutes.

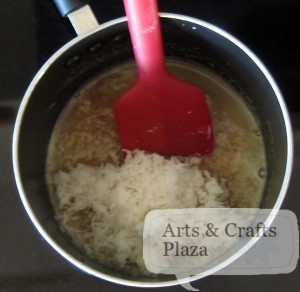
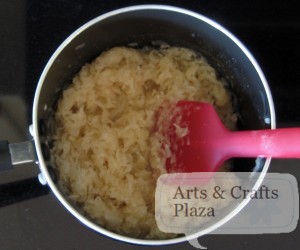
Remove from heat and stir in 2 tsp. vanilla and 3 packed cups coconut.

Fold until get a consistent mix.

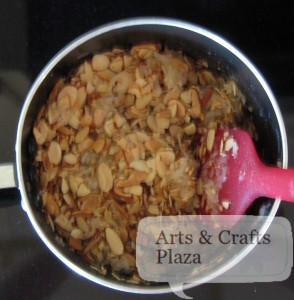
When cool, fold in 1 1/2 cups almonds.

Keep folding until you get a consistent mix.

We deviated from the recipe here by making the weeped cream at this point.
Use 2 1/4 cups cream.

Put in a bowl or a mixer bowl.

Add 1/3 cup confectioners’ sugar.

Whip until stiff.

Place you cake on a flat surface.

Remove parchment paper.

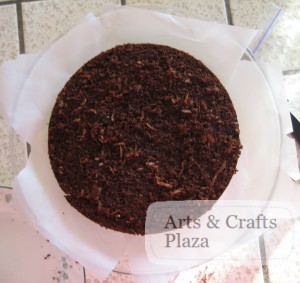
Split the cake layers to make 4 layers.
Cut each cake to 2.
We used Rachel Ray’s tip on how to cut and it worked like a charm:
“Use a long serrated knife to slice about 1 inch into the layer, turning as you cut, until you’ve gone all the way around.
Repeat, cutting deeper into the layer until it’s evenly sliced in half.
(Rookie mistake: trying to slice straight through— crooked city!)”

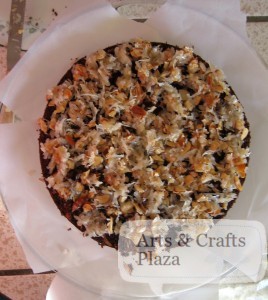
Place 1 layer cut side up on a cake stand and spread with 1 cup of the coconut-almond mixture.

We deviated from the recipe by adding some of the whipped cream on top of the coconut-almond mixture between each layer.

Place the second layer cut side down and spread with 1 cup more of the mixture and whipped cream.

Repeat with the remaining cake layers and filling.
Cover the cake with plastic wrap and refrigerate for 4 hours to firm up.

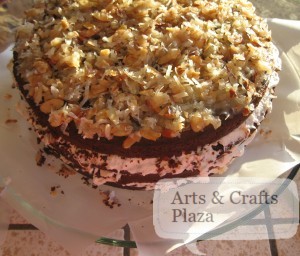
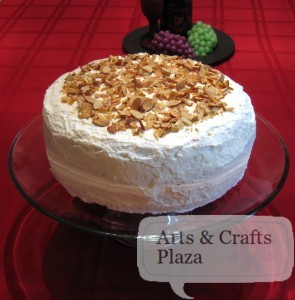
Sprinkle the top with remaining almonds.

Remove parchment paper from around your cake stand and wipe any access cake.

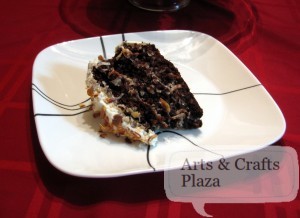
Finally the cake is done and looking beautiful, like a work of art.

Time for taste test…

This is one of the best cakes we’ve ever tasted.
The birthday girl thought the same 🙂

Enjoy!

 You can find: How to: Almond Joy Layer Cake – Part 1

Let’s create something!

How To: Almond Joy Layer Cake – Part 1

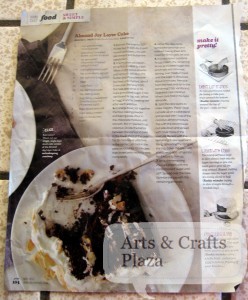
My friend saw this cake in the magazine and we thought we’d give it a go.
This is a test run before her cute little daughter’s birthday.
With Valentine’s Day fast approaching you may want to make this amazing cake for your sweetheart!

To see the article online on Rachael Ray magazine:
http://www.rachaelraymag.com/Recipes/almond-joy-layer-cake

Ingredients

  • 2/3 cup unsweetened cocoa powder
  • 1 stick (4 oz.) unsalted butter, cut into 8 pieces
  • 3 oz. semisweet chocolate, chopped (about 1/2 cup)
  • 2 1/4 cups granulated sugar
  • 4 tsp. pure vanilla extract
  • 1/2 tsp. salt plus a big pinch
  • 3 eggs
  • 1 1/2 cups flour
  • 1 1/2 tsp. baking powder
  • 1 tsp. baking soda
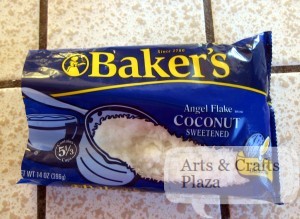
  • 1 bag (14 oz.) sweetened shredded coconut (4 packed cups)
  • 2 cups sliced almonds
  • 3 cups heavy cream
  • 1/3 cup confectioners’ sugar

Start off by Preheating your oven to 325°.
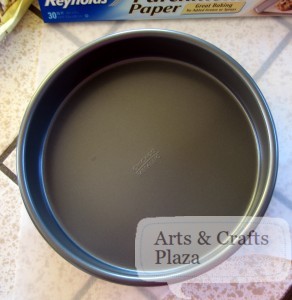
Use two 8-inch-by-2-inch round cake pans.

Place your cake pan over the parchment paper and mark.
(bottom of the cake pan)

Cut and place parchment paper inside both cake pans.
Butter the parchment paper.

Bring 2/3 cup water to a boil, in a medium saucepan.
Whisk in the 2/3 cup unsweetened cocoa powder until smooth.

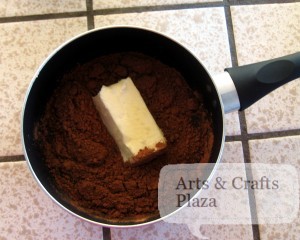
Whisk in the butter 1 stick (4 oz.) unsalted cut into 8 pieces

We forgot to cut the butter, but that’s ok it’ll be just fine.

Whisk in the 3 oz. semisweet chocolate over low heat until melted.

Should take, about 2 minutes but since we forgot to cut the butter it was more like 4-5 minutes.

Almost there…

Remove from the heat.

Whisk in 1 1/2 cups granulated sugar

We chose to use a separate bowl instead of the saucepan.

Add 2 tsp. vanilla and 1/2 tsp. salt.

Add 3 eggs.
Whisk in 1 egg at a time.
Beat it well after each egg addition.

Mixture should look like this.

In a large bowl, stir together the 1 1/2 cups of flour.

Add 1 1/2 tsp. baking powder.

Add 1 tsp. baking soda

Pour in the chocolate mixture until smooth.

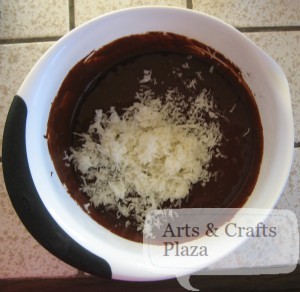
Stir in 1 packed cup sweetened shredded coconut.

Mix it together.

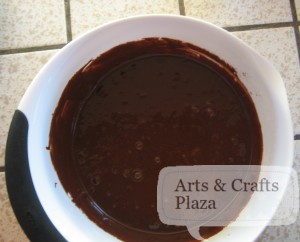
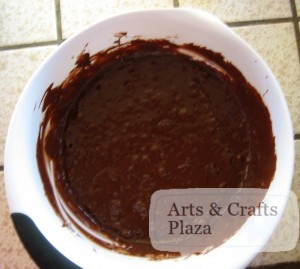
Mixture should look like this.

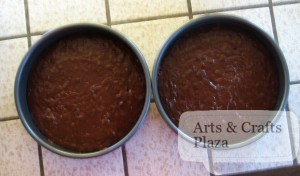
Divide the batter between the two cake pans.

Bake on 325° in the lower third of the oven for 35 minutes or until firm in the center.

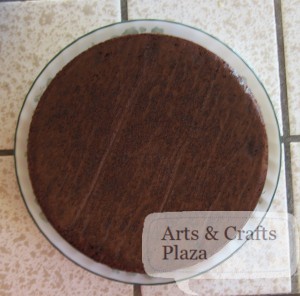
Let cool in the pans on racks for 10 minutes, then invert onto racks to cool completely.

You can find:How To: Almond Joy Layer Cake – Part 2

Let’s create something!

Celebration of Craftswomen San Francisco

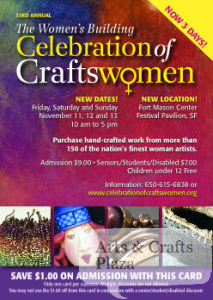
Celebration of Craftswomen took place in November 11-13, 2011, San Francisco.
Bask in the view of San Francisco when you come to this festival.
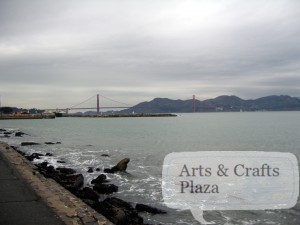
It began in 1976 as a small crafts show.
For the past three decades, The Women’s Building Celebration of Craftswomen has allowed Bay Area residents, along with visitors of San Francisco from throughout the world, to discover the work of the nation’s best female artisans and fine artists.
Celebration of Craftswomen is the largest event celebrating the craft of women in the nation.
www.celebrationofcraftswomen.org

To follow on Facebook:
www.facebook.com/celebration.craftswomen
Among the contemporary and traditional handcrafted items you can fine:
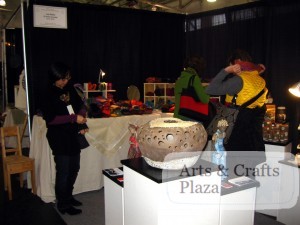
Functional and decorative ceramic and glass vessels.
Sculpted wood and works of metal.
Polymer  clay, beaded, stone and precious metal jewelry.
Women, painted silk, leather clothing and wearable.
Home Furniture and accessories.
Fine art sculpture.
Photography.
Watercolor and oil paintings.
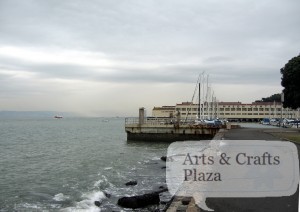
Don’t miss the hidden treasures as you walk by them, such as, Greens Restaurant, Fort Mason in San Francisco for some beautiful bayside vegetarian dining.
www.greensrestaurant.com
The Oatmeal raisin cookie was to die for!
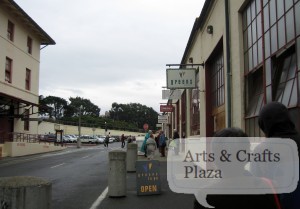
THE WOMENS BUILDING (TWB) is a multi-service community center whose mission is to provide women and girls with the tools and resources they need to achieve full and participation is society.
The Women’s Building is located at 3543 18th Street in San Francisco.
For information call 415-431-1180 or visit www.womensbuilding.org

Always ask the artist permission to take a picture of their booth and/or individual item.

A recap of select booths:

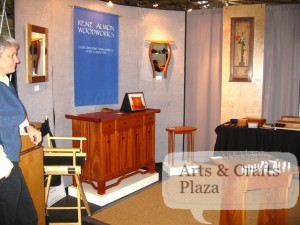
Rene Almon Woodworks, her inspiration comes from organic shapes and the wood itself. Building long lasting quality furniture, pleasing to the eye and inviting to touch.
www.renealmonwoodworks.com
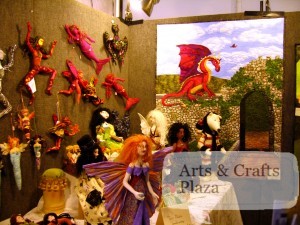
Alexandra Von Burg, creating Fairy Tale imagery with soft sculptured dolls and fiber paintings
Look for her workshops to hone the art-making skills that enhance anyone’s natural talent.
www.alexandravonburg.com
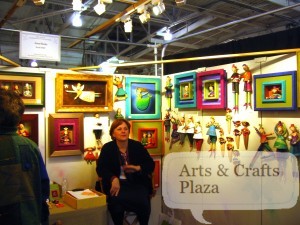
Anne Klocko, produces different types of artwork, Vinyl Clay Artwork, Figurative Sculpture and Ceramic Sculpture are whimsy original works of art.
www.anneklocko.com
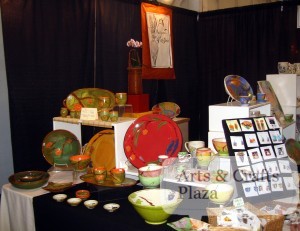
Margaret Grisz-Dow, passionate about art, her ceramic work & drawing she is integrating these by making incised drawings on the surface of her clay pieces.
Teaching  in a relaxed aesthetic environment, which is often in her own beautiful home studio.
Contact: mgriszdow@yahoo.com
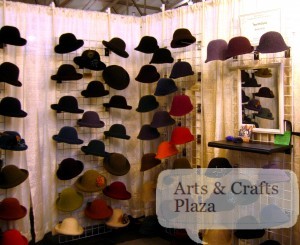
Tess McGuire, hats are knitted on a knitting loom out of wool yarn and then felted using hot water, soap and friction to turn a loosely knitted fabric into a warm, solid, and virtually waterproof garment.
www.tessmcguire.com
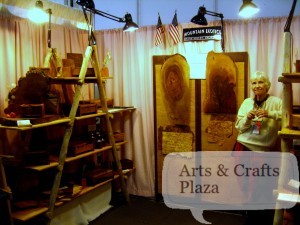
Mountain Exotics, taking the beauty, texture of wood to form our unique products.
We create heirlooms from ‘Tree to Street.
www.mountainexotics.com
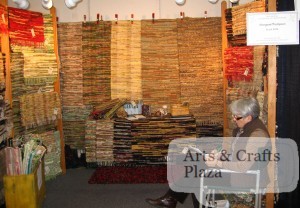
Monterey Fiber and Design by Margaret Thompson
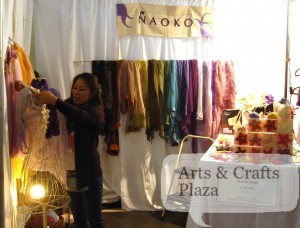
Naoko, Creating botanically themed felt and glass Jewelry.
10% of sales are donated to humanitarian non profit organizations.
www.naokonojiri.com
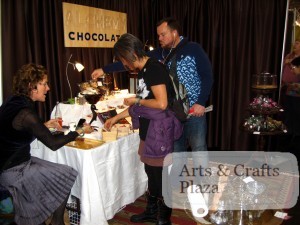
Alchemy, Fine chocolate, pastry, & baked delicacies, Savory catering, Classes.
www.facebook.com/pages/Alchemy/130946720282942
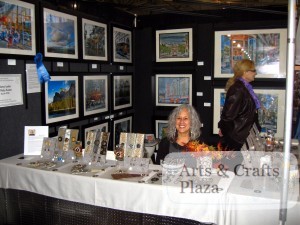
Ruxton Designs, mixed media art, vintage buttons, metal hardware, felt all combined in a unique way by Nicky Ruxton.
www.ruxtondesigns.com

Sharing a booth with Laube photography, a joyful rendition of California by Nancy Laube.
www.nancylaube.com
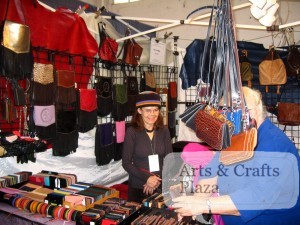
Large Leather is a beautiful store in Sonoma, California.
Choose from in house designs to custom orders, by Paul Terwilliger and Jessica Zoutendijk.
www.largeleather.biz
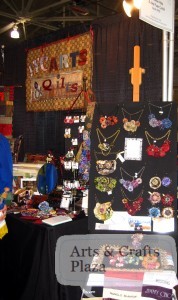
JYC Arts, Fine Arts painter, Illustrator, Fiber artist as well as Jeweler and quilter.
Working with non traditional fabrics in traditional ways.
www.janecorich.com
Janice Cormier, functional and non functional ceramic art, sculptural vessels, figurative sculpture, small series of functional pottery, and Jewelry.
www.janicecormier.ca
Sharing a booth with Judy Beebe Designs, Merino wool scarves and gloves.
Creating elegant, comfortable, neck pieces with rich texture & color.
www.etsy.com/shop/judybeebedesigns
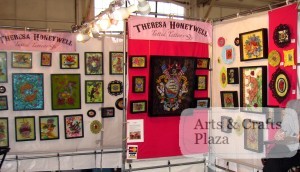
Theresa Honeywell, provocative imagery and macho icons are rendered into delicate and beautiful pieces of art.
Her inspiration comes in the contrast between art and craft, macho and feminine.
www.theresahoneywell.com
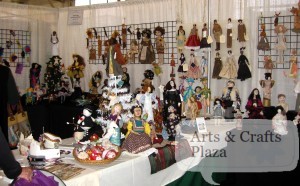
Booths 421-422 is a collaborative mixture of a group of women, a web site is in the pipe line.
To contact the artists directly:
Wanda Fudge, wfudge@peoplepc.com
Colleen Ehle Patell, mixed media figurative art, www.wildwackywomendesigns.com
Suzanne Duran, artist, miblu3@yahoo.com
Mary Porter Vaughan, fine art dolls, www.mpvdolls.com
Donna Perry, art dolls, mixed media artist, dreamandplay.blogspot.com
Zanaib Nia, artist, zniagreen@yahoo.com
Stephanie Smith, doll maker, smitharts@yahoo.com
Bonnie Hoover, Whimsical cloth doll creations, bondonhoov@sbcglobal.net
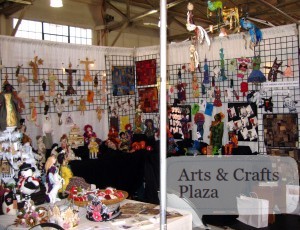
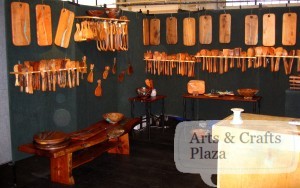
Tree Stump, Master wood artisans Christine and Ron Sisco prove Fine Art can be functional.
In addition to custom furniture, their most popular pieces are spoons and bread boards.
www.treestump.biz
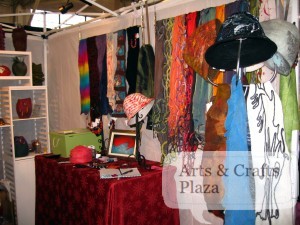
Santa Barbara Felted Fibers, wearables fiber Art, soft and billowy, exciting and sometimes just wild and crazy.
www.sbfeltedfibers.com
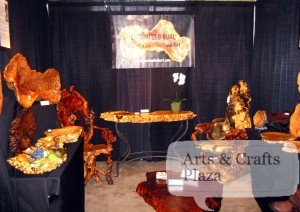
Enchanted Burl, Burls form as an outgrowth on the trunk of a tree and/or within the root system transformed to tables, chairs, lamps, clocks, vessels and serving platters.
www.enchantedburl.com
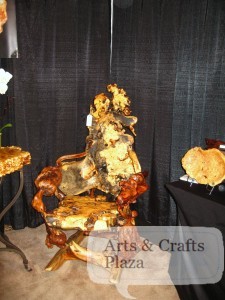
A close up look on this gorgeous crafted chair.
The vessels have been used as food servers, three-dimensional wall art, center conversational pieces, and even spiritual baptismal vessels.
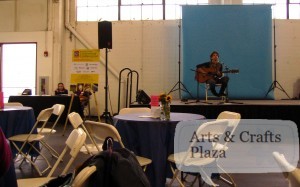
Browse the list of the entertainment schedule that was offered at the rear stage
www.womensbuilding.org/craftsfair/Womens_Building_Craft_Fair/ENTERTAINMENT.html
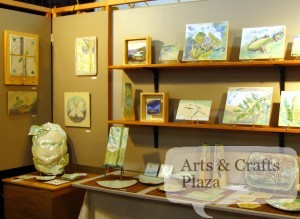
Zola De Firmian, Fine Art Ceramics and tile design, one-of-a-kind porcelain and stoneware pieces are hand-built, or cast, then carved, using simple molds of own design.
Project Greenheart, First, 10% of sales go to support programs that connect youth with art and nature.
www.zinfusionz.com
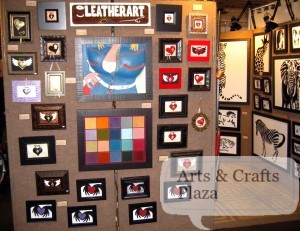
Dawn Mountain LeatherArt, creating and designing original Leatherart pieces.
Decorative techniques such as trapunto, pleating, weaving, and beading are frequently used on one-of-a-kind pieces
www.dawnmountainleatherart.com
FOR INFORMATION ABOUT THE SHOW CONTACT:
TEEVAN PRODUCTIONS
1557- 15TH AVE.
SAN FRANCISCO, CA 94122
PHONE: (650) 615-6838
FAX: (415) 731-6794
EMAIL: CRAFTSWOMEN@GMAIL.COM

Hope you enjoyed Celebration of Craftswomen!
Didn’t make it this year? Try and make it to next year.

All pictures were taken after approval by the artist.

Let’s create something!
 

Lebanese Festival

A friend came across a flier to the 1st Lebanese Festival. Thanks T!
Armed with a camera, here is what you missed, or did you?

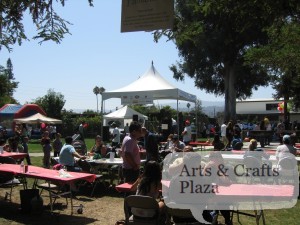
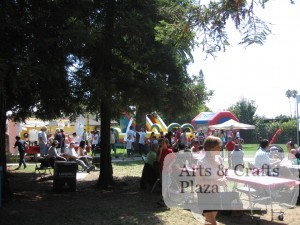
Bouncing houses for the little ones.

Various performances along with a mock traditional wedding.

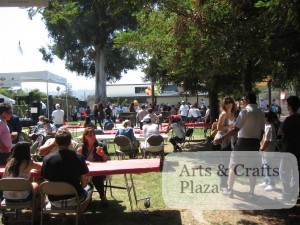
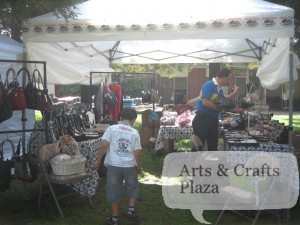
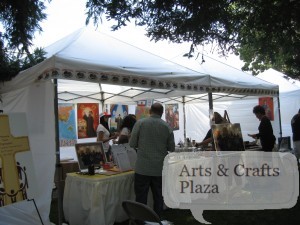
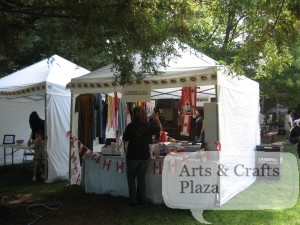
Check out the different booths.

A nice selection of gaming booths

Face painting anyone?

Fun prizes

One of the booth with variety of drinks.

Nice selection of traditional foods

Of course the desert is a must

You can check out more information about the Lebanese Festival.

Keep an eye out for next year’s event!