Bernat Show Us Your Pompoms Contest

Put a pompom on it – share your favorite pompom creation for the chance to win $75 of Bernat On the Fringe!

To Enter

Take a photo of a project you’ve made that uses pompoms – knit, crochet, or other crafts.
Like the Bernat facebook page.
Upload your photo on Bernat facebook page by midnight EST on November 8, 2012.
http://apps.facebook.com/offerpop/Contest.psp?c=226446&u=59996&a=254553244581393&p=187159738082&rest=0&v=Submit

Open to 18 years of age and resident of the U.S. (contiguous states only) or Canada.

To Win

Voting opens 1 am on November 8 and closes at 11:59 pm November 14.
Anybody who has liked the Bernat facebook page is eligible to vote.

The Prize

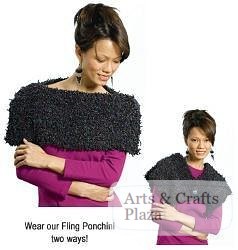
You could win 12 balls of Bernat On The Fringe, the ideal yarn to keep you chic in today’s faux fur trend!

Voting

Voting ends 11:59 pm EST on November 14, 2012.
You may vote once a day for each entry.
Voting for multiple entries is allowed.

Enjoy!

Let’s create something!

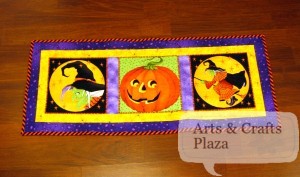
How To: Sewing Halloween Table Runner

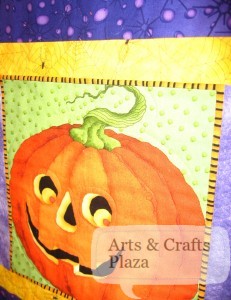
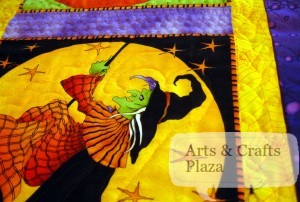
Halloween is a fun holiday not to mention colorful.
When a friend bought this Table runner with Halloween theme, I thought perfect!

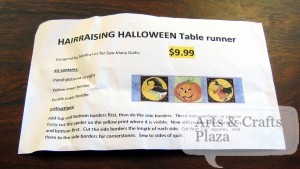
In the package you have instructions.

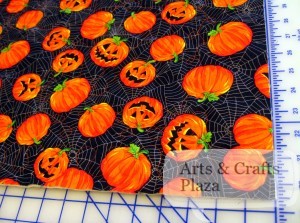
As well as fabric for the top of the table runner.
There are things that are not included (typical) as it is your choice on what you may want to use.
Not included: batting, backing fabric and binding (all optional).

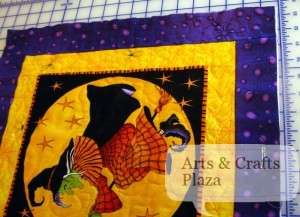
You want to start by pressing everything so it’s straight.
Press iron down don’t move it on fabric as not to stretch fabric.

Make any markings you need to help guide you as you sew.
Use chalk or erasable pen.
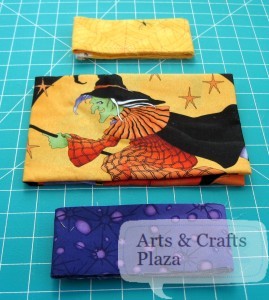
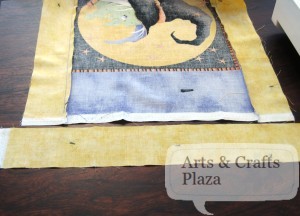
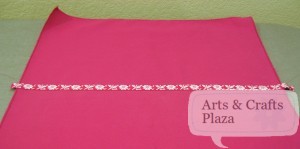
I am using the Black/Orange border as my sewing guide.
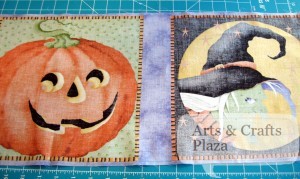
I wanted a “connecting line” between the borders.

You can select to chose which color you want to use first as they are the same length (Yellow or Purple)
I chose to start with the Yellow for more contrast but it’s up to you.
The instructions are only a guide line.
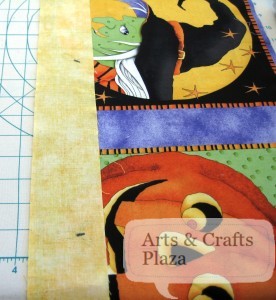
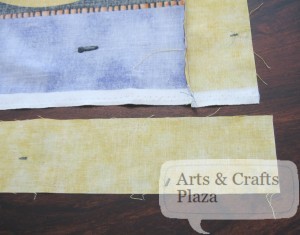
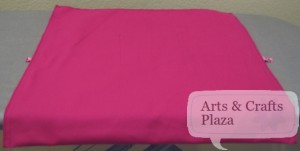
Put right sides of fabric facing together and sew.

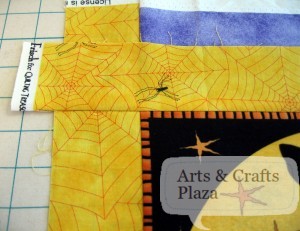
How the sewing line should look on right side of main fabric.

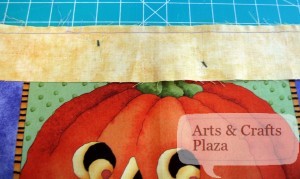
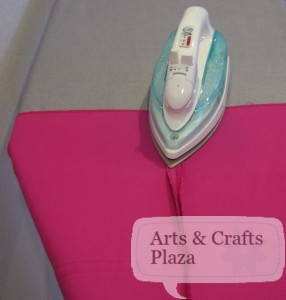
You want to iron your seams.
Always iron to the darker side of your fabric.

Repeat on other side.
This is how it should look from back side.

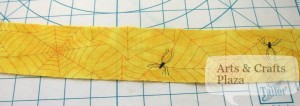
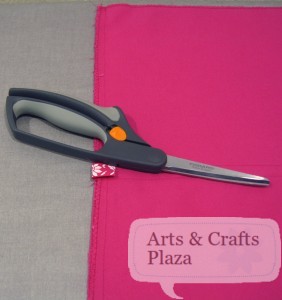
As you get 3 long stripes of fabric (Yellow and Purple) you need to trim it to size.

You don’t have to be exact and as long as you cut it just a little longer you’re good.
You could get a little fancier and add cornerstones.
You could mix and match your 2 colors.
I didn’t think it needed that, so I kept it simple.

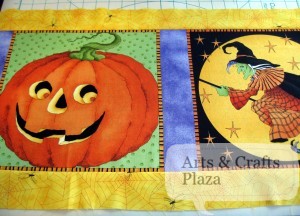
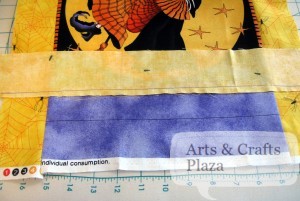
Decide where you want to position the sides.
I decided to stay with the border but you have extra fabric so you can chose to make your table runner longer.

Iron again.

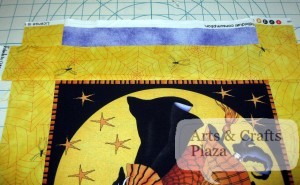
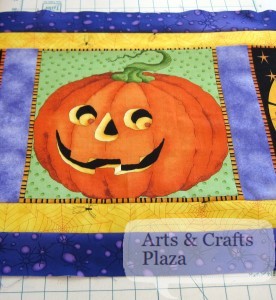
A close up look at the corners.

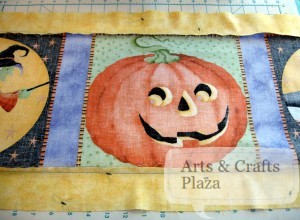
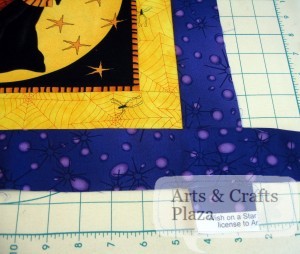
Repeat process with Purple strips of fabric.

Close up look at corner.

At this point you have options.
You can turn raw edges under, sew and be done.
You can buy ready made biding.

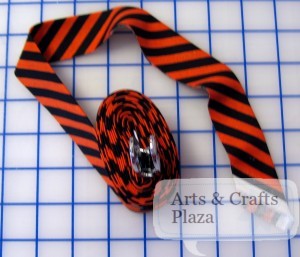
I chose to make my own biding using Halloween color fabric.
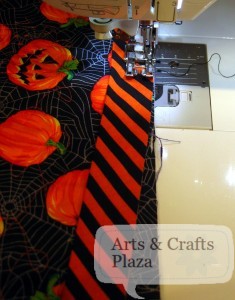
It’s stripes of Orange and Black cut on bias so lines are diagonal.

Cut to size your favorite type of batting.
Cut to size your selected fabric for backing.
Attach with pins until you are done
Cut access fabric and batting.

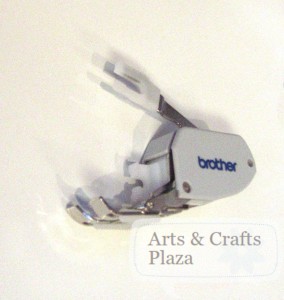
You may want to use a walking foot.
As it will help with moving all layers of fabric nice and smooth.

Every batting package will tell you how wide your stippling needs to be.
Usually, around 4-5 inches apart.
That means you don’t have to stipple every little square inch.

You can use stippling as a decorative feature.
You can stipple all your colors the same way.
You may choose to stipple every color different and create something more unique to you.

Decide what thread color you want to use.
Have a dominant color and you don’t want your stippling to show, chose that color.
You could use a contrast color and make your stippling even more of a feature.
Another option is to use clear thread.
You are the designer!

A look at back fabric, already have some stippling going.


You could saw your back fabric and turn it and then do your stippling.
I chose to use binding.

Not sure how to make your own binding?
How to attach your binding?
What to do with those corners?
Look for future posts to answer all these questions!

Have a fun and safe Halloween!

Enjoy!

Let’s create something!

How To: Make a Button Using Your Fabric, Self Cover Buttons

You want to create your own buttons so it will match your design perfectly, what do you do?
Use Self Cover Buttons!

Instructions are simple and located at back of packaging.

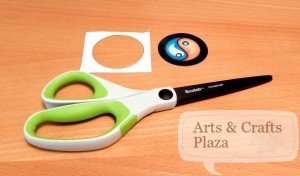
Trace the right size circle to match the size of your button.
You can use a scrap peace of tracking paper.

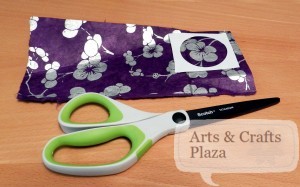
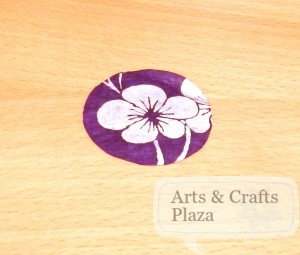
Audition your circle on a small piece of fabric, trace and cut.

Now that you have your fabric circle, turn it so the right size of the fabric will face down.

Put button on top of your fabric.
The teeth are sharp so be careful not to hurt yourself.

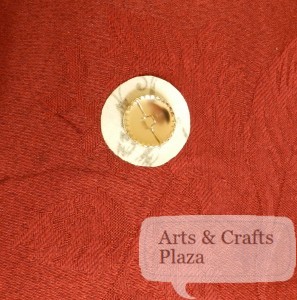
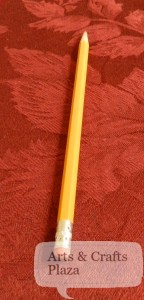
You may want to use a pencil with an eraser to push the fabric into the teeth.

Start pushing your fabric into the teeth, first on opposite sides.

Then all the way around.

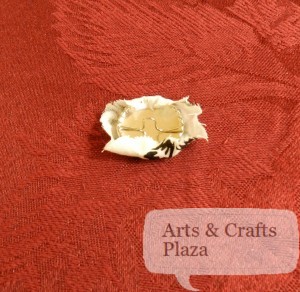
Put back plate on top.

Push down.

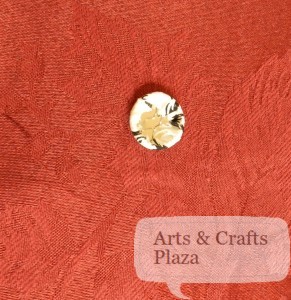
It will snap into place.

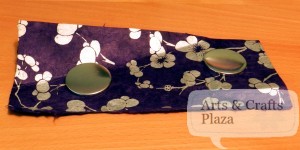
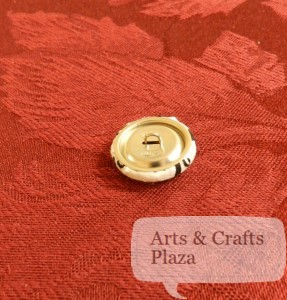
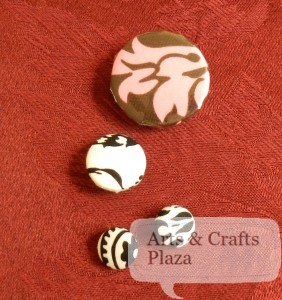
You are now the proud owner of your very own unique button!

To view another technique of how to create your own button: How To: Button Maker
To view another technique of how to create your own button: How To: Make a Button Using Your Fabric

Enjoy!

Let’s create something!

How To: Make a Button Using Your Fabric

You created a gorgeous buttoned down shirt and you want to create your own buttons using your own fabric, what to do?

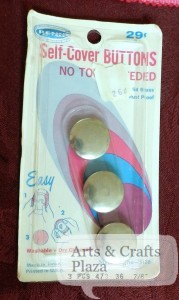
Get Buttons to Cover!

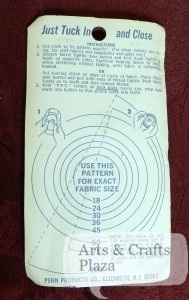
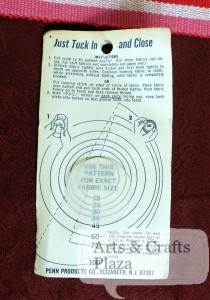
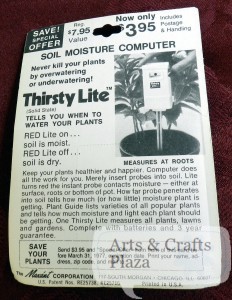
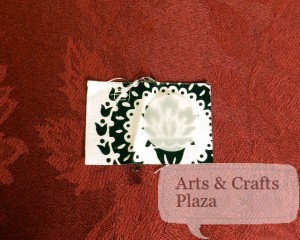
A look at back of packaging.
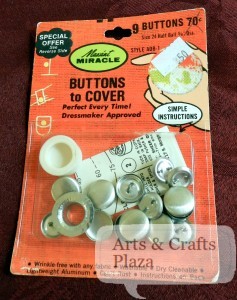
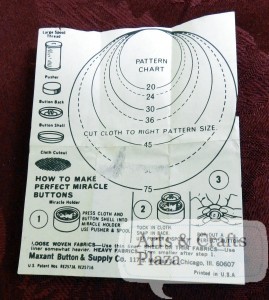
This is an old package with some advertising on it.

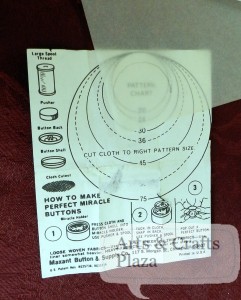
The instruction paper inside.

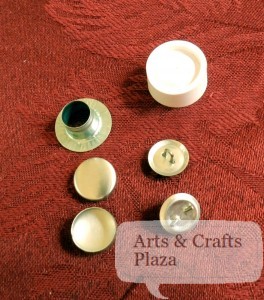
The parts you will use.

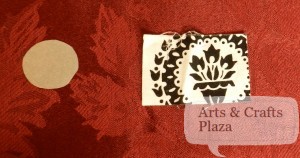
Use a paper to trace the size circle/button you would like.
You can use a scraps tracing paper from a pattern you use.
Cut out your circle pattern.

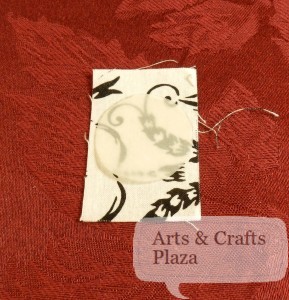
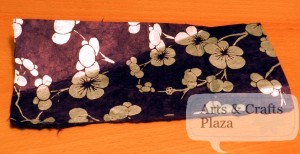
Use only need a very small piece of fabric.

See which part of the print you would like to use as the front of your button.

Trace and cut your circle from your fabric.

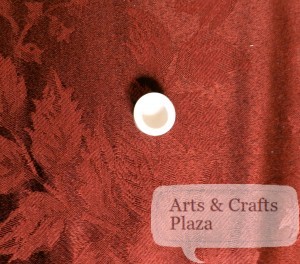
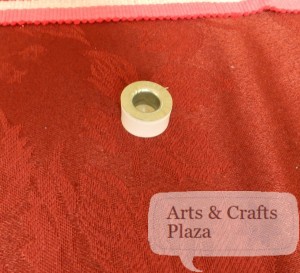
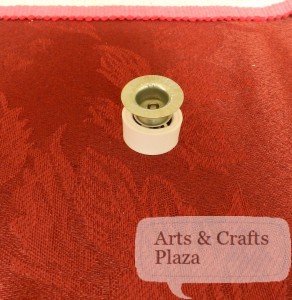
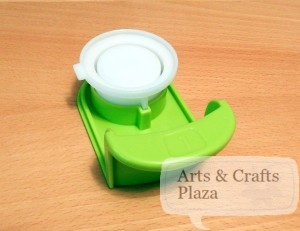
This White rubbery gizmo is called Miracle holder.
Place it with hole facing up.

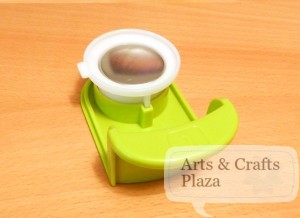
Place your fabric on top.
Right side of fabric facing down.

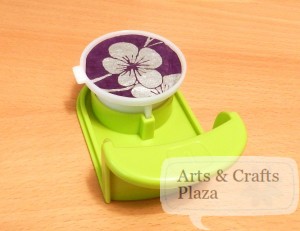
Put button shell on top of fabric.

Put pusher on top of everything.

Press down.

A side angle.

Remove pusher.
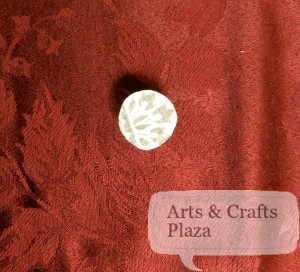
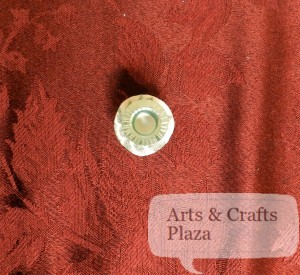
This is what you will see.

Put back of button on top.
Make sure your fabric is all tucked in inside.

Put pusher on top.

A side angle.

And push down.

You are done!
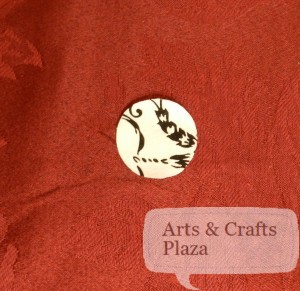
Just remove the button and there you go.

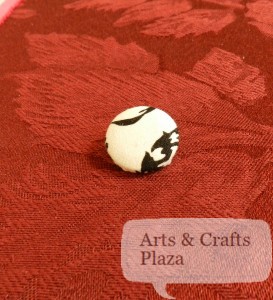
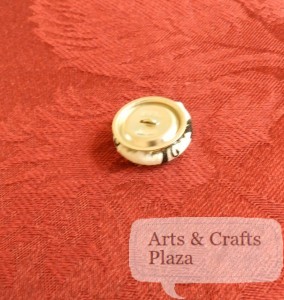
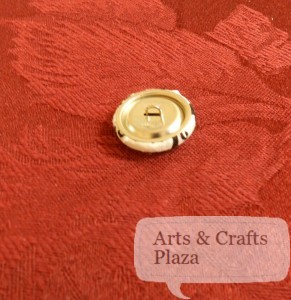
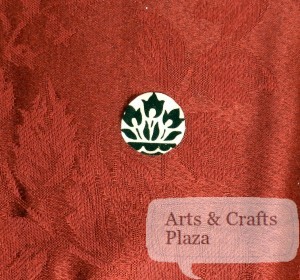
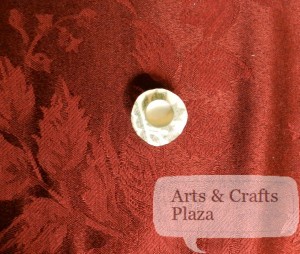
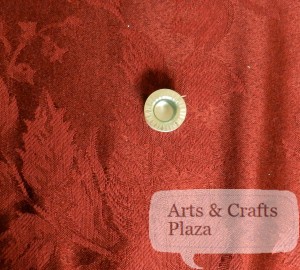
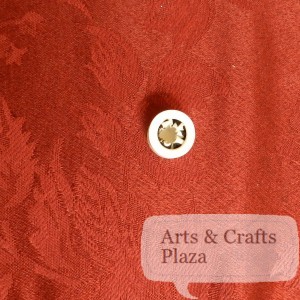
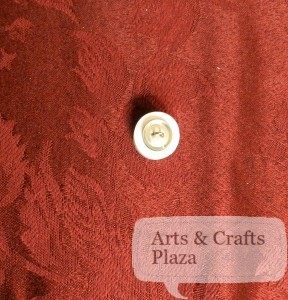
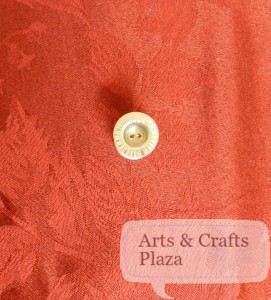
A side view of your completed button made to mach everything you wanted.

To view another technique of how to create your own button: How To: Button Maker
To view another technique of how to create your own button:How To: Make a Button Using Your Fabric, Self Cover Buttons

Enjoy!

Let’s create something!

DREAM 1000 PROJECT – Update

BROTHER INTERNATIONAL CORPORATION’ DREAM 1000 PROJECT PRODUCES SCHOOL BAGS FOR
JAPANESE EARTHQUAKE AND TSUNAMI VICTIMS

To view original post:
The Dream 1000 Project

Customers and dealers overwhelmingly respond to global relief effort with much-needed sewn bags
BRIDGEWATER, NJ –When a Japanese engineer working for Brother Industries Ltd., the parent company of Brother
International Corporation, “dreamed” big, he could not have imagined the outpouring of international support he would receive.
The Dream 1000 Project, a global relief effort created in mid-2011, called for all of Brother’s worldwide employees
and its dealers to support those affected by the March 2011 Japanese earthquake and tsunami by producing 1,000 hand-
decorated fabric school bags for children to tote their belongings.
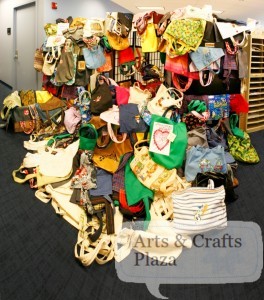
Photo 1: Tote bags created by Brother employees and dealers for Japanes children affected by the tsunami
came in an array of colors and designs.

The project combines Brother’s history and leadership of producing world-class sewing machines with its strong corporate
commitment to the community and its Japanese roots. The completed bags from the U.S. as well as Canada, Brazil, and
Taiwan, were shipped in late December. In total, more than 1,300 tote bags were produced and shipped to the Japanese
children.

Here in the U.S., project leaders asked for 100 tote bags but Dean Shulman, Senior Vice President of Brother
International Corporation and head of the Home Appliance and Industrial Products Divisions, set a higher goal. Shulman
asked for 300 tote bags from his associates around the country.
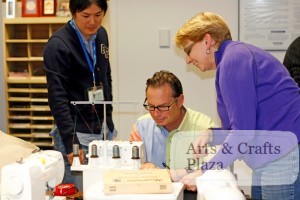
Photo 2: Dean Shulman (center), senior vice president of Brother International Corporation and head of the
Home Appliance and Industrial Products Divisions, created his own tote bag for the Dream 1000 project.

“In the end, our employees, dealers, and customers answered our request in an even bigger way and sent us 524 tote
In bags for the relief effort,”says Shulman. “
They completely surpassed our goal of 300. One dealer even sent 70 bags.”

Part of the allure of producing the bags was their easy pattern to follow. Participants say the bags took no more than 45
minutes to produce, depending on how much unique embroidery, quilting, or appliqué was added. The 20 x 20-inch tote
bags were made with heavy, durable fabrics such as denim or canvas and had a closure, either a button or Velcro, and
handles.

“Sewers and crafters are very compassionate, giving people,”says Shulman. “
They used their Brother sewing machines
to send hopes, dreams, and love to the children of Japan by creating these essential multi-purpose school bags. Nearly a
year after the disaster, the Japanese people still face basic needs to rebuild their lives.”

On March 11, 2011 a strong earthquake measuring 9.0 on the Richter scale struck off the Pacific coast of Japan, followed
by severe aftershocks. It was the most powerful known earthquake ever to hit Japan and one of the five most powerful
earthquakes in the world since modern record-keeping began in 1900. The earthquake triggered powerful tsunami waves
that reached heights of up to 133 feet causing devastating human and physical damage in northeastern Japan and
destroying entire cities in the coastal prefectures of Fukushima, Iwate and Miyagi. The Japanese National Police Agency
confirmed 15,844 deaths, 5,890 injured and 3,451 people missing. The disaster damaged or destroyed more than
700,000 commercial and residential properties, leaving thousands of families homeless in the middle of winter.

According to Save the Children, an international humanitarian organization, the crisis in northeastern Japan directly
affected more than 100,000 children through displacement, loss of access to education, loss of family members, and
exposure to high levels of stress and anxiety.

Photo 3: Brother International Corporation’s president, Tadashi Ishiguro, admires the many tote bags produced
for the Dream 1000 project.

Coming to their aid, Brother employees, dealers, and customers from 17 U.S. states gathered together throughout the
summer and fall to produce the tote bags. Dozens of quilters from around the world created bags during the Houston Quilt
Show in November—the largest quilt show in the U.S. with 30,000 attendees. Terry Koike, president of Brother Industries
Ltd, participated in the project by making a bag, as did Brother International Corporation’ president, Tadashi Ishiguro and
his wife. Brother International Corporation’ Dean Shulman made a bag and decorated it with glitter, a guitar, and
handwritten message, “ Our Heroes in Japan from Your Brothers in the U.S.A.”Another donated bag was embroidered
To simply with the words “Love, love, love.”

Creative Threads, a family-owned two-store dealership in Binghamton and Greene, New York, contributed 12 bags to the
project. A note accompanying their donation said, “ We send our thoughts and prayers for those in Japan impacted by the
tsunami. We hope that these bags will help bring some joy to the children affected by this tragedy.”

Amy Phipps, an employee at Creative Threads, joined four others who produced the school bags. “ We thought it was a
great idea on Brother’s part to extend this invitation to make the bags and help the children. They are so far away in
Japan and you don’t know what to do to help. You can contribute money but it seems so impersonal. Knowing that these
bags are needed gave us the opportunity to help out, especially for the children who sometimes seem to be forgotten.”

The five from Creative Threads found the pattern very easy to follow. They enjoyed, said Phipps, being able to customize
the bags for either boys or girls using their own fabrics and embroidering Disney characters on some of them.
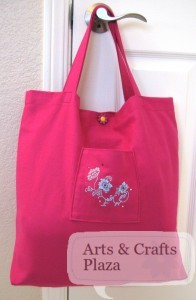
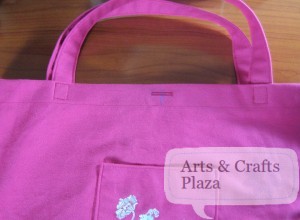
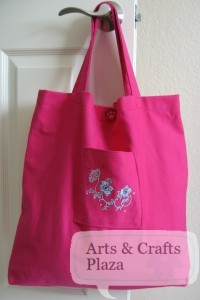
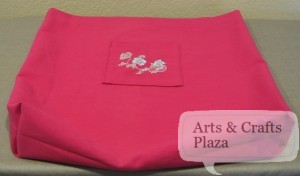
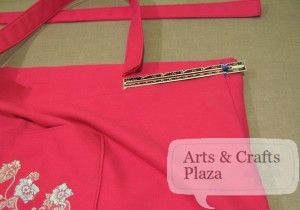
Keren at Arts And Crafts Plaza makes a bag to donate to the kids affected by the Tsunami and Earthquake in Japan.
How To: Dream 1000 Project Bag

At sewnow! in Lafayette, California (outside of San Francisco), co-owner Susan Goldie assembled her pre-teen and teen
sewing class to produce the tote bags. The 22 teens worked at different stations and produced 20 bags for the project.

“Our core business is to teach sewing skills to children and adults,”says Goldie. “ We incorporated the project into our
teen sewing class. The kids found it super fun to make the bags and they were aware of the disaster in Japan and felt it
important to help other children.”

Goldie’s group produced tote bags for both boys and girls using blue and grey denim fabric and accessorizing them with
floral or plaid straps. The more experienced sewers took the roles of precision sewing techniques such as top-stitching
and button holing whereas the new sewers produced straight-line stitches.

“We even had a few guys come to work on the tote bags,”recalls Goldie. “
They are usually more interested in the
technology behind the sewing machines. This project really highlighted that area on our Brother machines since we used
the Quattro® 6000D model with the scanner and camera features. The Brother machine also has hundreds of built-in
embroidery designs that we could use on our tote bags and that captivated their interest.”

To learn more about Brother International Corporation, visit www.brother.com.

About Brother International Corporation
Brother International Corporation has earned its reputation as a leading supplier of innovative products for the home sewing enthusiast. Through a
growing network of sewing machine dealers and retail outlets nationwide, Brother offers a full line of home sewing machines, from basic to top-of-the-line
sewing and embroidery machines. The company is recognized for its high-quality, state-of-the-art machines and accessories, offering ease of use and
flexibility at affordable prices. Brother is a wholly owned subsidiary of Brother Industries Ltd. With worldwide sales approaching $5 billion, this global
manufacturer was started almost 100 years ago by sewing fanatics. Brother offers a diversified product line that includes fax machines, Multi-Function
Center® machines, P-touch® Labeling Systems and both color and mono laser printers for home, office and industry. Bridgewater, New Jersey is the
corporate headquarters for Brother in the Americas, from Canada to South America. It has fully integrated sales, marketing services, manufacturing,
research and development capabilities located in the U.S. In addition to its headquarters in Bridgewater, New Jersey, Brother has facilities in California,
Illinois, Massachusetts and Tennessee, as well as subsidiaries in Canada, Brazil, Chile, Argentina Peru and Mexico. For more information you can visit
the website at www.brother.com.

 

How To: Button Maker

Buttons can be used for so many things.
To advertise something, as a focal piece of a broach, the possibilities are limitless.

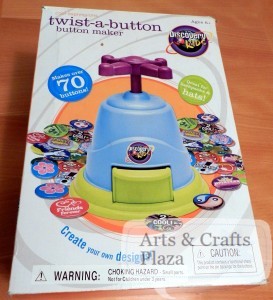
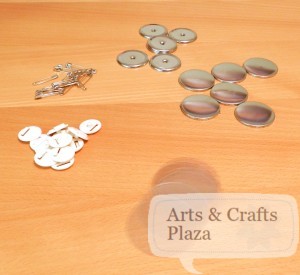
As you open this Button Maker box you will find:
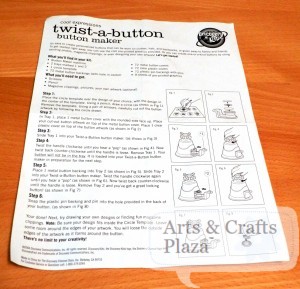
Instructions page

Various supplies that are needed to make your button.
This will enable you to create 72 buttons.

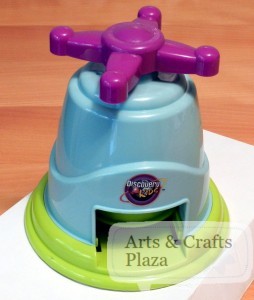
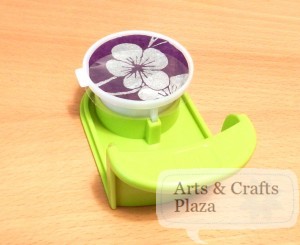
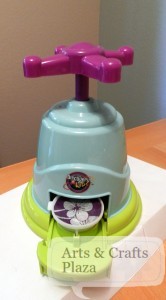
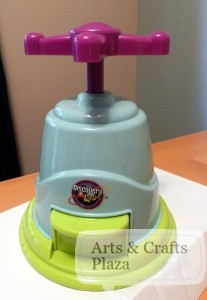
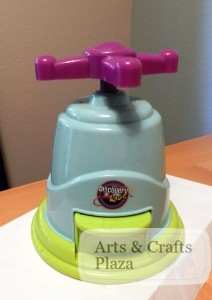
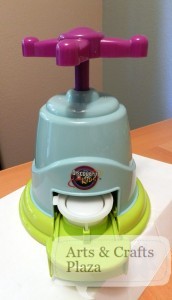
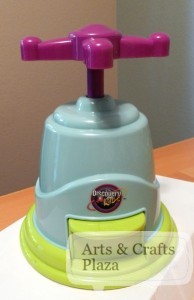
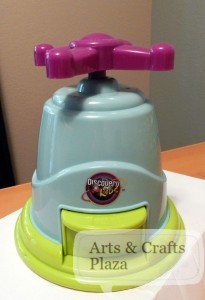
Button maker machine.

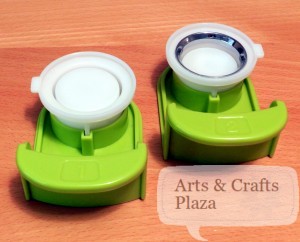
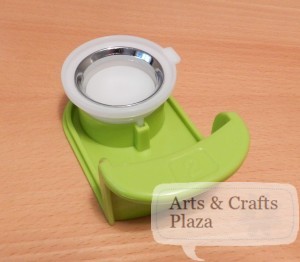
Two trays marked 1 and 2.

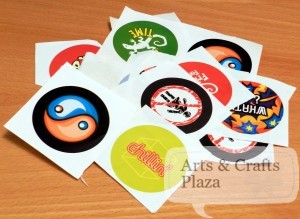
Nine pages filled with round circle shapes printed graphics.

I choose to use a Washi Japanese paper to create my button.

You can audition on the paper what part you would like to use.
As well as how many buttons you can get out of it.

The box comes with a circle template but that was no where to be found at this point so I made my own template.
I cut out one of the graphics circles.

Center the template.
Make sure your design is slightly smaller.
The edges of your artwork will form around the button.

Trace and cut your paper, your artwork.

To start creating the button, we will use tray 1.

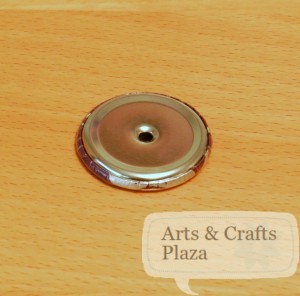
In tray 1, put metal button cover with rounded sides facing up.

On top of that, put your artwork.

On top of that, put plastic cover.

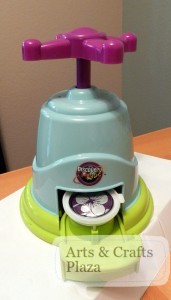
Insert tray 1 into the button machine when the bar with handle on top is raised.

Slide tray 1 in.

Twist handle clockwise.
Stop when you hear a pop sound.

Twist handle counter-clockwise.
This will cause the bar to raise up.
Button parts stay inside the Button Maker machine.
Take out tray 1.

Take tray 2.

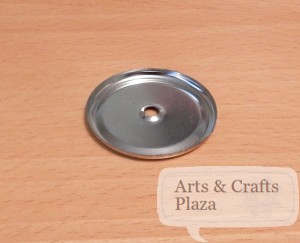
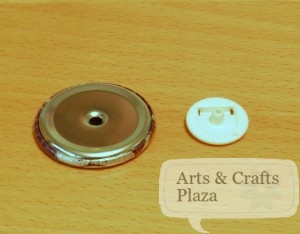
Take metal button backing with hole in center and place inside tray 2 with edges facing up.

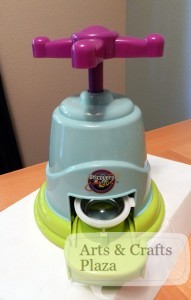
Insert tray 2 into the Button Machine when the bar with handle on top is raised.

Slide tray 2 in.

Twist handle clockwise.
Stop when you hear a pop sound.

Twist handle counter-clockwise.
This will cause the bar to raise up.
Button is now in tray 2.
Take out tray 2.

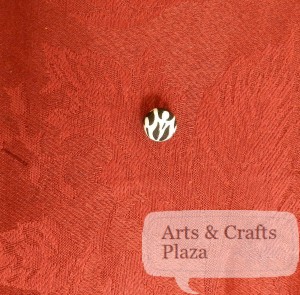
Front of button is now finished.

Turn your button to the back side.

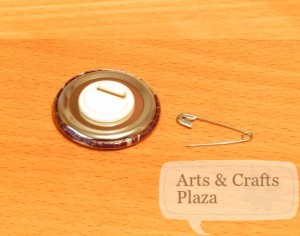
Snap plastic backing, pin into hole in button.

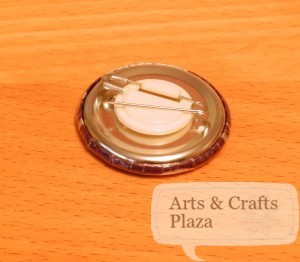
Snap pin into plastic backing.

Make sure you insert the part that doesn’t open!

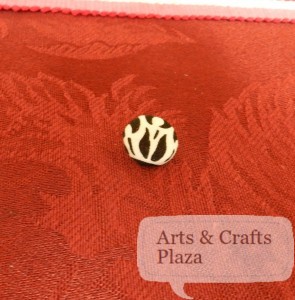
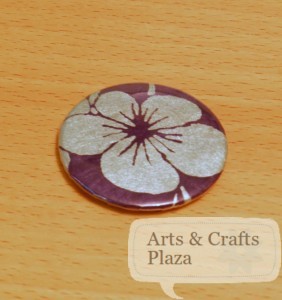
Your button is now complete.
You can use fabric, magazine clipping or draw your own artwork.

Happy New Year!

To view another technique of how to create your own button: How To: Make a Button Using Your Fabric
To view another technique of how to create your own button: How To: Make a Button Using Your Fabric, Self Cover Buttons

Let’s create something!

How To: Dream 1000 Project Bag – Part 2

Happy Thanksgivings everyone!
Brother started ‘Dream 1000 Project’ by requesting folks to make a bag to donate to the kids affected by the Tsunami and Earthquake in Japan.

 You can find: How To: Dream 1000 Project Bag – Part 1

To create the straps of bag, take one of the 5″ x 20″ strip pieces.
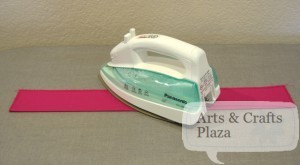
Fold it in half, right side of fabric facing out and iron.

Open fold.
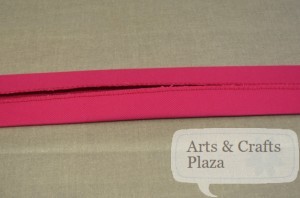
Fold each side towards just created center fold.
Iron in place.

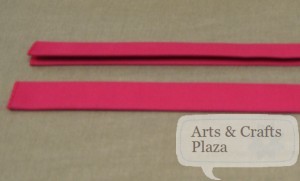
Take both sides and fold together.
Iron into place.
Repeat for other strip.
Top stitch on both sides of strips.

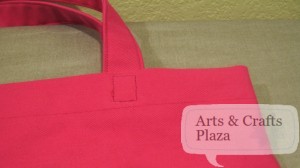
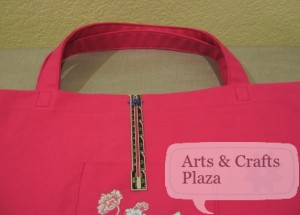
To attach strap to bag, measure 5″ from side of bag.

Attach to inside of bag, pin and stitch a square for added strength.
Make sure straps are aligned with each other and are not looped.
Cut a piece of paper the size of the square and use it as guide to have uniform square stitches.

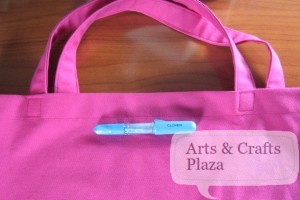
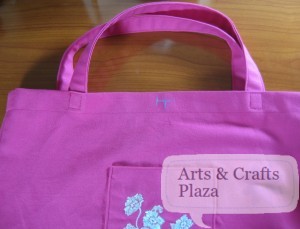
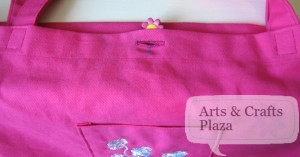
To attach the button, find center position and mark 1/2″ from top of bag.

Clover caulk pens are easy to use for all your marking needs.

Center button on marked line and mark on both sides of button.

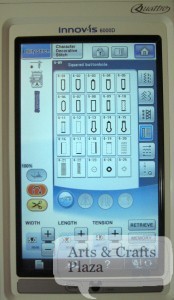
Use buttonhole foot, marked as A. Buttonhole # 9 was selected for this type of fabric.

Cut open your buttonhole and make sure button goes through.
Attach button on inside of bag.

Attach button on inside of bag.

Bag is now ready for your final touches of decoration should you chose to add some.

Start of by removing any remaining pieces of the water soluble topper .

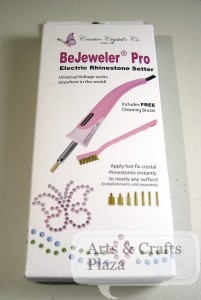
Add a few Swarovski Crystals or Rhinestones hot fix to bag.

Final touches:
Cut off any loose thread
Remove caulk markings

Bag is now complete.

Be proud! you just made a kid in Japan very happy.
Don’t forget, deadline to ship bags: December 8, 2011

For more details about ‘Dream 1000 Project’: www.artsandcraftsplaza.com/?p=689

 You can find: How To: Dream 1000 Project Bag – Part 1

Let’s create something!

How To: Dream 1000 Project Bag – Part 1

Thanksgivings is fast approaching and with that spreading some goodwill.
Brother started a ‘Dream 1000 Project’ by requesting folks to make a bag to donate to the kids affected by the Tsunami and Earthquake in Japan.
Deadline to ship bags: December 8, 2011
For more details about this project: Dream 1000 Project

Are you a beginner sewer? Just want to check out how the bag is constructed before taking it on?
Let’s get started!

Suggested fabric: Denim or Quilting fabrics.
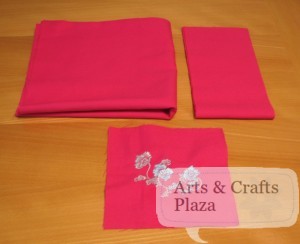
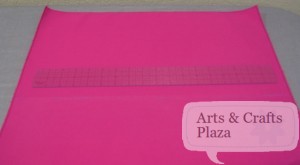
Start of by cutting your fabric to:
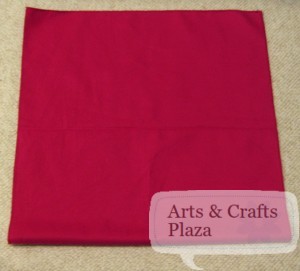
One 40″ x 20″
Two 5″ x 20″
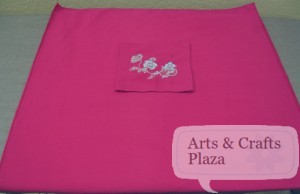
Optional pocket, one 6″x 6″

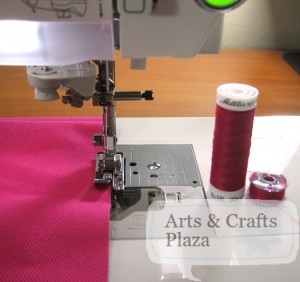
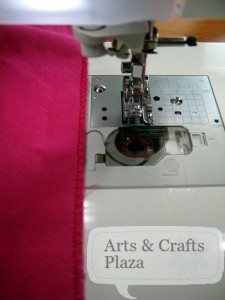
As these bags are not lined, it is important to serge or overcast all raw edges of fabric.
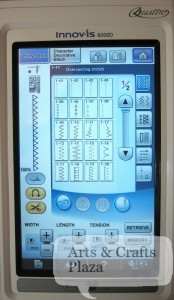
For those without a serger, use a G foot and choose one of the overcast stitches.

Put your fabric against the metal part in the middle of your foot.
Use same color thread as your bobbin.
Suggested thread: Polyester Mettler.

How your raw edges of fabric should look like.

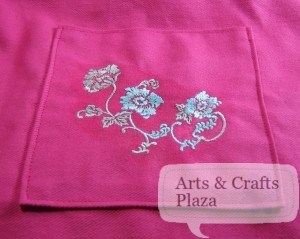
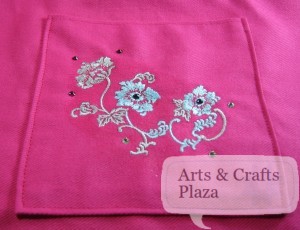
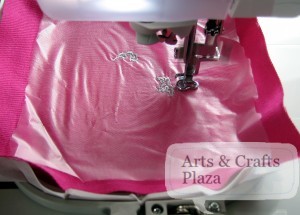
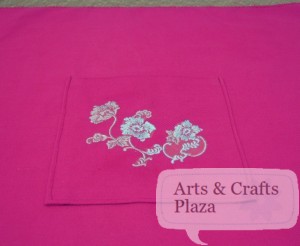
To create the pocket, we start by Embroidering it first.
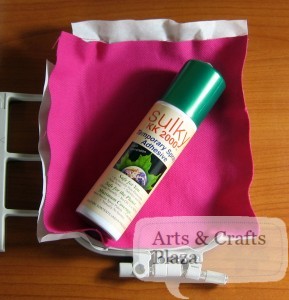
Hoop a tear away stabilizer, use Spry adhesive to attach your 6″x 6″ piece of fabric.
On top of that put your water soluble topper with spry adhesive.

Embroider something you think the kid that will get this bag will appreciate.
Think about color combination and overall look of the bag.

Change the foot of your machine and select a straight stitch.
This straight stitch uses a J foot.
Experiment with a scrap of fabric first and then adjust width and length of the stitch.

Measure 1/2 an inch from top of pocket.

Fold to the back of pocket.
Iron in place for ease and better result.

Top stitch top of pocket.

Folder back other 3 sides of pocket 1/2″ and iron.
Find center position on front of bag and pin.


Stitch both sides and bottom of pocket to bag.

Should you have any marking on fabric like this fold on fabric on back side of the bag, it’s a chance to decorate.

Make a straight line mark with caulk on unwanted fold line.

Add a ribbon in matching or contrasting color.
You may want to add another piece of fabric instead of ribbon.
Top stitch ribbon on both sides to secure to fabric.

With right sides of fabric facing together, Stitch both sides of bag with 5/8″ seam allowance from edge of fabric.

Trim and access ribbon or any loose thread.

Iron open the side seams.

From top of bag fold towards the inside of bag 1 1/4″ and iron or pin.

Use straight or decorative stitch 1 1/4″ from top of bag.
This picture shows straight stitch.

To create depth to the bag, add a gusset.
At bottom side of bag, measure 1 1/2″ from corner and mark.
Mark other bottom side as well.

Stitch over line on both sides.

Turn bag right side out.
View of how gusset changed appearance of bag.

 You can find: How To: Dream 1000 Project Bag – Part 2

Let’s create something!

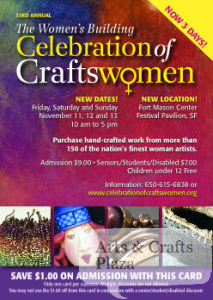
Celebration of Craftswomen San Francisco

Celebration of Craftswomen took place in November 11-13, 2011, San Francisco.
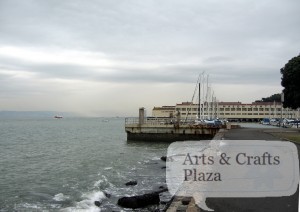
Bask in the view of San Francisco when you come to this festival.

It began in 1976 as a small crafts show.
For the past three decades, The Women’s Building Celebration of Craftswomen has allowed Bay Area residents, along with visitors of San Francisco from throughout the world, to discover the work of the nation’s best female artisans and fine artists.
Celebration of Craftswomen is the largest event celebrating the craft of women in the nation.
www.celebrationofcraftswomen.org

To follow on Facebook:
www.facebook.com/celebration.craftswomen
Among the contemporary and traditional handcrafted items you can fine:
Functional and decorative ceramic and glass vessels.
Sculpted wood and works of metal.
Polymer  clay, beaded, stone and precious metal jewelry.
Women, painted silk, leather clothing and wearable.
Home Furniture and accessories.
Fine art sculpture.
Photography.
Watercolor and oil paintings.

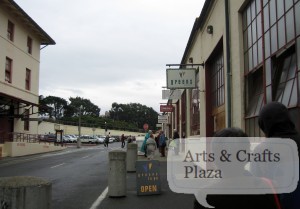
Don’t miss the hidden treasures as you walk by them, such as, Greens Restaurant, Fort Mason in San Francisco for some beautiful bayside vegetarian dining.
www.greensrestaurant.com
The Oatmeal raisin cookie was to die for!

THE WOMENS BUILDING (TWB) is a multi-service community center whose mission is to provide women and girls with the tools and resources they need to achieve full and participation is society.
The Women’s Building is located at 3543 18th Street in San Francisco.
For information call 415-431-1180 or visit www.womensbuilding.org

Always ask the artist permission to take a picture of their booth and/or individual item.
A recap of select booths:

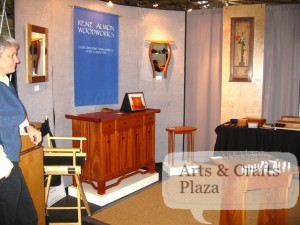
Rene Almon Woodworks, her inspiration comes from organic shapes and the wood itself. Building long lasting quality furniture, pleasing to the eye and inviting to touch.
www.renealmonwoodworks.com

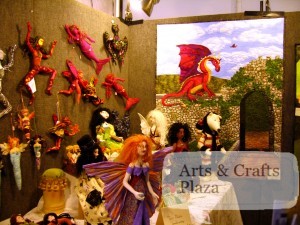
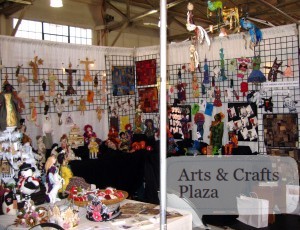
Alexandra Von Burg, creating Fairy Tale imagery with soft sculptured dolls and fiber paintings
Look for her workshops to hone the art-making skills that enhance anyone’s natural talent.
www.alexandravonburg.com

Anne Klocko, produces different types of artwork, Vinyl Clay Artwork, Figurative Sculpture and Ceramic Sculpture are whimsy original works of art.
www.anneklocko.com

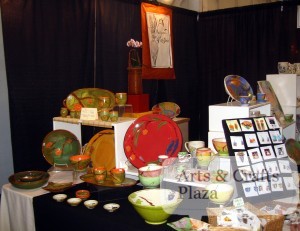
Margaret Grisz-Dow, passionate about art, her ceramic work & drawing she is integrating these by making incised drawings on the surface of her clay pieces.
Teaching  in a relaxed aesthetic environment, which is often in her own beautiful home studio.
Contact: mgriszdow@yahoo.com

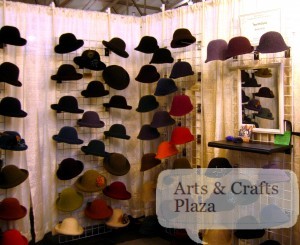
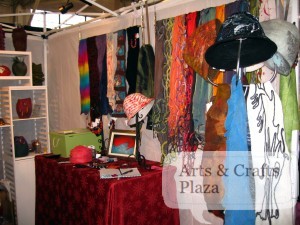
Tess McGuire, hats are knitted on a knitting loom out of wool yarn and then felted using hot water, soap and friction to turn a loosely knitted fabric into a warm, solid, and virtually waterproof garment.
www.tessmcguire.com

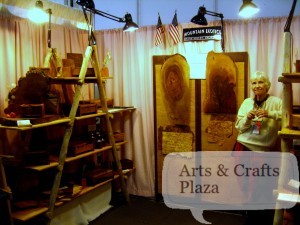
Mountain Exotics, taking the beauty, texture of wood to form our unique products.
We create heirlooms from ‘Tree to Street.
www.mountainexotics.com

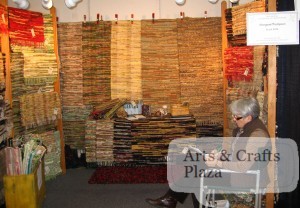
Monterey Fiber and Design by Margaret Thompson

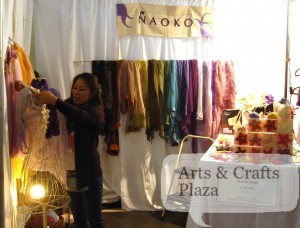
Naoko, Creating botanically themed felt and glass Jewelry.
10% of sales are donated to humanitarian non profit organizations.
www.naokonojiri.com

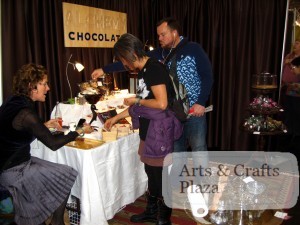
Alchemy, Fine chocolate, pastry, & baked delicacies, Savory catering, Classes.
www.facebook.com/pages/Alchemy/130946720282942

Ruxton Designs, mixed media art, vintage buttons, metal hardware, felt all combined in a unique way by Nicky Ruxton.
www.ruxtondesigns.com

Sharing a booth with Laube photography, a joyful rendition of California by Nancy Laube.
www.nancylaube.com

Large Leather is a beautiful store in Sonoma, California.
Choose from in house designs to custom orders, by Paul Terwilliger and Jessica Zoutendijk.
www.largeleather.biz

JYC Arts, Fine Arts painter, Illustrator, Fiber artist as well as Jeweler and quilter.
Working with non traditional fabrics in traditional ways.
www.janecorich.com

Janice Cormier, functional and non functional ceramic art, sculptural vessels, figurative sculpture, small series of functional pottery, and Jewelry.
www.janicecormier.ca
Sharing a booth with Judy Beebe Designs, Merino wool scarves and gloves.
Creating elegant, comfortable, neck pieces with rich texture & color.
www.etsy.com/shop/judybeebedesigns

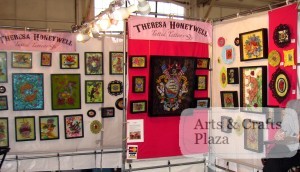
Theresa Honeywell, provocative imagery and macho icons are rendered into delicate and beautiful pieces of art.
Her inspiration comes in the contrast between art and craft, macho and feminine.
www.theresahoneywell.com

Booths 421-422 is a collaborative mixture of a group of women, a web site is in the pipe line.

To contact the artists directly:
Wanda Fudge, wfudge@peoplepc.com
Colleen Ehle Patell, mixed media figurative art, www.wildwackywomendesigns.com
Suzanne Duran, artist, miblu3@yahoo.com
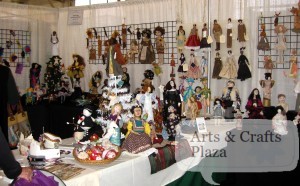
Mary Porter Vaughan, fine art dolls, www.mpvdolls.com
Donna Perry, art dolls, mixed media artist, dreamandplay.blogspot.com
Zanaib Nia, artist, zniagreen@yahoo.com
Stephanie Smith, doll maker, smitharts@yahoo.com
Bonnie Hoover, Whimsical cloth doll creations, bondonhoov@sbcglobal.net

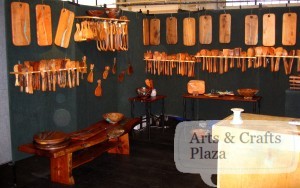
Tree Stump, Master wood artisans Christine and Ron Sisco prove Fine Art can be functional.
In addition to custom furniture, their most popular pieces are spoons and bread boards.
www.treestump.biz

Santa Barbara Felted Fibers, wearables fiber Art, soft and billowy, exciting and sometimes just wild and crazy.
www.sbfeltedfibers.com

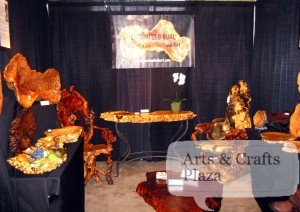
Enchanted Burl, Burls form as an outgrowth on the trunk of a tree and/or within the root system transformed to tables, chairs, lamps, clocks, vessels and serving platters.
www.enchantedburl.com

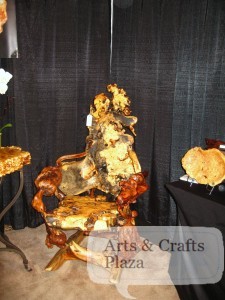
A close up look on this gorgeous crafted chair.
The vessels have been used as food servers, three-dimensional wall art, center conversational pieces, and even spiritual baptismal vessels.

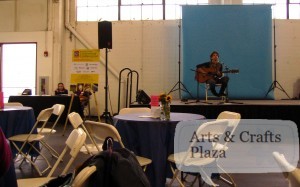
Browse the list of the entertainment schedule that was offered at the rear stage
www.womensbuilding.org/craftsfair/Womens_Building_Craft_Fair/ENTERTAINMENT.html

Zola De Firmian, Fine Art Ceramics and tile design, one-of-a-kind porcelain and stoneware pieces are hand-built, or cast, then carved, using simple molds of own design.
Project Greenheart, First, 10% of sales go to support programs that connect youth with art and nature.
www.zinfusionz.com

Dawn Mountain LeatherArt, creating and designing original Leatherart pieces.
Decorative techniques such as trapunto, pleating, weaving, and beading are frequently used on one-of-a-kind pieces
www.dawnmountainleatherart.com

FOR INFORMATION ABOUT THE SHOW CONTACT:
TEEVAN PRODUCTIONS
1557- 15TH AVE.
SAN FRANCISCO, CA 94122
PHONE: (650) 615-6838
FAX: (415) 731-6794
EMAIL: CRAFTSWOMEN@GMAIL.COM

Hope you enjoyed Celebration of Craftswomen!
Didn’t make it this year? Try and make it to next year.

All pictures were taken after approval by the artist.

Let’s create something!


Free Craft and Crochet eBooks

Came across this blog post at http://www.manycreativegifts.blogspot.com, enjoy!
It’s a great blog with lots of ideas and information.
With the holiday season coming, you are sure to want to create something for your family and friends.

Free Craft and Crochet eBooks

I’m so glad to be able to pass along two new and free ebooks from the FaveCrafts folks!
The first one has 17 popular crochet items that are easy enough for a beginner to make, like a fun little caplet, a bottoms up hat, and a really neat 8-point ripple afghan.
You can find the free and instant download at:
http://www.allfreecrochet.com/Miscellaneous-Crochet/17-Popular-Free-Crochet-Patterns-eBook

The second book will start to get you in the mood for the holidays.

This ebook has 7 fun craft projects for Christmas time.
I think I’m going to give the Christmas Card Saver a try!
Also included are the Felt and Wire Angel (pg. 5), the Christmas Candy Jar Labels (pg. 11), and a Wine Cork Wreath (pg. 19).
You can get this eBook free at:

http://www.allfreechristmascrafts.com/Christmas-Ornament-Crafts/7-Thrifty-Christmas-Craft-Ideas-eBook

Happy Crafting!!