How To: Make a Button Using Your Fabric, Self Cover Buttons

You want to create your own buttons so it will match your design perfectly, what do you do?
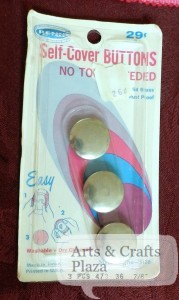
Use Self Cover Buttons!

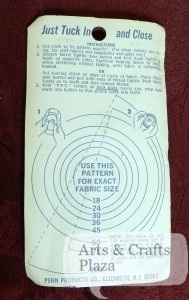
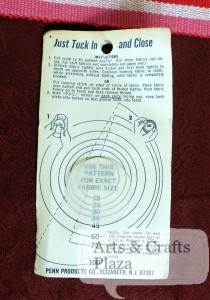
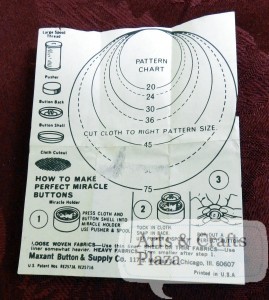
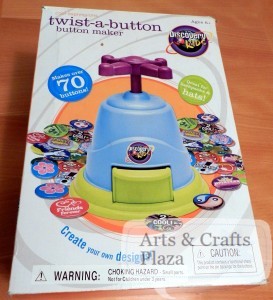
Instructions are simple and located at back of packaging.

Trace the right size circle to match the size of your button.
You can use a scrap peace of tracking paper.

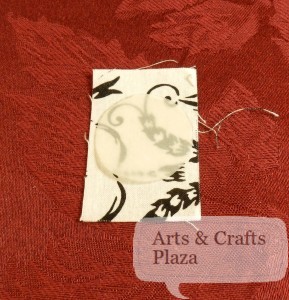
Audition your circle on a small piece of fabric, trace and cut.

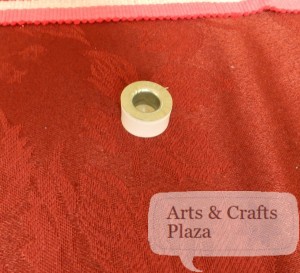
Now that you have your fabric circle, turn it so the right size of the fabric will face down.

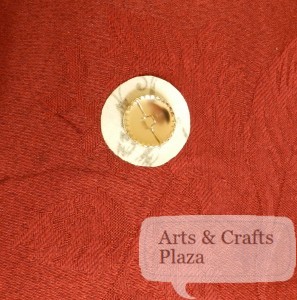
Put button on top of your fabric.
The teeth are sharp so be careful not to hurt yourself.

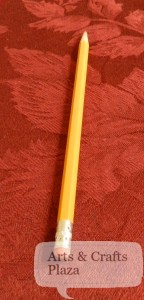
You may want to use a pencil with an eraser to push the fabric into the teeth.

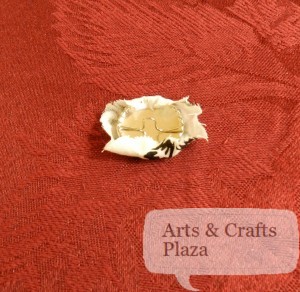
Start pushing your fabric into the teeth, first on opposite sides.

Then all the way around.

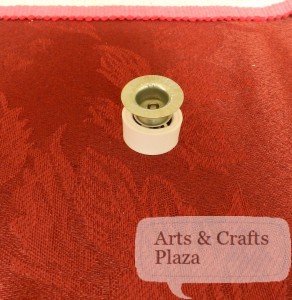
Put back plate on top.

Push down.

It will snap into place.

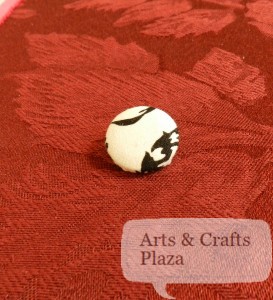
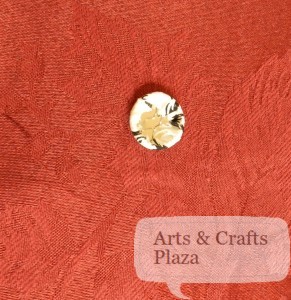
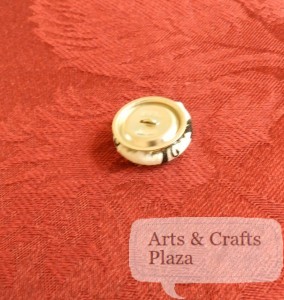
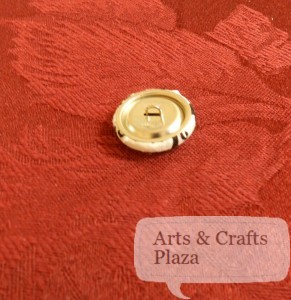
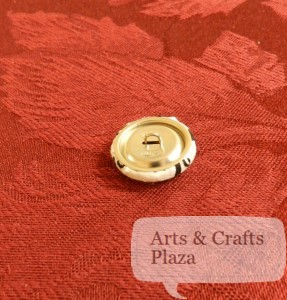
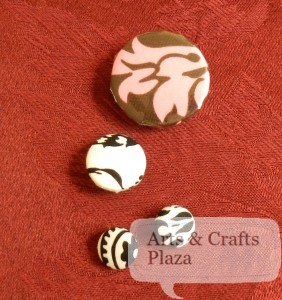
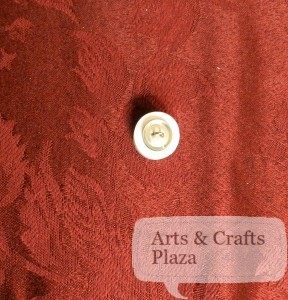
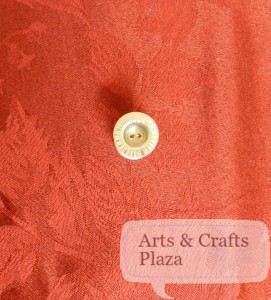
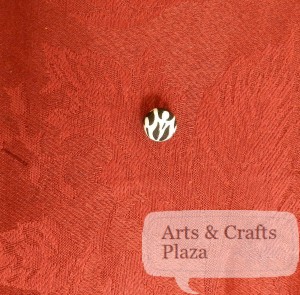
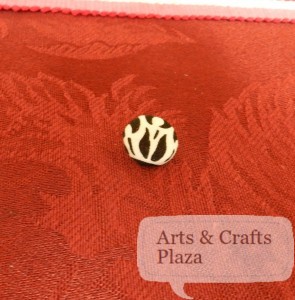
You are now the proud owner of your very own unique button!

To view another technique of how to create your own button: How To: Button Maker
To view another technique of how to create your own button: How To: Make a Button Using Your Fabric

Enjoy!

Let’s create something!

How To: Make a Button Using Your Fabric

You created a gorgeous buttoned down shirt and you want to create your own buttons using your own fabric, what to do?

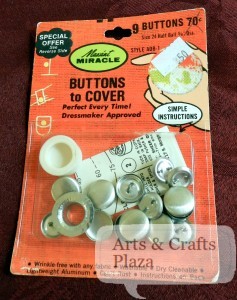
Get Buttons to Cover!

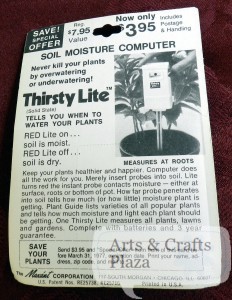
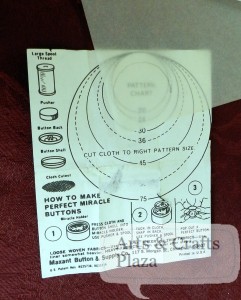
A look at back of packaging.
This is an old package with some advertising on it.

The instruction paper inside.

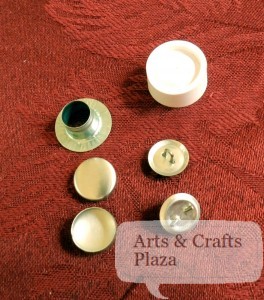
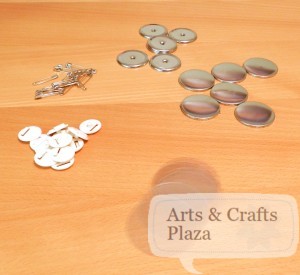
The parts you will use.

Use a paper to trace the size circle/button you would like.
You can use a scraps tracing paper from a pattern you use.
Cut out your circle pattern.

Use only need a very small piece of fabric.

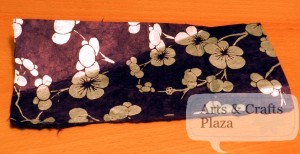
See which part of the print you would like to use as the front of your button.

Trace and cut your circle from your fabric.

This White rubbery gizmo is called Miracle holder.
Place it with hole facing up.

Place your fabric on top.
Right side of fabric facing down.

Put button shell on top of fabric.

Put pusher on top of everything.

Press down.

A side angle.

Remove pusher.
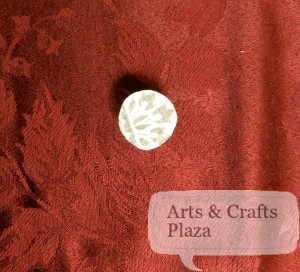
This is what you will see.

Put back of button on top.
Make sure your fabric is all tucked in inside.

Put pusher on top.

A side angle.

And push down.

You are done!
Just remove the button and there you go.

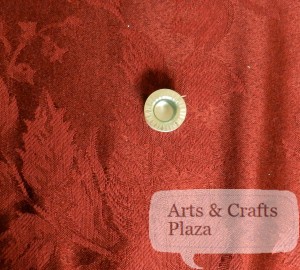
A side view of your completed button made to mach everything you wanted.

To view another technique of how to create your own button: How To: Button Maker
To view another technique of how to create your own button:How To: Make a Button Using Your Fabric, Self Cover Buttons

Enjoy!

Let’s create something!

How To: Button Maker

Buttons can be used for so many things.
To advertise something, as a focal piece of a broach, the possibilities are limitless.

As you open this Button Maker box you will find:
Instructions page
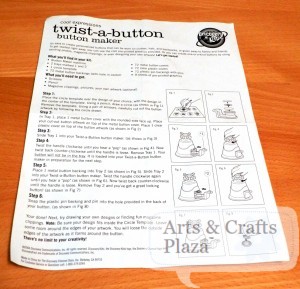
Various supplies that are needed to make your button.
This will enable you to create 72 buttons.
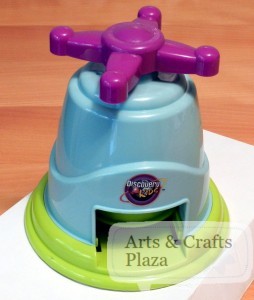
Button maker machine.
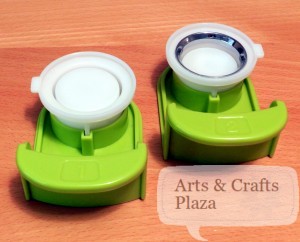
Two trays marked 1 and 2.
Nine pages filled with round circle shapes printed graphics.

I choose to use a Washi Japanese paper to create my button.
You can audition on the paper what part you would like to use.
As well as how many buttons you can get out of it.
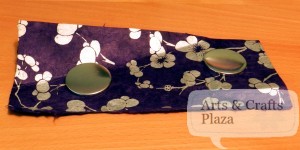
The box comes with a circle template but that was no where to be found at this point so I made my own template.
I cut out one of the graphics circles.
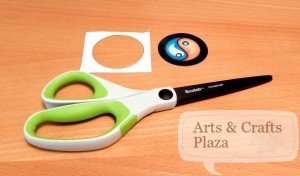
Center the template.
Make sure your design is slightly smaller.
The edges of your artwork will form around the button.
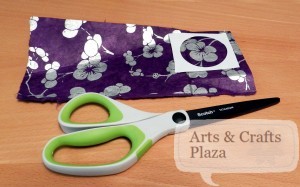
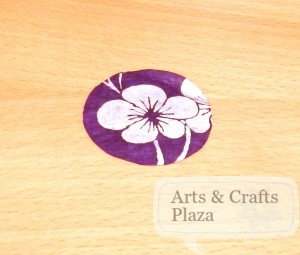
Trace and cut your paper, your artwork.
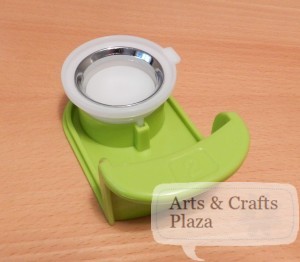
To start creating the button, we will use tray 1.
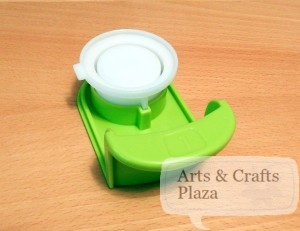
In tray 1, put metal button cover with rounded sides facing up.
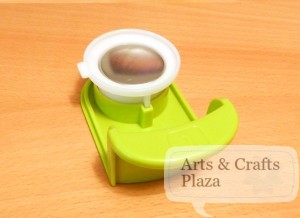
On top of that, put your artwork.
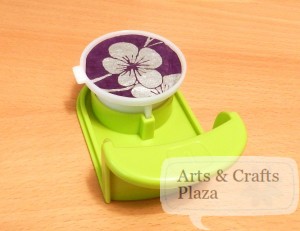
On top of that, put plastic cover.
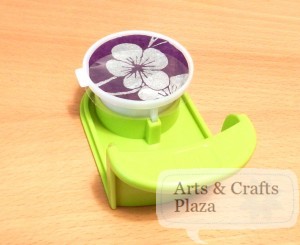
Insert tray 1 into the button machine when the bar with handle on top is raised.
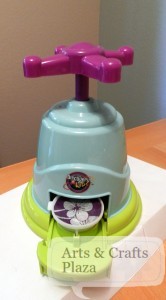
Slide tray 1 in.
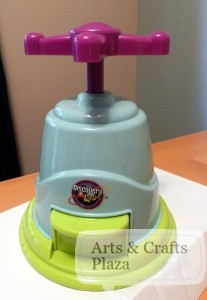
Twist handle clockwise.
Stop when you hear a pop sound.
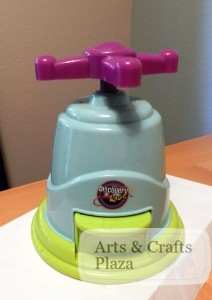
Twist handle counter-clockwise.
This will cause the bar to raise up.
Button parts stay inside the Button Maker machine.
Take out tray 1.
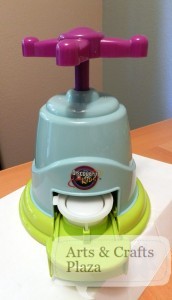
Take tray 2.
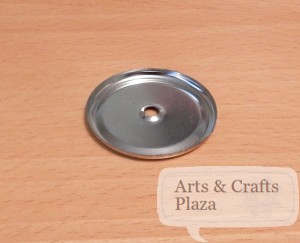
Take metal button backing with hole in center and place inside tray 2 with edges facing up.
Insert tray 2 into the Button Machine when the bar with handle on top is raised.
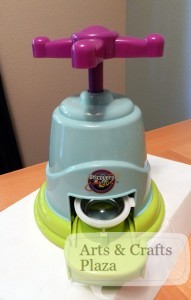
Slide tray 2 in.
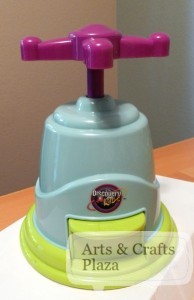
Twist handle clockwise.
Stop when you hear a pop sound.
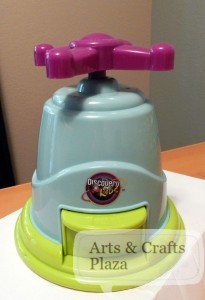
Twist handle counter-clockwise.
This will cause the bar to raise up.
Button is now in tray 2.
Take out tray 2.
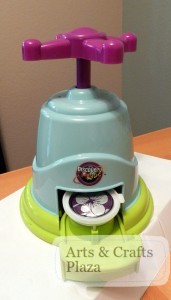
Front of button is now finished.
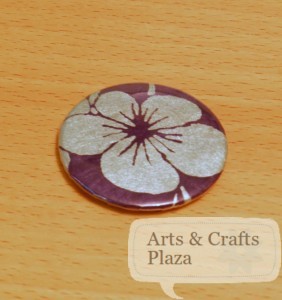
Turn your button to the back side.
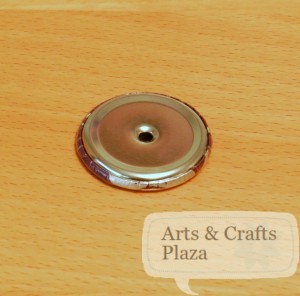
Snap plastic backing, pin into hole in button.
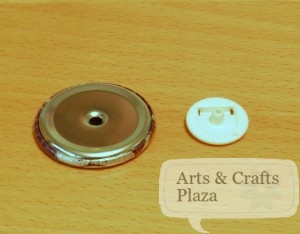
Snap pin into plastic backing.
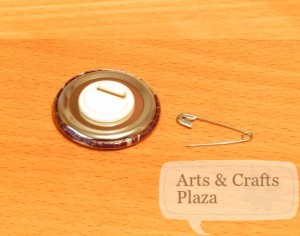
Make sure you insert the part that doesn’t open!
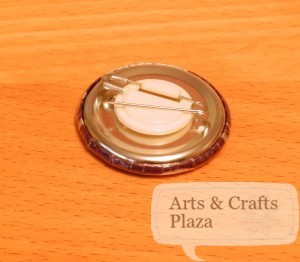
Your button is now complete.
You can use fabric, magazine clipping or draw your own artwork.

Happy New Year!

To view another technique of how to create your own button: How To: Make a Button Using Your Fabric
To view another technique of how to create your own button: How To: Make a Button Using Your Fabric, Self Cover Buttons

Let’s create something!