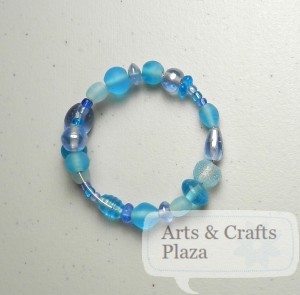
The nice thing about a memory wire Bracelet is that you don’t need to worry about the fit, as well as, no need to fiddle with a clasp.
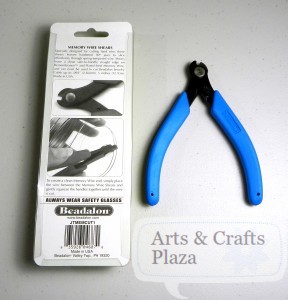
Start by using the right tools, memory wire sheers.
Cutters are not designed to be used with this product, they will not cut any longer if you use them on memory wire.
You will also achieve a clean safe edge when using memory wire sheers.
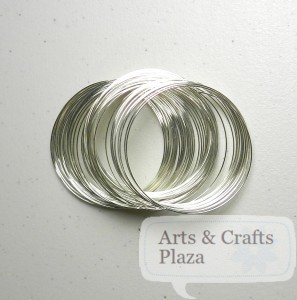
Memory wire is a spring like wire that holds designs snug against your skin.
Sizes of memory wire packs varies.
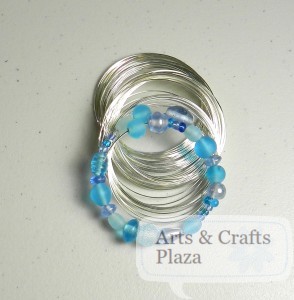
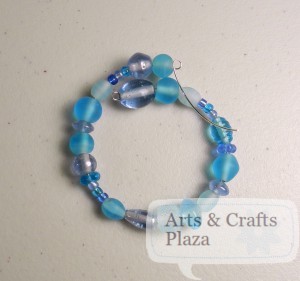
String your complimentary color of beads onto the memory wire until you are happy with the size you get.
I suggest you overlap a little.
Once you are happy with the size, use your memory wire sheers and cut.
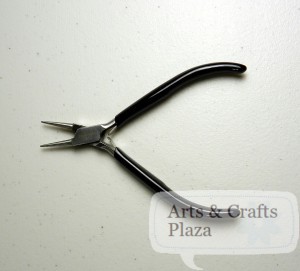
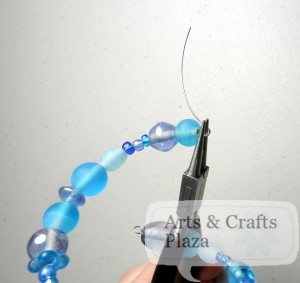
Use round nose pliers to form loop at the end of the wire.
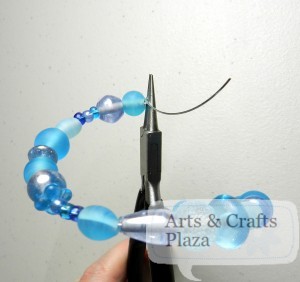
Twist against the curve of the wire to form a loop.
Check size again, add or remove a few beads if necessary.
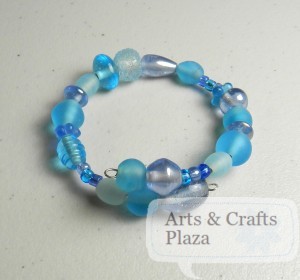
Form a loop on the other end of the Bracelet.
You want the loop close to your last bead.
Have it snug but not too tight.
Your Bracelet can be done at this point.
You may want to add a charm to it.
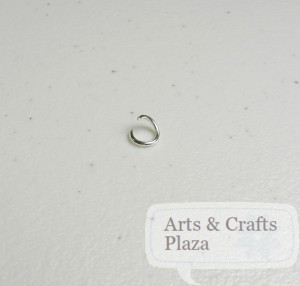
Open a Jumprings with 2 pliers.
Remember, twist, don’t pull it apart.
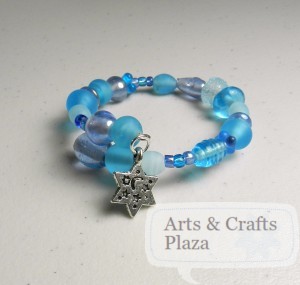
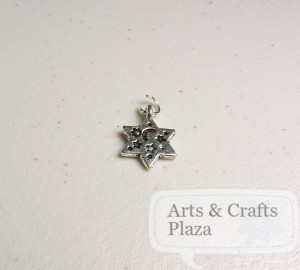
Add your charm and attach to one of the loops on your Bracelet.
In this case Star of David charm that has a loop on top.
By attaching the charm to a jumpring first you will get more movement to your Jewelry piece.
Enjoy!
Let’s create something!


Recent Comments