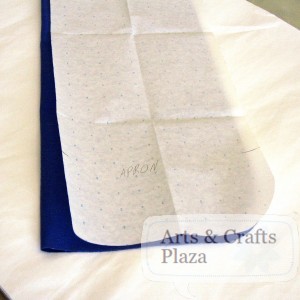
We start by tracing the Apron’s pattern to our fabric
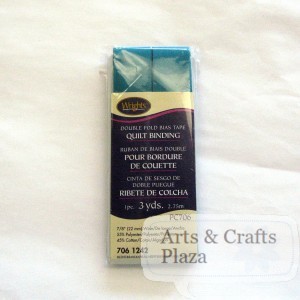
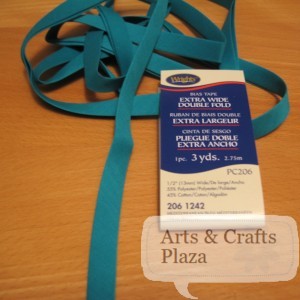
We decided to add another color by framing the apron with quilt binding.
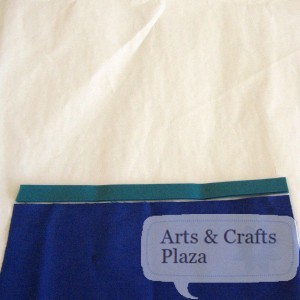
We start by cutting a piece of the biding to cover the top of the apron.
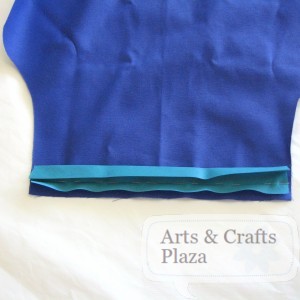
We are now working on the back side of the apron.
We pin the binding on the short fold to the apron’s fabric.
We sew it with a straight stitch.
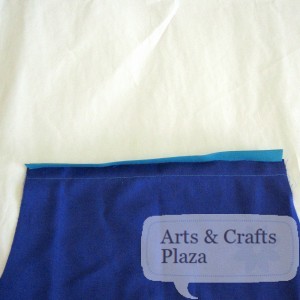
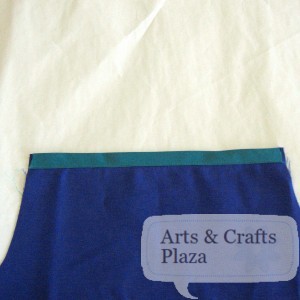
We turn our apron to the front side now.
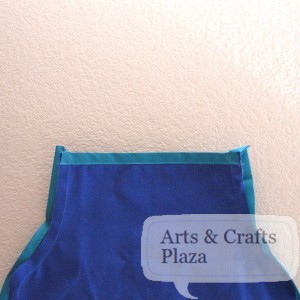
This is how it should look from the front.
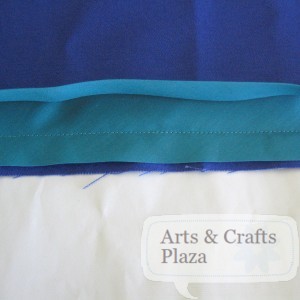
We will fold the binding to the front of the apron.
Stitch it, making sure to cover the stitch that is already there.
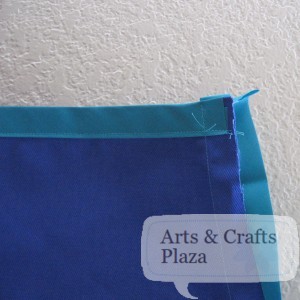
The stitch from a closer view.
We are now going to repeat the process around the rest of the apron.
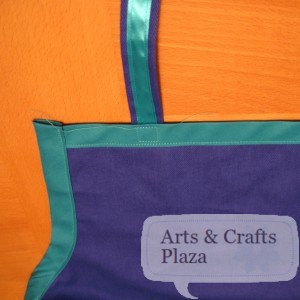
Closer look at the corner top of the apron.
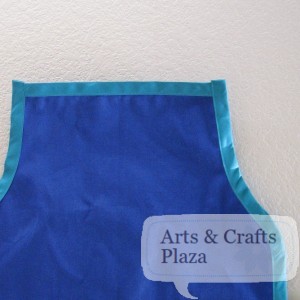
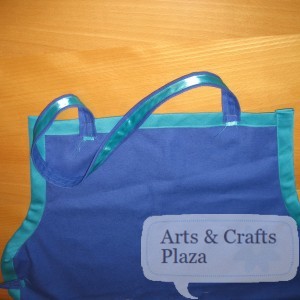
The binding stitched around the entire apron.
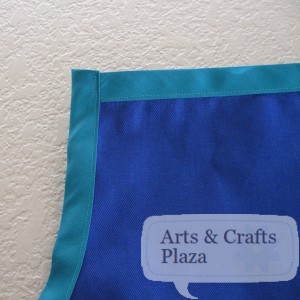
Closer look at the top corner.
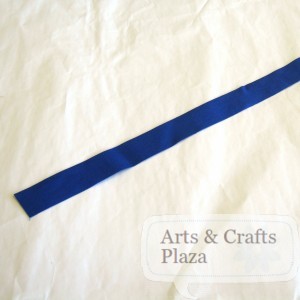
We cut the straps, one for around the neck and two to tie the apron.
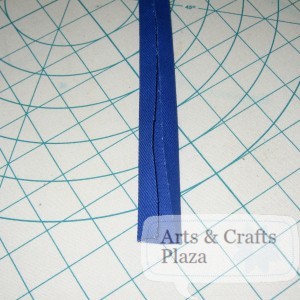
We fold the strap in half and iron.
We now fold from both sides into our center fold and iron.
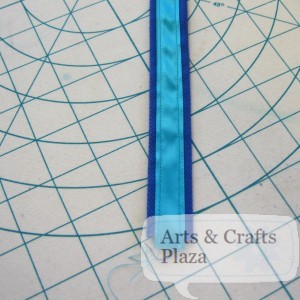
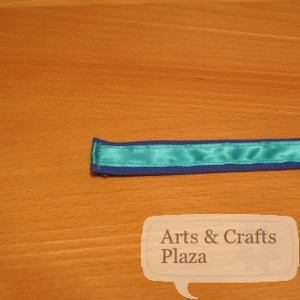
We hide the edges by sewing a ribbon in matching color to our binding.
We pin the strap to the back of our apron.
Be sure to measure equal distance from both sides.
We sew the straps by making a square to secure it to our apron.
Cut any access thread and put a dab of Fray Check to make sure it wouldn’t come unraveled.
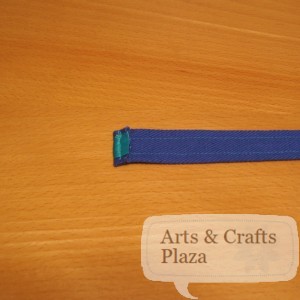
We fold the end of the strap and sew.
A look for the back side of the strap.
We cut the fabric for the pocket.
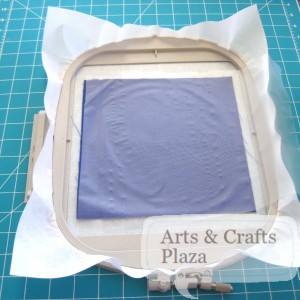
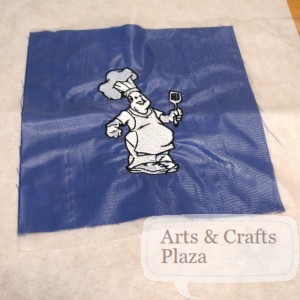
We will now embroider a chef on our pocket.
See instruction for Embroidery on our post: “Mickey Mouse Embroidered on a Towel“
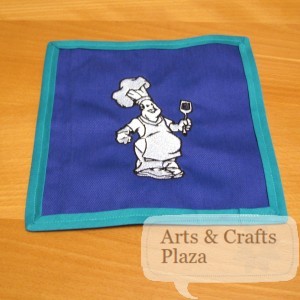
The Embroidered pocket.
We will use a narrower quilt binding in the same color for the pocket.
We will make sure our corners meet at 45 degree angles.
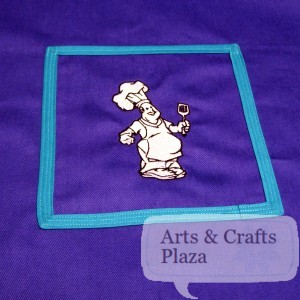
We will attach the pocket to the apron.
Remember to reverse your stitches at the top of the pocket to secure it better.
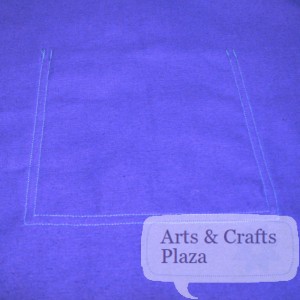
We stitched around the pocket twice.
A view of the pocket from the back.
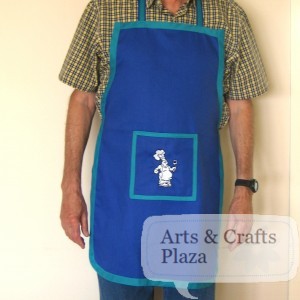
Your project is now complete! enjoy.



Recent Comments