How to: Diaper Bag Kit – Part 2

 You can find: How to: Diaper Bag Kit – Part 1

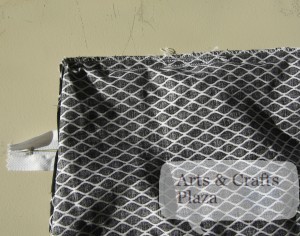
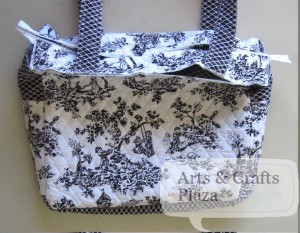
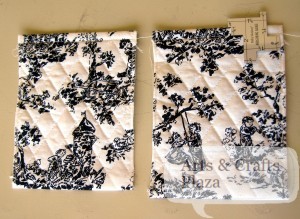
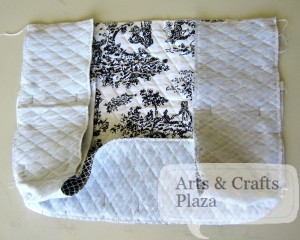
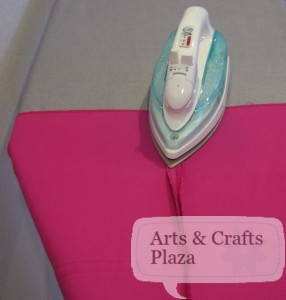
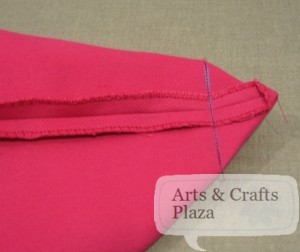
Turns out the top side of the bag doesn’t match the lining side nor the sides of the bag.
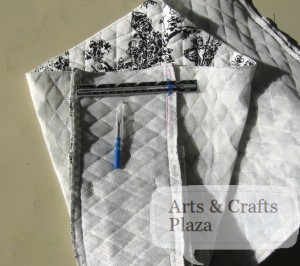
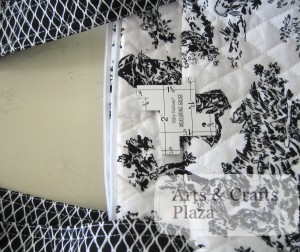
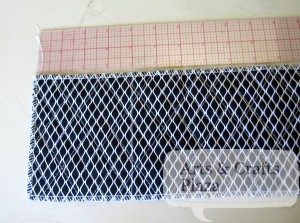
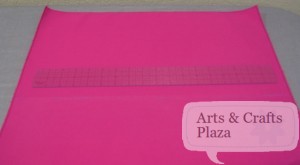
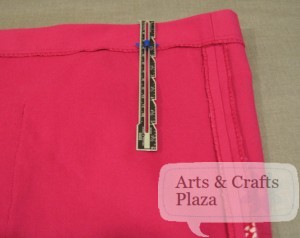
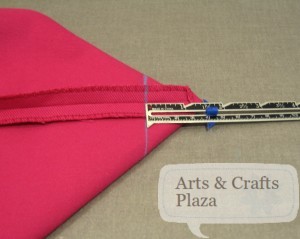
Measure and mark where you need to stitch.
(Ignore instruction to stitch by seam allowance.)

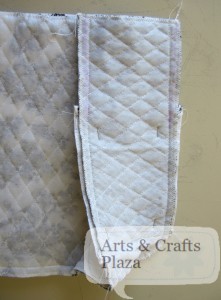
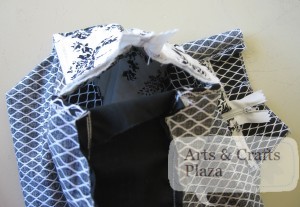
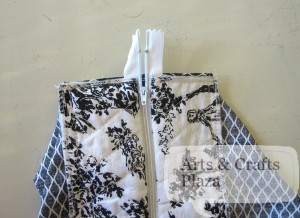
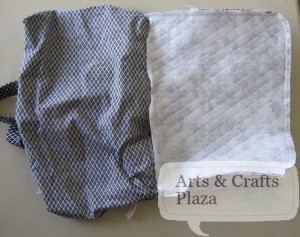
Open part of the seam of the lining.
I didn’t want to take all  the stitches out as the corners were perfect.

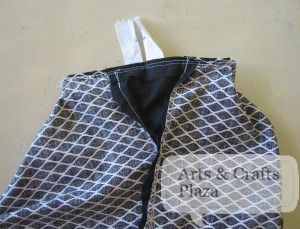
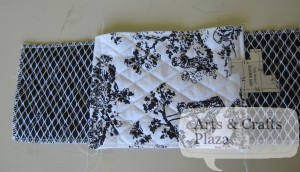
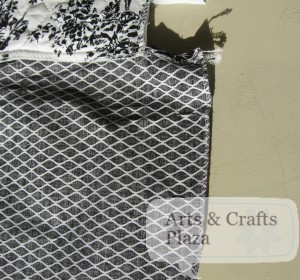
Add a piece of fabric in coordinating color making the top side of bag the correct size.
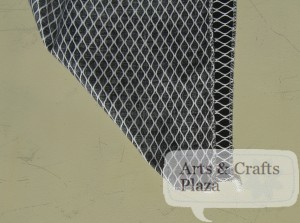
Make sure the seams are on the inside (hidden inside the bag).
Try and get it as even as you can on both sides.

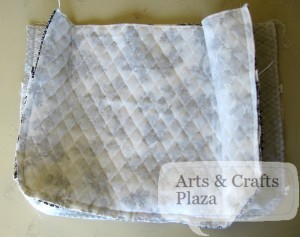
Make sure size of top of bag and lining are the same.

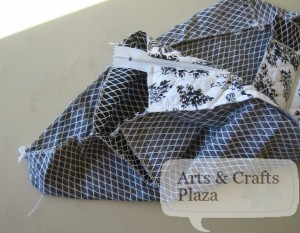
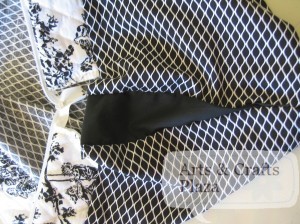
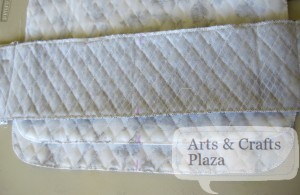
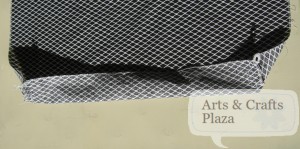
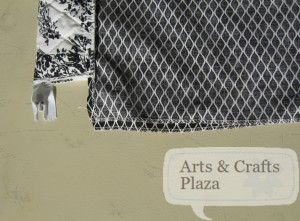
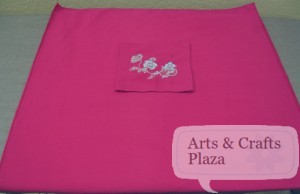
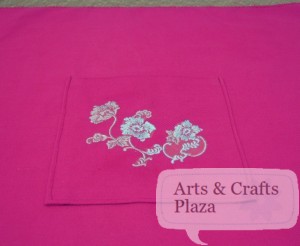
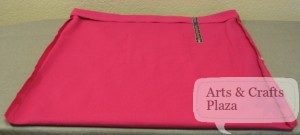
Another view.

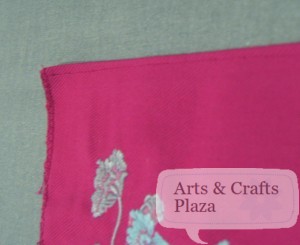
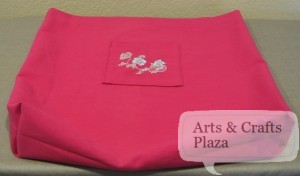
How it looks on the right side of the fabric.

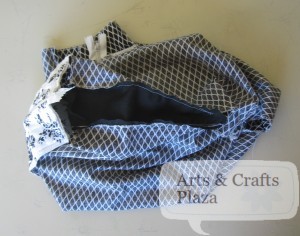
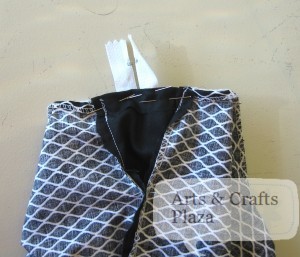
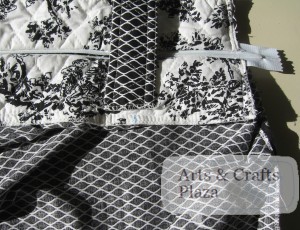
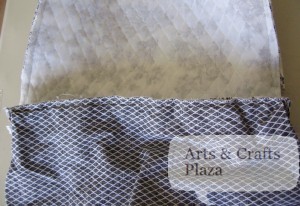
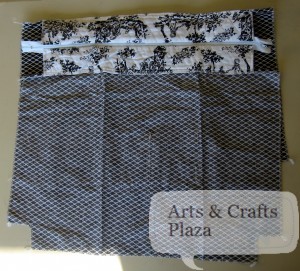
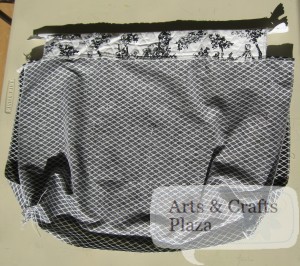
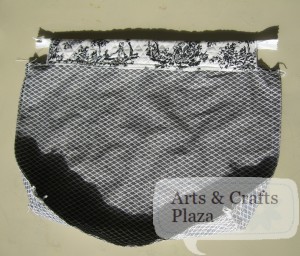
Pin top of bag to lining.

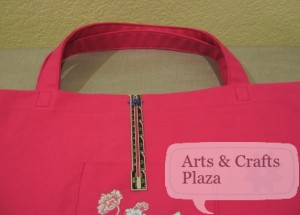
Open the zipper so it’s out of the way.

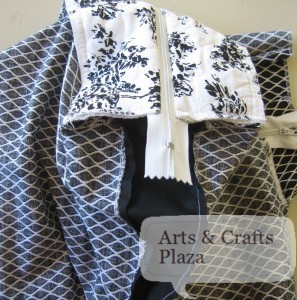
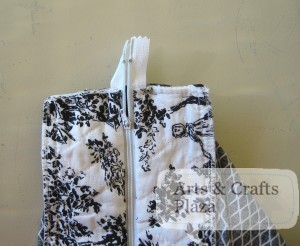
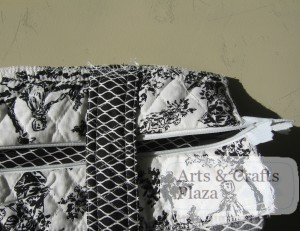
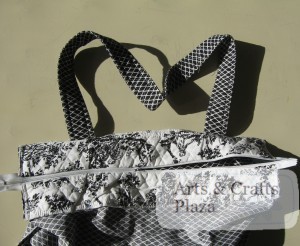
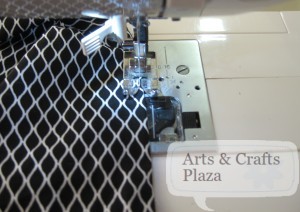
Stitch over zipper in a straight line on the edge.

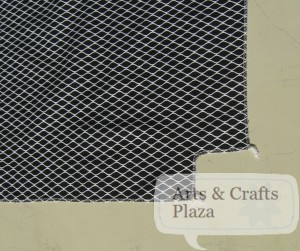
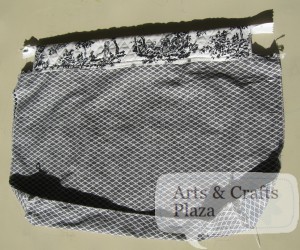
View from the other side.

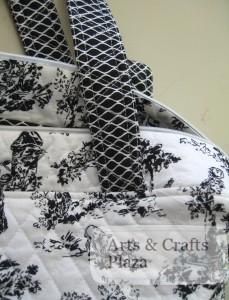
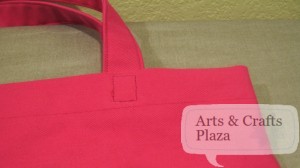
Moving on to the straps.
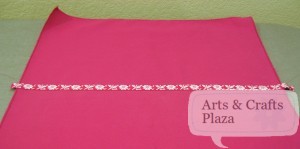
Measure and mark 4 inches from the size of the bag on both sides.

Attach straps on your marking. Use 1/2 inch seam allowance.
Make sure straps are not twisted.

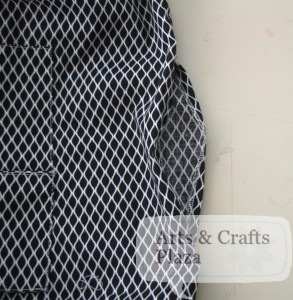
View from the other side.
You may want to reinforce your stitches.
Stay inside your seam allowance.

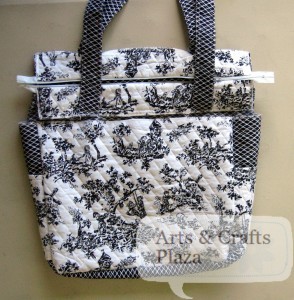
How it should look so far.

Make sure the sides of your bag are the correct size.
In this case 4.5 inches.

Insert your lining into your bag.

I find it helpful to pin first with a few pins, just to make sure everything is where it’s supposed to be.

Turn bag and lining inside out.

Pin and stitch all around the top of the bag, using 1/2 inch seam allowance.
Take extra care of your corners.

Turn bag to the right side.
Use the opening at the bottom of lining and zipper.

Measure 1/4 inch for top stitch.

How it should look.

Time to close the opening at the bottom of lining which we used for turning the bag.

With raw edges of fabric turned inside, top stitch the 6 inches.
Use 1/4 inch seam allowance.

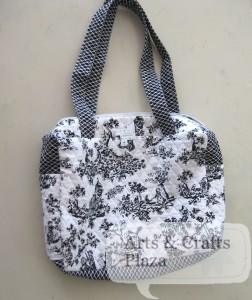
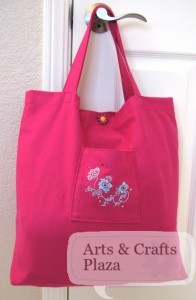
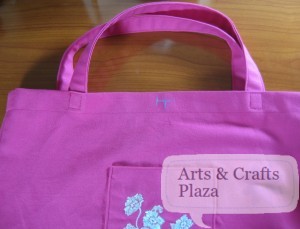
Your bag is now complete.
Final touches, cut any loose thread.

You can find: How to: Diaper Bag Kit – Part 1

Let’s create something!

“How Much Fabric?” Reference Cards ***GIVEAWAY***!

Are you one of “those people” that see a fabric and think, this would be fabulous as a shirt / pants / bag etc. and only later on when you are ready to work on the project start looking for that perfect pattern?
Do you then find yourself wondering well how much fabric should I buy? You don’t want to not have enough and then try and get more of the same fabric. And you don’t want to buy too much especially when it’s a very expensive fabric.
What do you do? You use these wonderful “How Much Fabric?” Reference Cards and no more rough guessing and oops I should have later on.

***********************************

Want a chance to win a “How Much Fabric?” Reference Card Set?
Like Arts And Crafts Plaza on facebook www.facebook.com/ArtsAndCraftsPlaza
Like Gwyn Hug on facebook www.facebook.com/pages/Gwyn-Hug/282217611789610
Put a comment on this post and be entered to win a “How Much Fabric?” Reference Card Set from the complete collection of your choice.
Open to everyone, Gwyn Hug will ship internationally
Winner will be randomly selected January 16th 2012!
Winner will be contacted though facebook.
Winner announced January 17th 2012.

***********************************

The Original “How Much Fabric?” Reference Card Sets –
www.gwynhug.com

There are currently several types of cards available with more to come.
KNOW HOW MUCH FABRIC TO BUY, WITHOUT A PATTERN IN HAND!
Currently Available:
Set 1: Women’s Clothes (6-22/Eur 32-48)
Set 2: Plus Sizes (18-32/Eur 44-58)
Set 3: Men’s Clothes (34-50/Eur 44-60)
Set 4: Babies and Toddlers (Newborn – 6)
Set 5: Children’s (7-16)

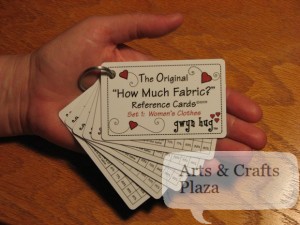
What you can expect to get in the mail is a plastic card, size: 3⅜” x 2⅛” same size as your credit card.
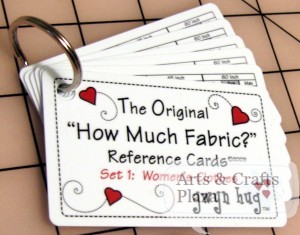
Each set comes with several cards on a ring. Each card has a specific type of clothing.
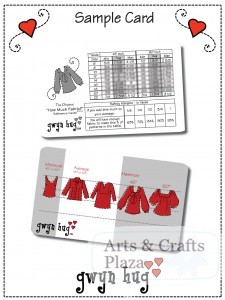
The front of the card has the minimum, average and maximum fabric requirements by clothes size and fabric width as well as the “Safety Margin” table that helps you round up.
The back of the card has designs of clothing that will help you determine the type of outfit

Gwendolyn Campbell  is the creative genius behind these cards. Gwen is an avid sewer. You can check out her blog at After the dress
Gwen and her friend Christine looked at over 2,000 patterns in order to create a single set of cards.
With the help of Beth, a graphic designer, they created the cards.
Another friend, Susan is responsible for the site.
What a creative and resourceful bunch, you go girls!

On the FAQ page you can find all the answers you need.
Some of the questions that you can find answers to are:
How do you use the “How Much Fabric?” tables?
Can I buy just one card, instead of the whole set?
Do I need a Paypal account to buy the cards?
I see you have some pages in other languages. Why not my native language?

Should you have any questions, or  ideas, have other sets of cards you would love.
Do you speak a language that hasn’t been translated yet?
You can even find a short Klingon translation.
Contact Gwen on the contact page or email directly gwynhug@gmail.com.
Gwyn Hug
P.O. Box 90576
Lakeland, Florida 33804-0576

 A look behind the curtain, how did it all start? What is involved in creating these cards?

You know those times when you unexpectedly run across a beautiful, must-have fabric, but don’t have the right sewing pattern immediately available and so you aren’t sure how much to buy? And you want to make sure that you buy enough, but you don’t want to buy too much either… Well, that used to drive me crazy!

A couple of years ago, I finally decided to come up with a solution for this problem. My day-job involves analyzing a lot of data and so I realized that  I didn’t have to guess how much fabric the “typical” skirt pattern (for example) calls for – I could actually get the data and calculate it!

I started with my own substantial stash of patterns – typing those tables on the back of each pattern envelope into a spread sheet-so that I could calculate the averages. Before I knew it, I was searching the internet and downloading the pattern envelope images from hundreds, and then thousands, of patterns…

And the result of all that data entry and analysis – The Original “How Much Fabric?” Reference Cards! These are small, sturdy plastic reference cards that slip easily into your purse. There are sets that cover clothes for women, men, babies, toddlers and children. Each set has cards for different types of garments – tops, pants, jackets, dresses etc. Each card has a table that presents the minimum, average and maximum fabric requirements broken down by fabric width and garment size. Each card also has sketches to help you visualize what type of garment could be made with the minimum, average and maximum amounts of fabric.

They are the perfect “notion” for fabric shopping! You’ll be able to shop with confidence, knowing that you are buying enough fabric, but not buying too much and wasting your money.

What can you tell me about your hobbies and favorite thing you do?

My day-job is in research – so I design experiments, analyze data and write reports. My hobby is sewing – it’s such a nice contrast to my day-job. I get to work with my hands and I’m surrounded by beautiful colors and textures and patterns. My sewing projects only take a few hours or days – not years, like my research projects. I have a concrete product when I’m done – something I can hold in my hands, show to someone else, and put into practical use right away.

I love sewing for family and friends – letting people pick a fabric that speaks to them and turning it into something that becomes a part of their lives. I originally came up with  “Gwyn Hug” as my sewing label. It has 2 meanings that make it the perfect finishing touch on the clothes that I make for the people I love. First, it brings to mind the thought that when they put on my garment, it’s like I am wrapping them up in a hug. Second, in Welsh (my ancestry), it roughly translates to “a blessed cloak.” (And by “roughly” I mean you have to refer to like the 19th possible translation/definition for each word…) Okay, it’s a stretch, but isn’t it a wonderful image?

What crafting skill do you wish you had?

So, this may seem a bit extreme – but a few years ago I bought a used floor loom and I am in the process of teaching myself how to weave! Did you know that women have been weaving in some form or another for about 10,000 years! Not only that, but the first computers were modeled after early looms! How cool is that? I love the feeling of connection to women through all of history when I weave. And I love the way weaving combines creativity and art and math (weave patterns can be defined by sequences of binary vectors). My ultimate goal is to sew garments with fabric that I have woven.

How has opening your shop affected your life?

I guess the best thing about opening up my shop is the wonderful people that I have “met” – from all around the world! One of my customers is a fashion designer from South Africa, about to launch a line of clothing. I’ve learned about a 400 year old fabric market in the Netherlands. I met an Australian “minist” – someone who owns an original Mini auto mobile – she even sent me a picture in which she is posing by her Mini panel van. I could go on and on – I’ve just met so many really wonderful people!

What was your experience of having your first sale ever?

I announced the opening of my store in a post on my blog, and my first sale came within 30 minutes of my post going up. I was so jazzed! I thought it signaled the opening of flood gates! Of course, my second sale didn’t come until several days later… 😉

Give me some insight on you personally, do you give back to your community in some way?

I have been doing volunteer tutoring of some form or another for the last 11 years. I started as a Laubach adult literacy tutor and had three wonderful students across a 6 – year span. Then I stumbled into the opportunity to (volunteer) teach sewing to some young immigrants who didn’t speak English. That was quite a challenge for all of us! (I didn’t speak any Spanish at the time.) I’m sure those first few lessons would have looked comical to an outsider – there were many times when we were all at a loss and just stared at each other helplessly… But we all persevered, they learned the basics of sewing, I learned some broken Spanish and we all became good friends.

That experience got me connected into our local immigrant community and for the last 3 years I have been (volunteer) teaching “ESL” (English as a Second Language) at a local church. Through all of this, I have met some truly amazing and inspiring people and made life – long friends. I hope that I have helped others to have a better life in some way – but I know for sure that my life has been enriched!

Where else can we find out more about you and your creations?

I have a personal (mostly sewing-related) blog http://aftertheDRESS.blogspot.com
Facebook page for Gwyn Hug www.Facebook.com/GwynHug

***********************************

Want a chance to win a “How Much Fabric?” Reference Card Set?
Like Arts And Crafts Plaza on facebook www.facebook.com/ArtsAndCraftsPlaza
Like Gwyn Hug on facebook www.facebook.com/pages/Gwyn-Hug/282217611789610
Put a comment on this post and be entered to win a “How Much Fabric?” Reference Card Set from the complete collection of your choice.
Open to everyone, Gwyn Hug will ship internationally
Winner will be randomly selected January 16th 2012!
Winner will be contacted though facebook.
Winner announced January 17th 2012.

***********************************

Happy sewing everyone!

Let’s create something!

How To: Diaper Bag Kit – Part 1

Ever come across a kit at the store and think, would it be easy or difficult to make?

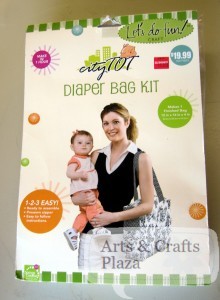
This is what you can expect to find in the kit:
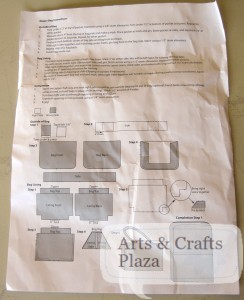
A basic instructions page

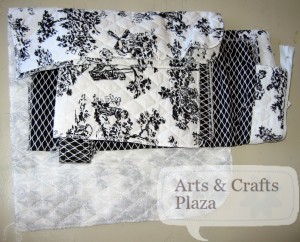
Pre-cut fabric pieces that will need to be assembled.
It’s nice that all the pieces of fabric are pre-serged.

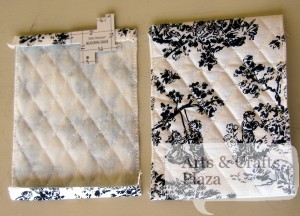
Start off by folding and ironing 1/2 inch off top and bottom of the pockets towards the back.

Top stitch with 3/8 inch seam allowance.

Start working on the side panel of the bag by marking 4 inch on both sides.

Pin when lining up top pockets to marked line on side panel. Both pieces right side of fabric facing up.
Stitch bottom of pockets to side panel with 1/4 inch seam allowance.

Mark center point on bottom on wrong side of fabric, of front, back and side pieces.

This next part should have been straight forward. Unfortunately, not so much…
Attach with pins right sides together of front and side panel.

Stitch around with  1/2  inch seam allowance.

Repeat for back panel of the bag.

The lining of the bag is mostly pre-assembled in this kit.
The zipper is in place and attached to sides of lining as well as two inside pockets.

Turn your attention to bottom of lining.

Fold corners of lining right sides together.

Pin and stitch corners of lining.
Repeat on both lining bottom pieces.

It helps if you put the lining corners one inside the other.

Pin around the outside of the lining.

Notice to pin in place the fabric when some of it is turned (right side of fabric).

Since this diaper bag is square at the top, pay extra attention to lining up the top part.
Don’t pin by the side on the lining.

Stitch with 1/2 inch seam allowance.
Leave 6 inch opening at the bottom center of the lining.

Assuming that all pieces of fabric in the kit are to the exact size they should be… big mistake.
Had to take some seams out, measure, add pieces of fabric and reassemble.

See part 2 to how it all worked out in the end.
You can find: How to: Diaper Bag Kit – Part 2

How To: Dream 1000 Project Bag – Part 2

Happy Thanksgivings everyone!
Brother started ‘Dream 1000 Project’ by requesting folks to make a bag to donate to the kids affected by the Tsunami and Earthquake in Japan.

 You can find: How To: Dream 1000 Project Bag – Part 1

To create the straps of bag, take one of the 5″ x 20″ strip pieces.
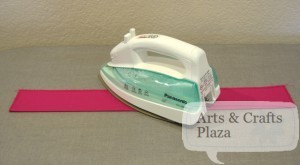
Fold it in half, right side of fabric facing out and iron.

Open fold.
Fold each side towards just created center fold.
Iron in place.

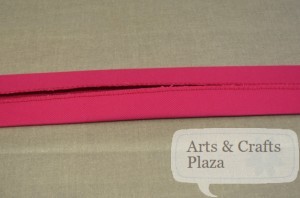
Take both sides and fold together.
Iron into place.
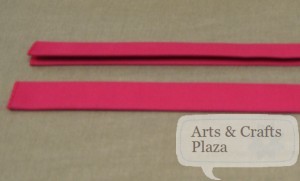
Repeat for other strip.
Top stitch on both sides of strips.

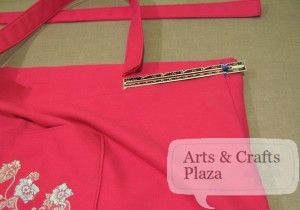
To attach strap to bag, measure 5″ from side of bag.

Attach to inside of bag, pin and stitch a square for added strength.
Make sure straps are aligned with each other and are not looped.
Cut a piece of paper the size of the square and use it as guide to have uniform square stitches.

To attach the button, find center position and mark 1/2″ from top of bag.

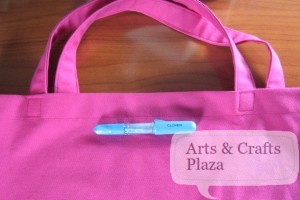
Clover caulk pens are easy to use for all your marking needs.

Center button on marked line and mark on both sides of button.

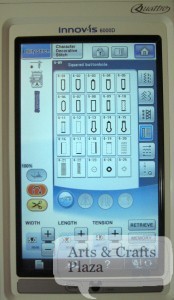
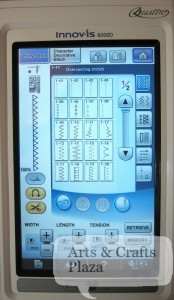
Use buttonhole foot, marked as A. Buttonhole # 9 was selected for this type of fabric.

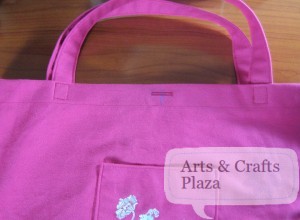
Cut open your buttonhole and make sure button goes through.
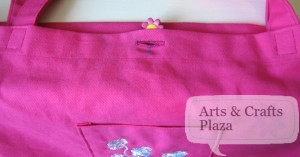
Attach button on inside of bag.

Attach button on inside of bag.

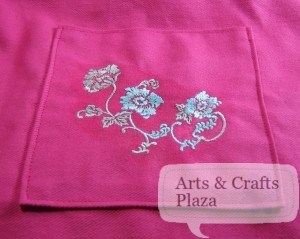
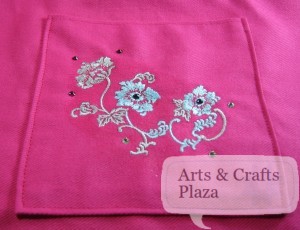
Bag is now ready for your final touches of decoration should you chose to add some.

Start of by removing any remaining pieces of the water soluble topper .

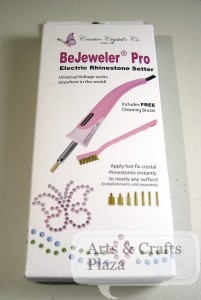
Add a few Swarovski Crystals or Rhinestones hot fix to bag.

Final touches:
Cut off any loose thread
Remove caulk markings

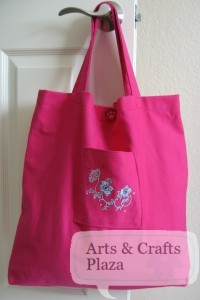
Bag is now complete.

Be proud! you just made a kid in Japan very happy.
Don’t forget, deadline to ship bags: December 8, 2011

For more details about ‘Dream 1000 Project’: www.artsandcraftsplaza.com/?p=689

 You can find: How To: Dream 1000 Project Bag – Part 1

Let’s create something!

How To: Dream 1000 Project Bag – Part 1

Thanksgivings is fast approaching and with that spreading some goodwill.
Brother started a ‘Dream 1000 Project’ by requesting folks to make a bag to donate to the kids affected by the Tsunami and Earthquake in Japan.
Deadline to ship bags: December 8, 2011
For more details about this project: Dream 1000 Project

Are you a beginner sewer? Just want to check out how the bag is constructed before taking it on?
Let’s get started!

Suggested fabric: Denim or Quilting fabrics.
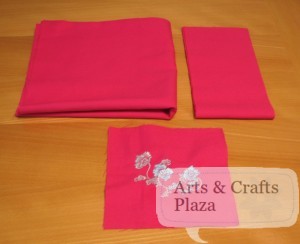
Start of by cutting your fabric to:
One 40″ x 20″
Two 5″ x 20″
Optional pocket, one 6″x 6″

As these bags are not lined, it is important to serge or overcast all raw edges of fabric.
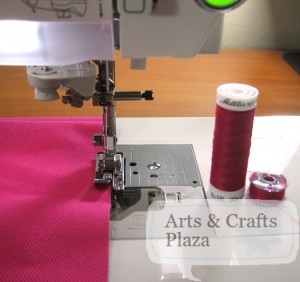
For those without a serger, use a G foot and choose one of the overcast stitches.

Put your fabric against the metal part in the middle of your foot.
Use same color thread as your bobbin.
Suggested thread: Polyester Mettler.

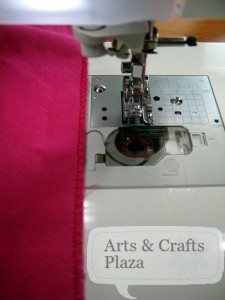
How your raw edges of fabric should look like.

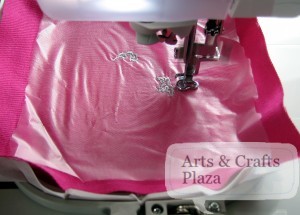
To create the pocket, we start by Embroidering it first.
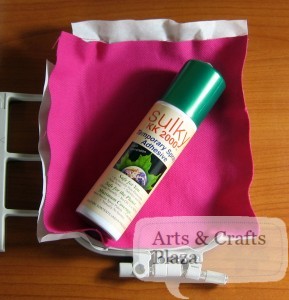
Hoop a tear away stabilizer, use Spry adhesive to attach your 6″x 6″ piece of fabric.
On top of that put your water soluble topper with spry adhesive.

Embroider something you think the kid that will get this bag will appreciate.
Think about color combination and overall look of the bag.

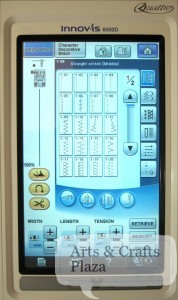
Change the foot of your machine and select a straight stitch.
This straight stitch uses a J foot.
Experiment with a scrap of fabric first and then adjust width and length of the stitch.

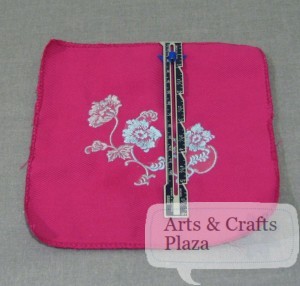
Measure 1/2 an inch from top of pocket.

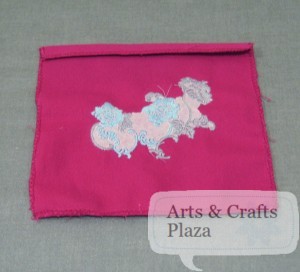
Fold to the back of pocket.
Iron in place for ease and better result.

Top stitch top of pocket.

Folder back other 3 sides of pocket 1/2″ and iron.
Find center position on front of bag and pin.


Stitch both sides and bottom of pocket to bag.

Should you have any marking on fabric like this fold on fabric on back side of the bag, it’s a chance to decorate.

Make a straight line mark with caulk on unwanted fold line.

Add a ribbon in matching or contrasting color.
You may want to add another piece of fabric instead of ribbon.
Top stitch ribbon on both sides to secure to fabric.

With right sides of fabric facing together, Stitch both sides of bag with 5/8″ seam allowance from edge of fabric.

Trim and access ribbon or any loose thread.

Iron open the side seams.

From top of bag fold towards the inside of bag 1 1/4″ and iron or pin.

Use straight or decorative stitch 1 1/4″ from top of bag.
This picture shows straight stitch.

To create depth to the bag, add a gusset.
At bottom side of bag, measure 1 1/2″ from corner and mark.
Mark other bottom side as well.

Stitch over line on both sides.

Turn bag right side out.
View of how gusset changed appearance of bag.

 You can find: How To: Dream 1000 Project Bag – Part 2

Let’s create something!

Celebration of Craftswomen San Francisco

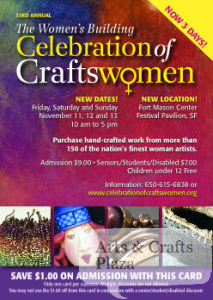
Celebration of Craftswomen took place in November 11-13, 2011, San Francisco.
Bask in the view of San Francisco when you come to this festival.

It began in 1976 as a small crafts show.
For the past three decades, The Women’s Building Celebration of Craftswomen has allowed Bay Area residents, along with visitors of San Francisco from throughout the world, to discover the work of the nation’s best female artisans and fine artists.
Celebration of Craftswomen is the largest event celebrating the craft of women in the nation.
www.celebrationofcraftswomen.org

To follow on Facebook:
www.facebook.com/celebration.craftswomen
Among the contemporary and traditional handcrafted items you can fine:
Functional and decorative ceramic and glass vessels.
Sculpted wood and works of metal.
Polymer  clay, beaded, stone and precious metal jewelry.
Women, painted silk, leather clothing and wearable.
Home Furniture and accessories.
Fine art sculpture.
Photography.
Watercolor and oil paintings.
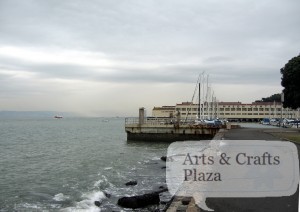
Don’t miss the hidden treasures as you walk by them, such as, Greens Restaurant, Fort Mason in San Francisco for some beautiful bayside vegetarian dining.
www.greensrestaurant.com
The Oatmeal raisin cookie was to die for!
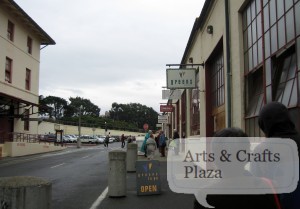
THE WOMENS BUILDING (TWB) is a multi-service community center whose mission is to provide women and girls with the tools and resources they need to achieve full and participation is society.
The Women’s Building is located at 3543 18th Street in San Francisco.
For information call 415-431-1180 or visit www.womensbuilding.org
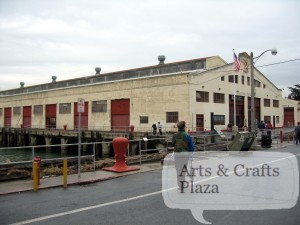
Always ask the artist permission to take a picture of their booth and/or individual item.

A recap of select booths:

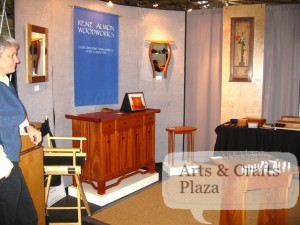
Rene Almon Woodworks, her inspiration comes from organic shapes and the wood itself. Building long lasting quality furniture, pleasing to the eye and inviting to touch.
www.renealmonwoodworks.com
Alexandra Von Burg, creating Fairy Tale imagery with soft sculptured dolls and fiber paintings
Look for her workshops to hone the art-making skills that enhance anyone’s natural talent.
www.alexandravonburg.com
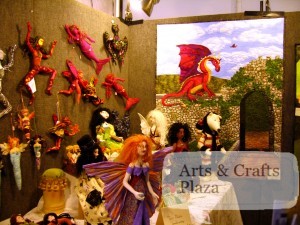
Anne Klocko, produces different types of artwork, Vinyl Clay Artwork, Figurative Sculpture and Ceramic Sculpture are whimsy original works of art.
www.anneklocko.com
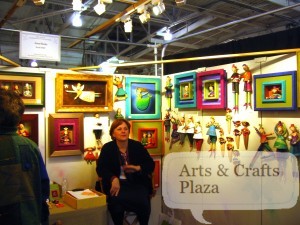
Margaret Grisz-Dow, passionate about art, her ceramic work & drawing she is integrating these by making incised drawings on the surface of her clay pieces.
Teaching  in a relaxed aesthetic environment, which is often in her own beautiful home studio.
Contact: mgriszdow@yahoo.com
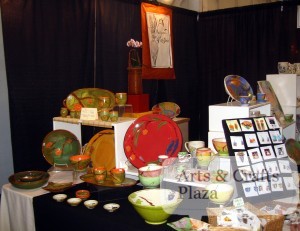
Tess McGuire, hats are knitted on a knitting loom out of wool yarn and then felted using hot water, soap and friction to turn a loosely knitted fabric into a warm, solid, and virtually waterproof garment.
www.tessmcguire.com
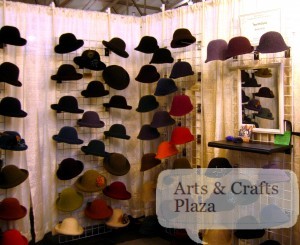
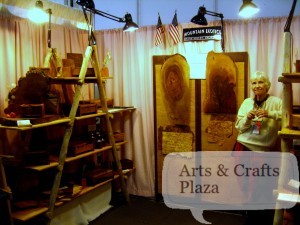
Mountain Exotics, taking the beauty, texture of wood to form our unique products.
We create heirlooms from ‘Tree to Street.
www.mountainexotics.com
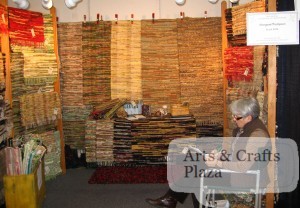
Monterey Fiber and Design by Margaret Thompson
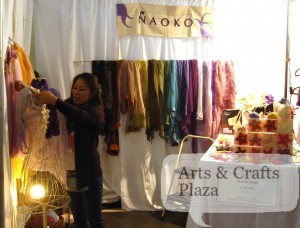
Naoko, Creating botanically themed felt and glass Jewelry.
10% of sales are donated to humanitarian non profit organizations.
www.naokonojiri.com
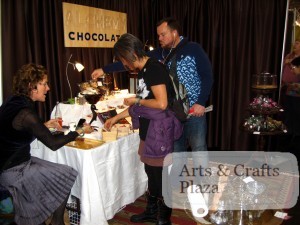
Alchemy, Fine chocolate, pastry, & baked delicacies, Savory catering, Classes.
www.facebook.com/pages/Alchemy/130946720282942
Ruxton Designs, mixed media art, vintage buttons, metal hardware, felt all combined in a unique way by Nicky Ruxton.
www.ruxtondesigns.com

Sharing a booth with Laube photography, a joyful rendition of California by Nancy Laube.
www.nancylaube.com
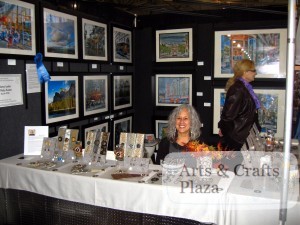
Large Leather is a beautiful store in Sonoma, California.
Choose from in house designs to custom orders, by Paul Terwilliger and Jessica Zoutendijk.
www.largeleather.biz
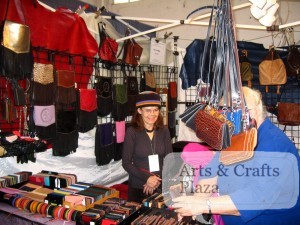
JYC Arts, Fine Arts painter, Illustrator, Fiber artist as well as Jeweler and quilter.
Working with non traditional fabrics in traditional ways.
www.janecorich.com
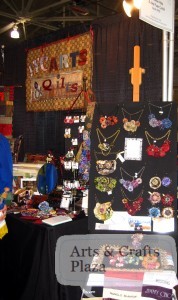
Janice Cormier, functional and non functional ceramic art, sculptural vessels, figurative sculpture, small series of functional pottery, and Jewelry.
www.janicecormier.ca
Sharing a booth with Judy Beebe Designs, Merino wool scarves and gloves.
Creating elegant, comfortable, neck pieces with rich texture & color.
www.etsy.com/shop/judybeebedesigns
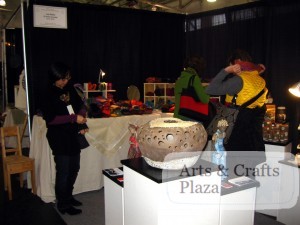
Theresa Honeywell, provocative imagery and macho icons are rendered into delicate and beautiful pieces of art.
Her inspiration comes in the contrast between art and craft, macho and feminine.
www.theresahoneywell.com
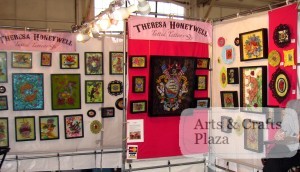
Booths 421-422 is a collaborative mixture of a group of women, a web site is in the pipe line.
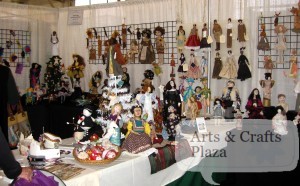
To contact the artists directly:
Wanda Fudge, wfudge@peoplepc.com
Colleen Ehle Patell, mixed media figurative art, www.wildwackywomendesigns.com
Suzanne Duran, artist, miblu3@yahoo.com
Mary Porter Vaughan, fine art dolls, www.mpvdolls.com
Donna Perry, art dolls, mixed media artist, dreamandplay.blogspot.com
Zanaib Nia, artist, zniagreen@yahoo.com
Stephanie Smith, doll maker, smitharts@yahoo.com
Bonnie Hoover, Whimsical cloth doll creations, bondonhoov@sbcglobal.net
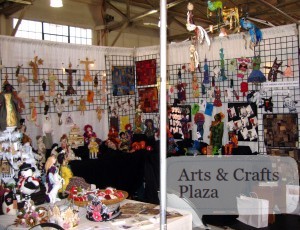
Tree Stump, Master wood artisans Christine and Ron Sisco prove Fine Art can be functional.
In addition to custom furniture, their most popular pieces are spoons and bread boards.
www.treestump.biz
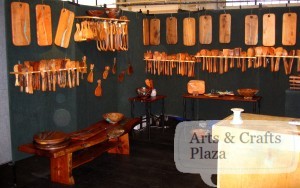
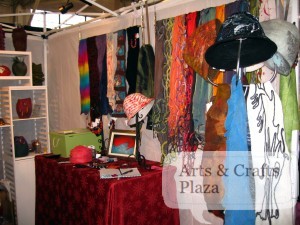
Santa Barbara Felted Fibers, wearables fiber Art, soft and billowy, exciting and sometimes just wild and crazy.
www.sbfeltedfibers.com
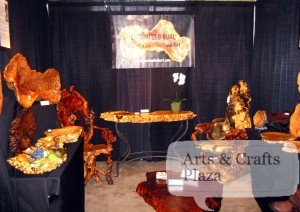
Enchanted Burl, Burls form as an outgrowth on the trunk of a tree and/or within the root system transformed to tables, chairs, lamps, clocks, vessels and serving platters.
www.enchantedburl.com
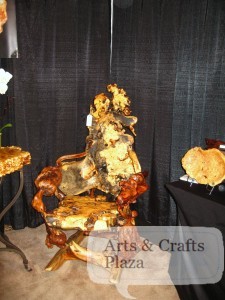
A close up look on this gorgeous crafted chair.
The vessels have been used as food servers, three-dimensional wall art, center conversational pieces, and even spiritual baptismal vessels.
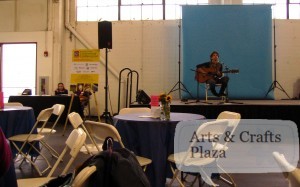
Browse the list of the entertainment schedule that was offered at the rear stage
www.womensbuilding.org/craftsfair/Womens_Building_Craft_Fair/ENTERTAINMENT.html
Zola De Firmian, Fine Art Ceramics and tile design, one-of-a-kind porcelain and stoneware pieces are hand-built, or cast, then carved, using simple molds of own design.
Project Greenheart, First, 10% of sales go to support programs that connect youth with art and nature.
www.zinfusionz.com
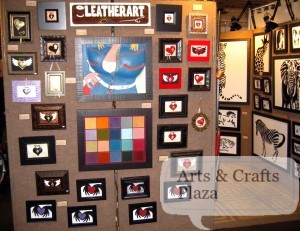
Dawn Mountain LeatherArt, creating and designing original Leatherart pieces.
Decorative techniques such as trapunto, pleating, weaving, and beading are frequently used on one-of-a-kind pieces
www.dawnmountainleatherart.com
FOR INFORMATION ABOUT THE SHOW CONTACT:
TEEVAN PRODUCTIONS
1557- 15TH AVE.
SAN FRANCISCO, CA 94122
PHONE: (650) 615-6838
FAX: (415) 731-6794
EMAIL: CRAFTSWOMEN@GMAIL.COM

Hope you enjoyed Celebration of Craftswomen!
Didn’t make it this year? Try and make it to next year.

All pictures were taken after approval by the artist.

Let’s create something!


Free Craft and Crochet eBooks

Came across this blog post at http://www.manycreativegifts.blogspot.com, enjoy!
It’s a great blog with lots of ideas and information.
With the holiday season coming, you are sure to want to create something for your family and friends.

Free Craft and Crochet eBooks

I’m so glad to be able to pass along two new and free ebooks from the FaveCrafts folks!
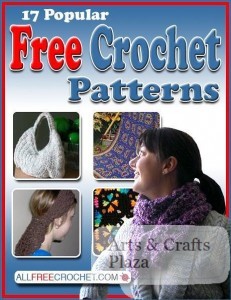
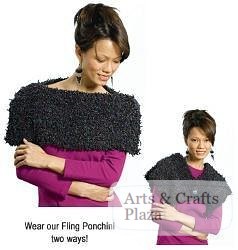
The first one has 17 popular crochet items that are easy enough for a beginner to make, like a fun little caplet, a bottoms up hat, and a really neat 8-point ripple afghan.
You can find the free and instant download at:
http://www.allfreecrochet.com/Miscellaneous-Crochet/17-Popular-Free-Crochet-Patterns-eBook

The second book will start to get you in the mood for the holidays.

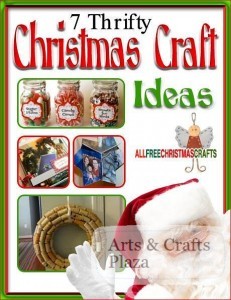
This ebook has 7 fun craft projects for Christmas time.
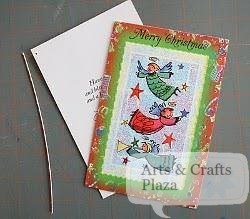
I think I’m going to give the Christmas Card Saver a try!
Also included are the Felt and Wire Angel (pg. 5), the Christmas Candy Jar Labels (pg. 11), and a Wine Cork Wreath (pg. 19).
You can get this eBook free at:

http://www.allfreechristmascrafts.com/Christmas-Ornament-Crafts/7-Thrifty-Christmas-Craft-Ideas-eBook

Happy Crafting!!

September is national sewing month

September is national sewing month!

The observance of National Sewing Month began in 1982 with a proclamation from President Ronald Reagan declaring September as National Sewing Month “In recognition of the importance of home sewing to our Nation.”

You may belong or are looking for a a sewing guild.
American Sewing Guild is a membership organization that welcomes sewing enthusiasts of all skill levels and from many different walks of life. Chapters are located in cities all across the country and members meet monthly to learn new sewing skills, network with others who share an interest in sewing and participate in community service sewing projects.
http://www.asg.org
2011 National Sewing Month Sew for the Love of It!
http://www.nationalsewingmonth.org/html/contest.html
Contest runs through September 30, 2011

Will be checking the San Mateo Quilt, Craft & Sewing Festival, you can find more information about location and time:
http://events.artsandcraftsplaza.com/quilt-craft-andamp-sewing-festival-4272.html

Happy sewing everyone!

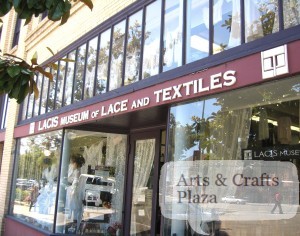
Lacis Museum of Lace & Textiles

The second part of the field trip with the sewing class, was to the Lacis Museum of Lace & Textiles


Established in 2004 by merging of the Lacis Retail store and the extensive collection of Kaethe and Jules Kliot.
An amazing dedication to the preservation of the finest of human handiwork.

You will find thousands of specimens from pre-Columbian Peru, the finest from the 17th c. European courts and examples of the machine laces exemplifying the 19th c. industrial revolution.

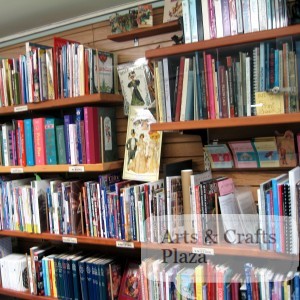
You are sure to find something interesting in the extensive library.
Rare & Special Titles are available.

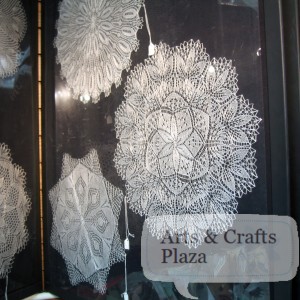
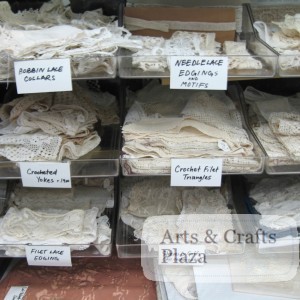
Be sure to check the displayed lace within the panels

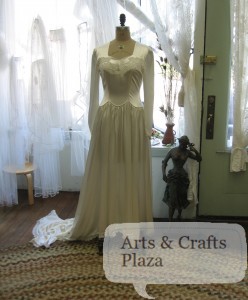
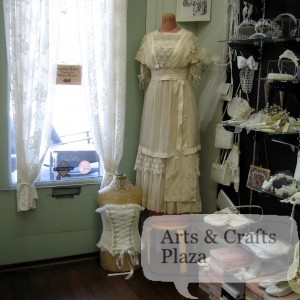
A wonderful place dedicated to preserving cherished heirlooms.

A wall of accessories to match.

They offer free shipping for all retail orders placed online.

Full Wholesale privileges are available.

Discounts are offered to Teachers, Schools and Institutions and Manufacturers .

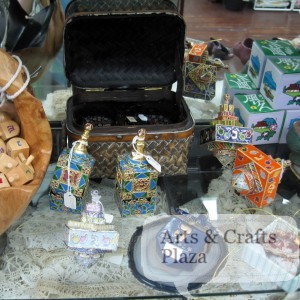
They even have dreidels.

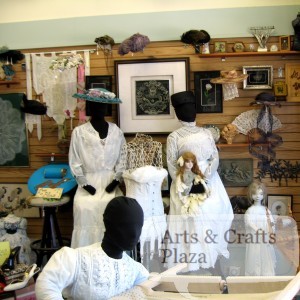
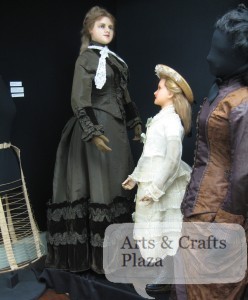
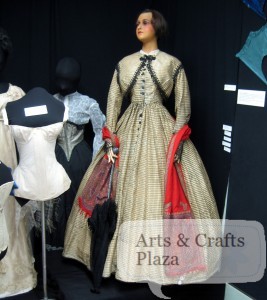
Remember “Gone with the Wind”? This is currently on display curtsy of the owners.

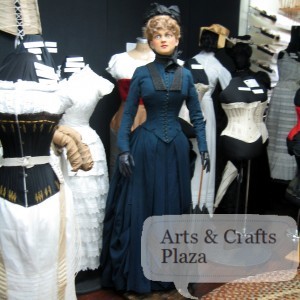
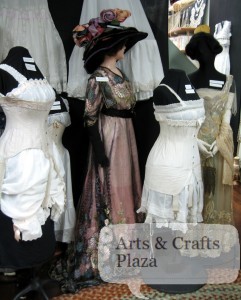
A few more period clothing on display.


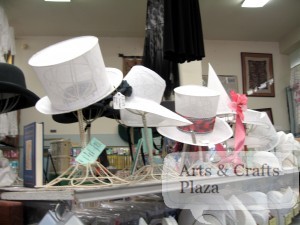
 A gorgeous gown and a matching hat.

Be sure to check the new items introduced page for new items being available.

Lacis Bridal Services, send a photo of your dress and get photocopies of available laces.

Take a look at the Free Downloads page.

Want to check out the store?

http://lacismuseum.org

2982 Adeline Street
Berkeley, California  94703
 
at Ashby & Adeline St., adjacent to the “Ashby” BART Station
Hours: Monday thru Saturday 12:00 – 6:00 pm
Free Admission
tel: 510-843-7290

Field Trip to Stone Mountain & Daughter

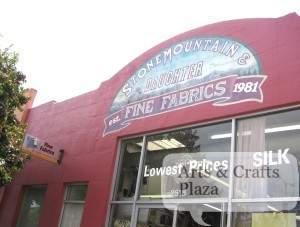
Went on a field trip to Stone Mountain & Daughter, a wonderful fabric store, with the sewing class.

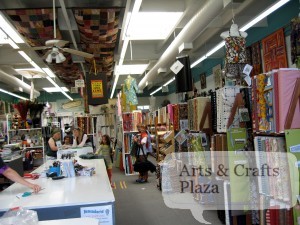
Stone Mountain & Daughter store has 2 floors filled to the brim.
You will find brochures with the different selection of sewing and quilting classes they are offering, as you enter the store.
You can find a list of classes being offered:
http://www.stonemountainfabric.com/sewing-classes.htm

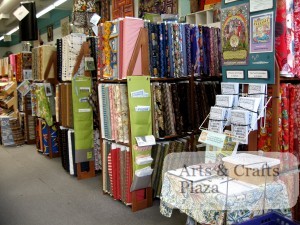
You have great selection of various fabric types.
As well as, grouping of  cotton prints and solids for the quilter, fashion and DIY sewer.
You will find Silks, Jacquards, Dupioni, Charmeuse, Chiffons and so much more!
Designers fabric such as Amy Butler, Robert Kaufman, Alexander Henry, Kaffe Fassett, Kokka of Japan, Echino and many others.
Look through the wonderful selection of yarns and books.

The top floor is where the classes are held as well as 50% discounted fabrics.
You can also find a variety of patterns, notions and accessories for your convenience.

Want to check out the store?

www.stonemountainfabric.com

2518 Shattuck Avenue at Dwight Way
in downtown Berkeley, CA 94704

Local 510-845-6106
Toll free 1-866-4SEW-FUN
Fax 510-845-6114

OPEN 7 DAYS • Mon – Fri 10-6:30 • Sat 10-6 • Sun 11-5:30
please call for special holiday hours
email: fabriclady3@gmail.com