Happy Thanksgivings everyone!
Brother started ‘Dream 1000 Project’ by requesting folks to make a bag to donate to the kids affected by the Tsunami and Earthquake in Japan.
You can find: How To: Dream 1000 Project Bag – Part 1
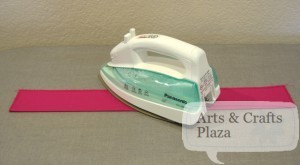
To create the straps of bag, take one of the 5″ x 20″ strip pieces.
Fold it in half, right side of fabric facing out and iron.
Open fold.
Fold each side towards just created center fold.
Iron in place.
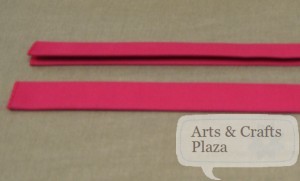
Take both sides and fold together.
Iron into place.
Repeat for other strip.
Top stitch on both sides of strips.
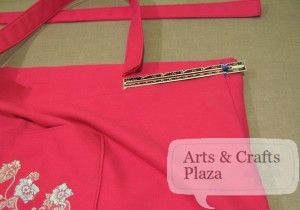
To attach strap to bag, measure 5″ from side of bag.
Attach to inside of bag, pin and stitch a square for added strength.
Make sure straps are aligned with each other and are not looped.
Cut a piece of paper the size of the square and use it as guide to have uniform square stitches.
To attach the button, find center position and mark 1/2″ from top of bag.
Clover caulk pens are easy to use for all your marking needs.
Center button on marked line and mark on both sides of button.
Use buttonhole foot, marked as A. Buttonhole # 9 was selected for this type of fabric.
Cut open your buttonhole and make sure button goes through.
Attach button on inside of bag.
Attach button on inside of bag.
Bag is now ready for your final touches of decoration should you chose to add some.
Start of by removing any remaining pieces of the water soluble topper .
Add a few Swarovski Crystals or Rhinestones hot fix to bag.
Final touches:
Cut off any loose thread
Remove caulk markings
Bag is now complete.
Be proud! you just made a kid in Japan very happy.
Don’t forget, deadline to ship bags: December 8, 2011
For more details about ‘Dream 1000 Project’: www.artsandcraftsplaza.com/?p=689
You can find: How To: Dream 1000 Project Bag – Part 1
Let’s create something!


Write a Comment