Cash Mob

A new phenomenon out there, Cash Mob…

What is Cash Mob?
http://cashmobs.wordpress.com/about-us

On designated date folks go into small, local businesses and shop there, spend $10-$20 each on the goods and services offered. This helps the business owner and keeps our money in our community. The best way to promote and grow local businesses is to support and patronize them. Then head to the local restaurant, bar or pub to celebrate with your news friends.

First “Cash Mob” took place on November 16, 2011 organized by Andrew Samtoy, an attorney at Dworken & Bernstein. It was later on discovered that the first “Cash Mob” actually took place in Buffalo, NY, on August 5, 2011, and was organized by blogger and an engineer for Oracle Corp, Christopher Smith.


Looking for a Cash mob near you?
http://cashmobs.wordpress.com/near-you

If you know of another Cash Mob, let them know!
cashmobs@gmail.com

Looking for International Cash Mobs, check:
https://cashmobs.wordpress.com/international-cash-mobs

To follow on Twitter @Cashmobs
Bookmark www.cash-mobs.com


Mob Rules

Taken from: https://cashmobs.wordpress.com/rules-2

Here are the rules we’ve developed for running cash mobs.  THESE ARE JUST SUGGESTED RULES!!!

  1. The mob date and meeting location must be announced at least a week in advance via Twitter, Facebook and/or email.
  2. The amount to spend will not be more than $20, although people can spend more if they wish.
  3. The business must have products that cost less than $20 for both men and women.
  4. The business must be locally owned and independently operated.
  5. The business owner must give back to the community in some way.
  6. The business owner must approve the Cash Mob before the mob is announced.
  7. The business must be within one block of a locally-owned watering hole.
  8. Cash Mobbers must join us for celebratory drinks after the successful mob.
  9. The cash mob will occur during the evening on a weekday or on a weekend.
  10. Pictures will be posted to the blog after the CashMob.
  11. Parking or public transportation must be available.

At the mob, there are three rules:

  1. Spend $20;
  2. Meet three people you didn’t know before;
  3. HAVE FUN!!!


Saturday March 24, 2012 was International Cash Mob Day. Missed it? No worries, another one is coming up shortly.

Coming up:

International Cash Mob Day II: May 25, 2012
Where will you be?
Keep your eyes on twitter feeds, facebook pages, G+, blogs…
Start your own Cash Mob, support your local Arts and Crafts Mom and Pop store!
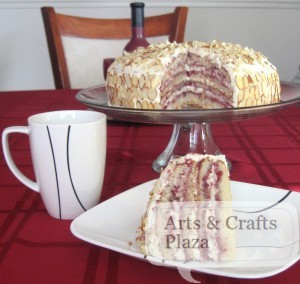
Almond-Scented White Cake – Part 2

You can find: Almond-Scented White Cake – Part 1

While you are waiting for the cake to cool, it’s time to turn your attention to the frosting.

Frosting:

  • 1 cup mascarpone
  • 1/4 cups confectioners’ sugar
  • 1 1/4 cup heavy cream

You will need 1 1/4 cup heavy cream.

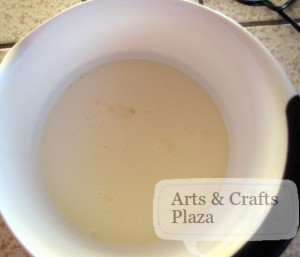
Pour heavy cream into a bowl.

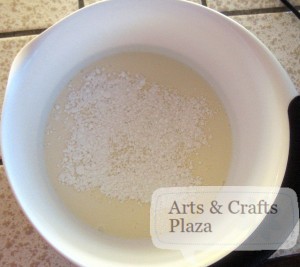
Add 1/4 cups confectioners’ sugar.

Whip together using an electric mixer set on medium-high speed.

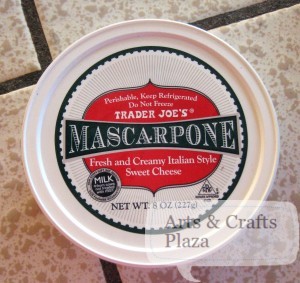
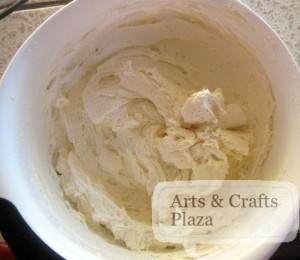
Fold in 1 cup Mascarpone.

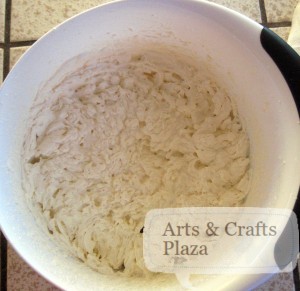
How the frosting should look.

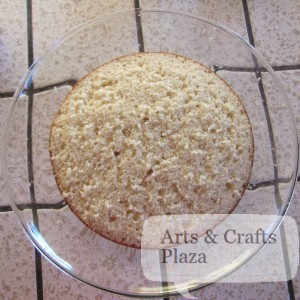
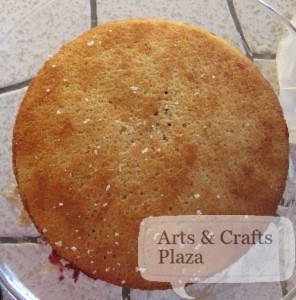
Both cakes will need to be cut in half.
Use a long serrated knife, cut each cake in half horizontally.

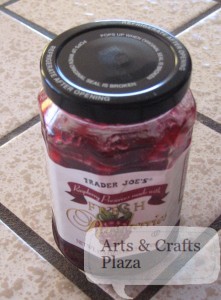
We elected to use Raspberry preserve.

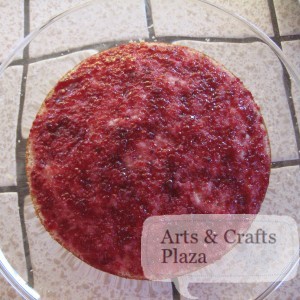
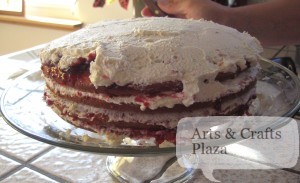
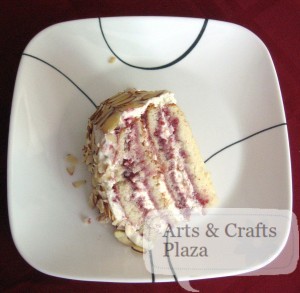
Place half a cake on a plate and spread with Raspberry preserve.

Spread some of the frosting on top.

Place second half of cake on top.

Repeat for all layers.

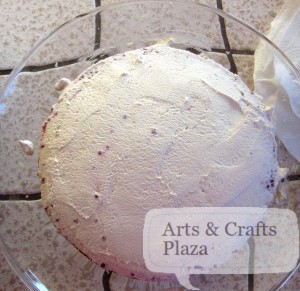
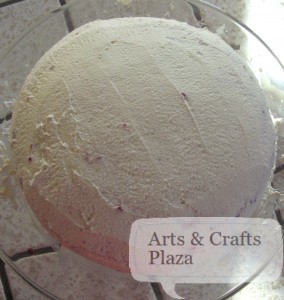
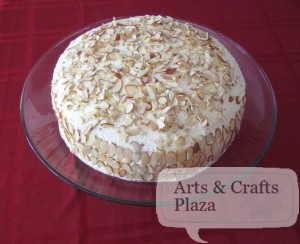
Spread the remaining frosting over the top and sides.

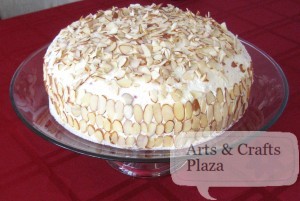
Press the toasted almonds onto the sides and sprinkle on top.
Clean edges of cake plate.

Time for taste test…
Cut a piece and enjoy!
Serve immediately, or cover with a cake dome and refrigerate for up to 1 day. Bring to room temperature before serving.
Makes one 9-inch cake; serves 10 to 12.

You can find: Almond-Scented White Cake – Part 1

Let’s create something!

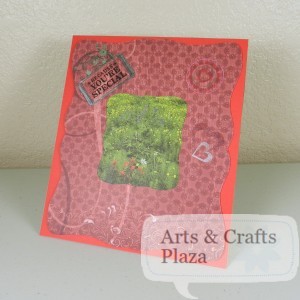
How To: Mother’s Day Photo Frame

Mother’s Day is just around the corner.
Let’s make mom a photo frame with a picture of the family.

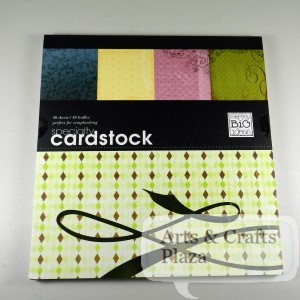
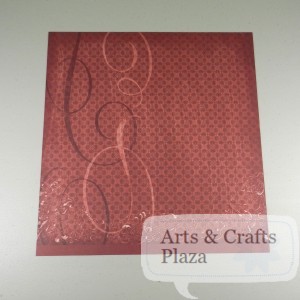
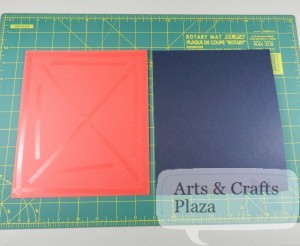
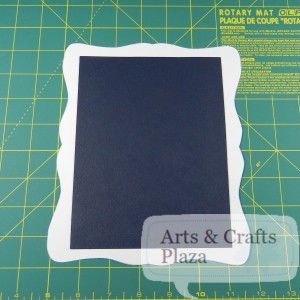
Pull out one of your card stock.
This is Speciality Cardtock, Me and My Big ideas.

Chose a page that you think will look the best.

This step can be done directly on your card stock paper.
It will work even better, if you start of with just a printer paper or any scrap paper you have around.
This way you will not have any fold marks on your finished project.
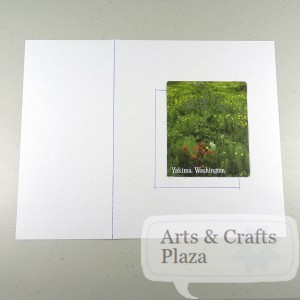
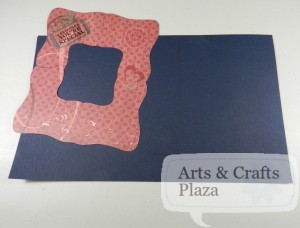
Position your picture and trace.
Decide on the size of the picture frame and mark.

Cut any access paper you may have.
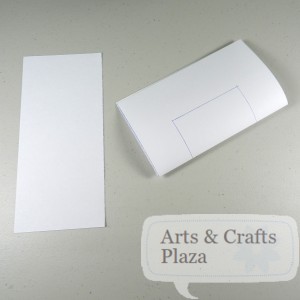
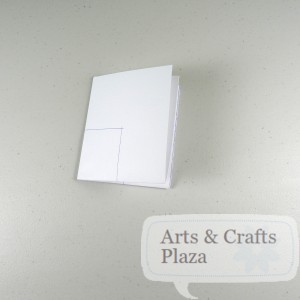
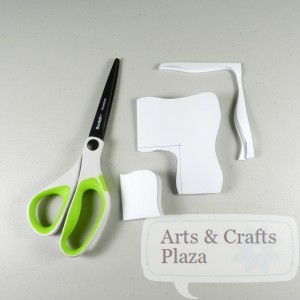
Fold the pattern photo frame in half.

Fold in half again.

Use your scissors to cut inside your picture placement and close to the edge.

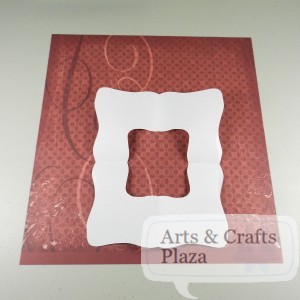
Audition on your card stock where you would like to cut it.
Since you only cut a scrap paper, you can give it another go if you are not happy with the result.

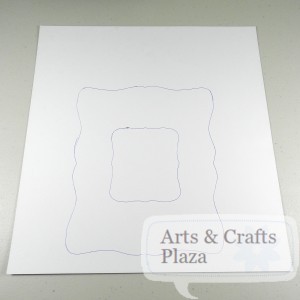
Turn your card stock around and trace.

It will be easier to cut around the photo frame.
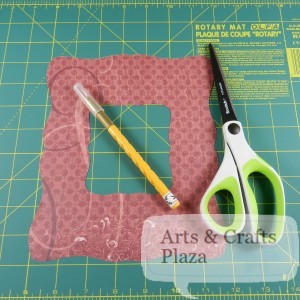
Use an exacto knife on the inside photo placement.

Choose your favorite way to decorate your photo frame.
Use stamps, colored pens / pencils or anything you want to embellish with.

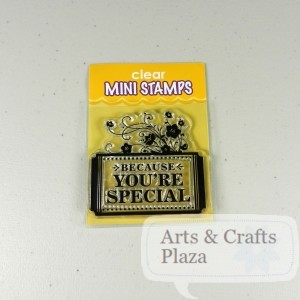
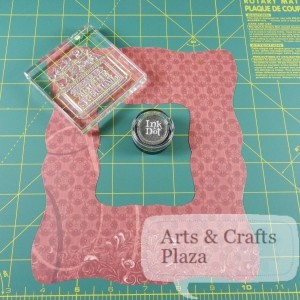
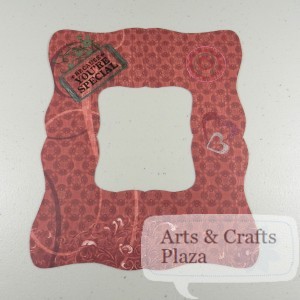
Using a stamp on photo frame.

Going over the stamp with Silver Metallic ink gel pens in various colors to give it a pop.

Take a sturdy cardboard to help your photo frame stand up.
Don’t have one on hand? You can use a cereal box.

You will need 2 pieces.
One that is slightly smaller than the photo frame.
Trace and cut.

The other slightly larger than the photo frame.

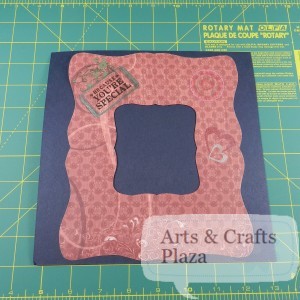
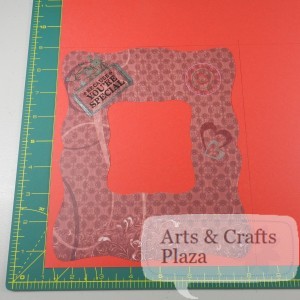
Take another piece of card stock paper.
This will be used to cover the front facing side of the cardboard.
Trace and cut.

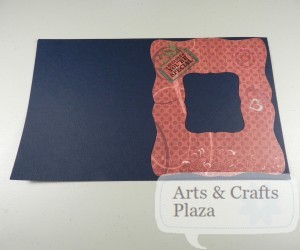
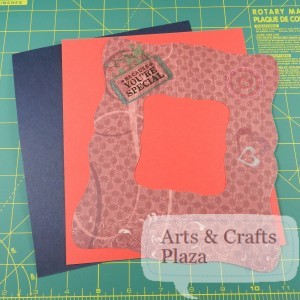
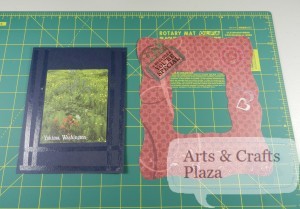
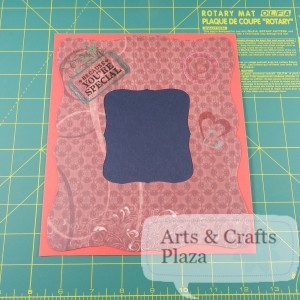
You now have your decorated card stock, place behind it your coordinating colored card stock and behind that the cardboard.


You can use glue stick, double sided tape or any adhesive that will hold all layers together.
I use my trusty Scotch ATG 714 Tape Glider.

Tape card stock to cardboard.

Tape small cardboard to the back of your decorated frame.
Make sure you glue on 3 sides ONLY.
You want to be able to insert your picture in and also be able change it at a later date.
In this case the top was left with NO glue.

A look from the back side once glued.

Now you can glue the decorated frame to the card stock.
Use glue ONLY on the back of the small cardboard and not on the decorated frame.
If you glue the decorated frame you will not be able to insert the picture in.

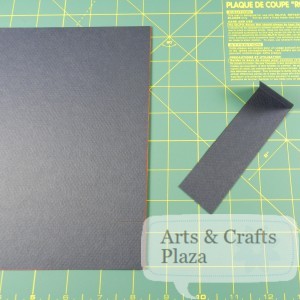
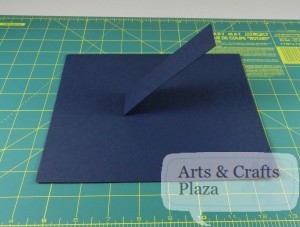
Take a small piece of the cardboard and bend a small piece.

Glue the small bend to the back of the photo frame.
This step will get your photo frame to stand.

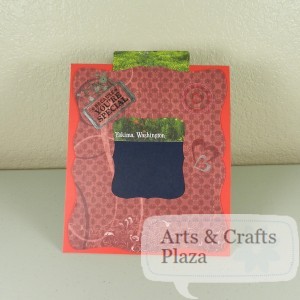
You can now insert the photo into your completed photo frame.
You can chose to insert your photo inside a photo sleeve protector for added protection.

Make sure you tell your mom you love her, not just on Mother’s Day 🙂

This project is suitable for kids, make sure to supervise while using scissors.

Enjoy!

Let’s create something!

Almond-Scented White Cake – Part 1

You can find the original recipe from Williams-Sonoma:
http://www.williams-sonoma.com/recipe/almond-scented-white-cake.html
In this case we changes it up and choose to use different frosting

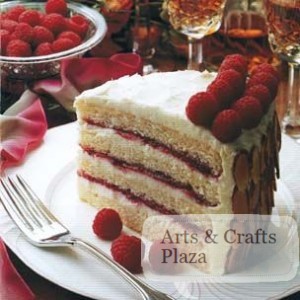
Picture from Williams-Sonoma

Ingredients:

  • 2 cups unbleached all-purpose flour
  • 1 Tbs. baking powder
  • 1/2 tsp. salt
  • 12 Tbs. (1 1/2 sticks) unsalted butter, at room temperature
  • 1 1/2 cups sugar
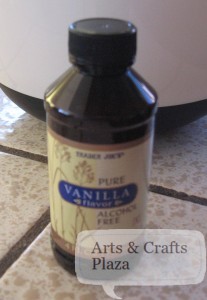
  • 2 tsp. vanilla extract
  • 1 tsp. almond extract
  • 1 cup milk
  • 5 egg whites, at room temperature
  • 3/4 cup raspberry preserves, melted
  • Raspberries (optional)
  • 1 1/4 cups sliced almonds, lightly toasted and cooled

Preheat oven to 350ºF.
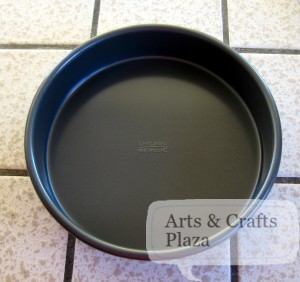
Start of with two 9 inches and 1 1/2 inches deep cake pans.
Butter and flour the cake pans.

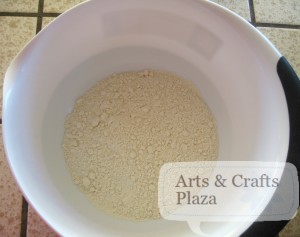
In a medium bowl, sift 2 cups unbleached all-purpose flour .

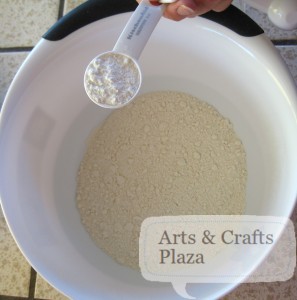
Add 1 Tbs. baking powder .

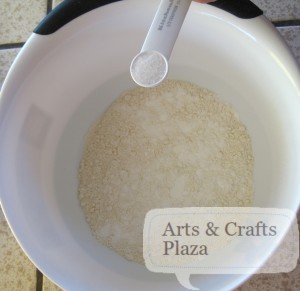
Add 1/2 tsp. salt.
Mix all together.

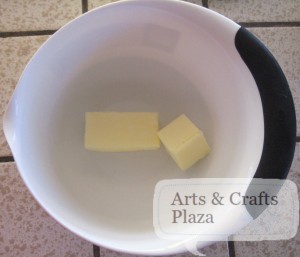
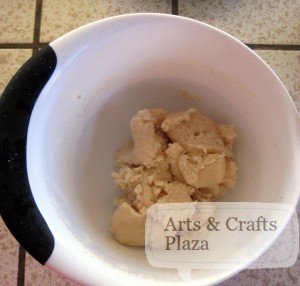
Put 12 Tbs. (1 1/2 sticks) unsalted butter, at room temperature to a large bowl.

Use an electric mixer set on medium-high speed, beat the butter until light.
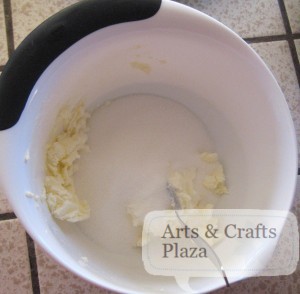
Gradually add 1 1/2 cups sugar.

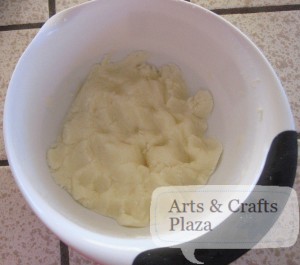
Beat until well blended.

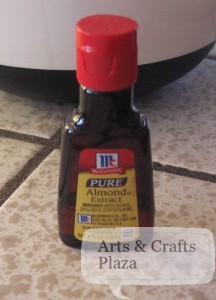
Beat in 1 tsp. almond extract

As well as, 2 tsp. vanilla extract.

Once you get a nice consistent blend, Reduce the speed to low.

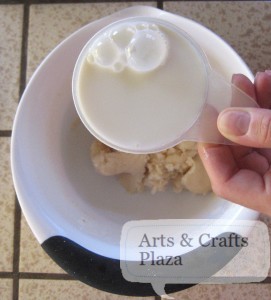
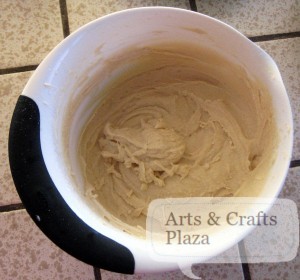
Alternate adding from 1 cup milk.

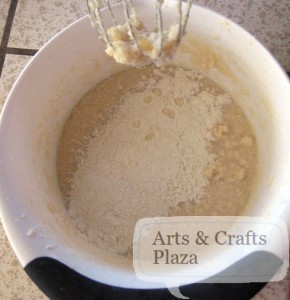
And the flour mixture into the butter mixture

Work it until combined.

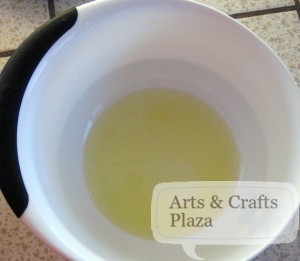
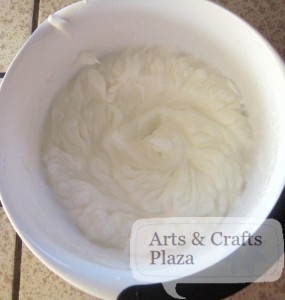
In a large bowl, use an electric mixer set on high speed, on 5 egg whites, at room temperature.

Beat egg whites until stiff peaks form.

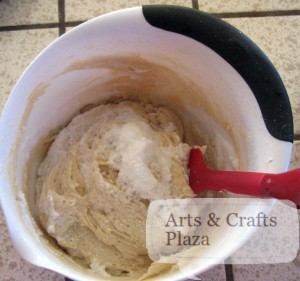
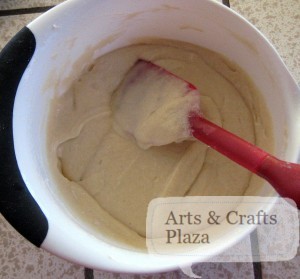
Use a rubber spatula, gently fold the beaten egg whites into the batter.

Continue until it’s incorporated.

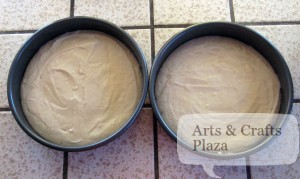
Divide the batter between the prepared pans; smooth top with the spatula.

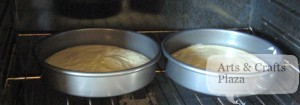
Bake in oven for about 30 minutes at 350ºF.
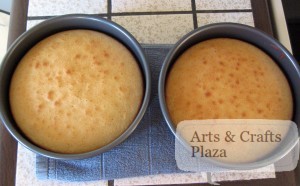
Cakes are ready once a toothpick inserted into the centers comes out clean.

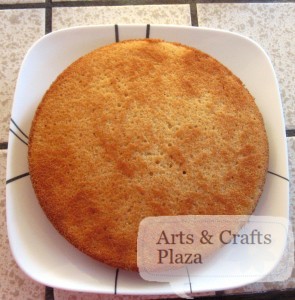
Transfer to racks and let cool in the pans for 10 minutes.
Use a sharp knife around the pan sides to loosen the cakes.
Invert onto racks and let cool completely.

You can find: Almond-Scented White Cake – Part 2

Enjoy!